Interlogix TruVision NVR 10 User Manual User Manual
Page 46
Chapter 6: Alarm settings
40
TruVision NVR 10 User Manual
6. Select the arming schedules for the external alarm.
In the Settings window, click the
Arming Schedule
tab, and select the day of the
week and the time periods during the day when an alarm input can be detected.
You can schedule up to eight time periods in a day. Default is 24 hours.
Click
Apply
to save the settings. Click
Copy
to copy the settings to other days of
the week and holiday period.
Note: The time periods defined cannot overlap.
7. Select the response method to an external alarm.
Click the
Linkage Action
tab to define the method by which you want the NVR to
notify you of the alarm. See “Description of alarm notification types” on page 35 for
the list of methods available. Click
Apply
to save settings
.
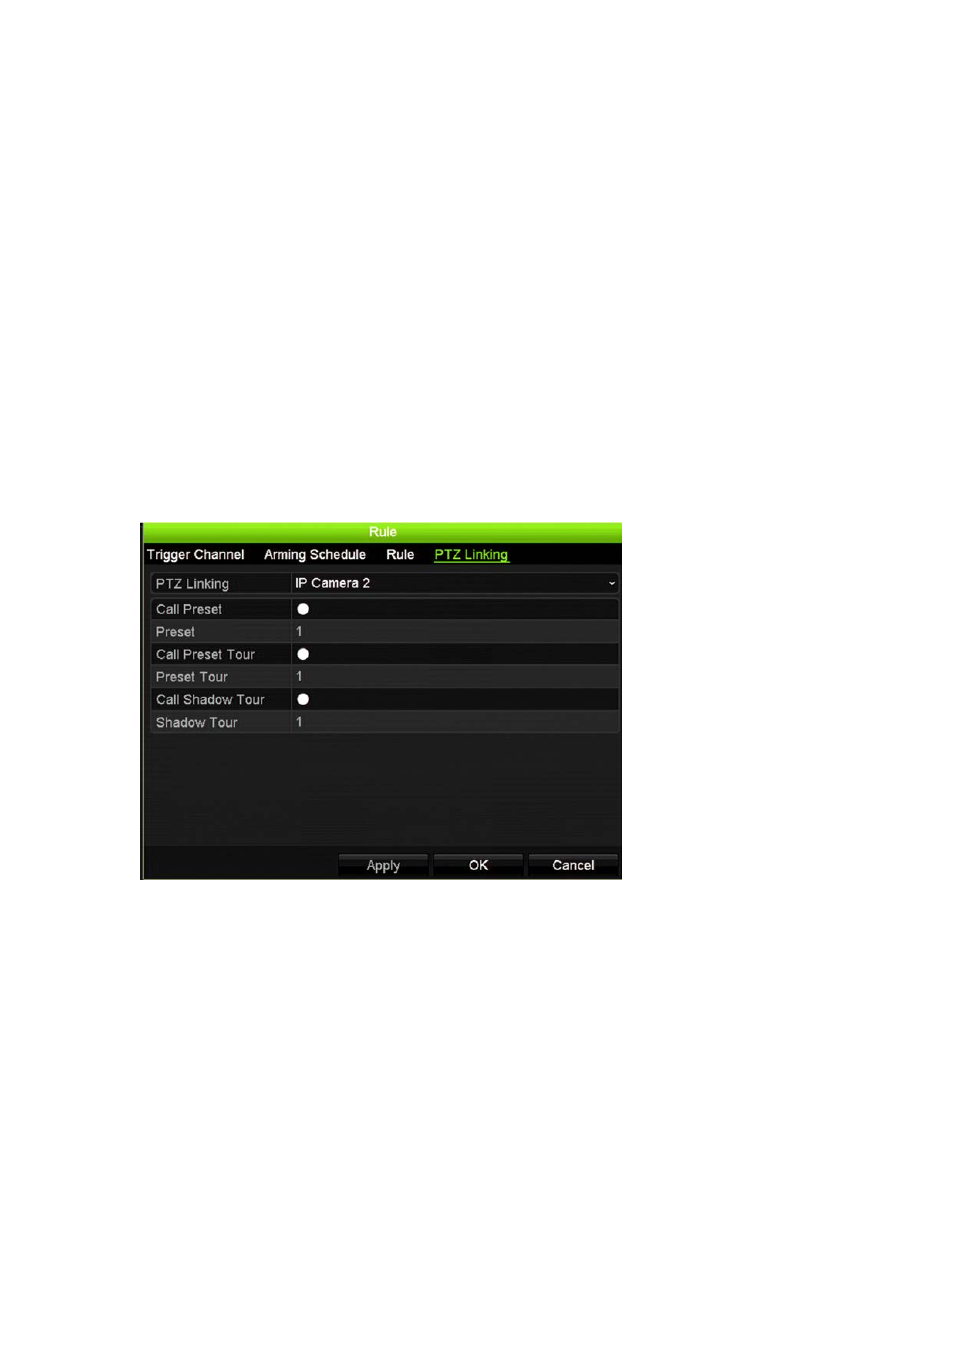
8. Select the PTZ camera function required in response to an external alarm.
Click the
PTZ Linking
tab. Select the PTZ camera as well as the preset, preset tour,
or shadow tour that is triggered when the alarm is detected.
Click
Apply
to save the settings.
9. Click
Copy
to copy the settings to other alarm inputs, if required.
10. Click
OK
to return to the Alarm Input window.
11. Click
Back
to return to live view, or continue configuring the NVR settings.
To set up an alarm output:
Note: Not all IP cameras have an alarm output.
1. From the menu toolbar, click
Alarm Settings
>
Alarm Output
.
2. Select the alarm output. You can enter an alarm output name, if desired.
3. Select a time out period. Default is 5 seconds.