Attaching the side skins and blower side bezels, Blower bezels (see also "bezel"), Bezel:attaching side bezels – HP A9834-9001B User Manual
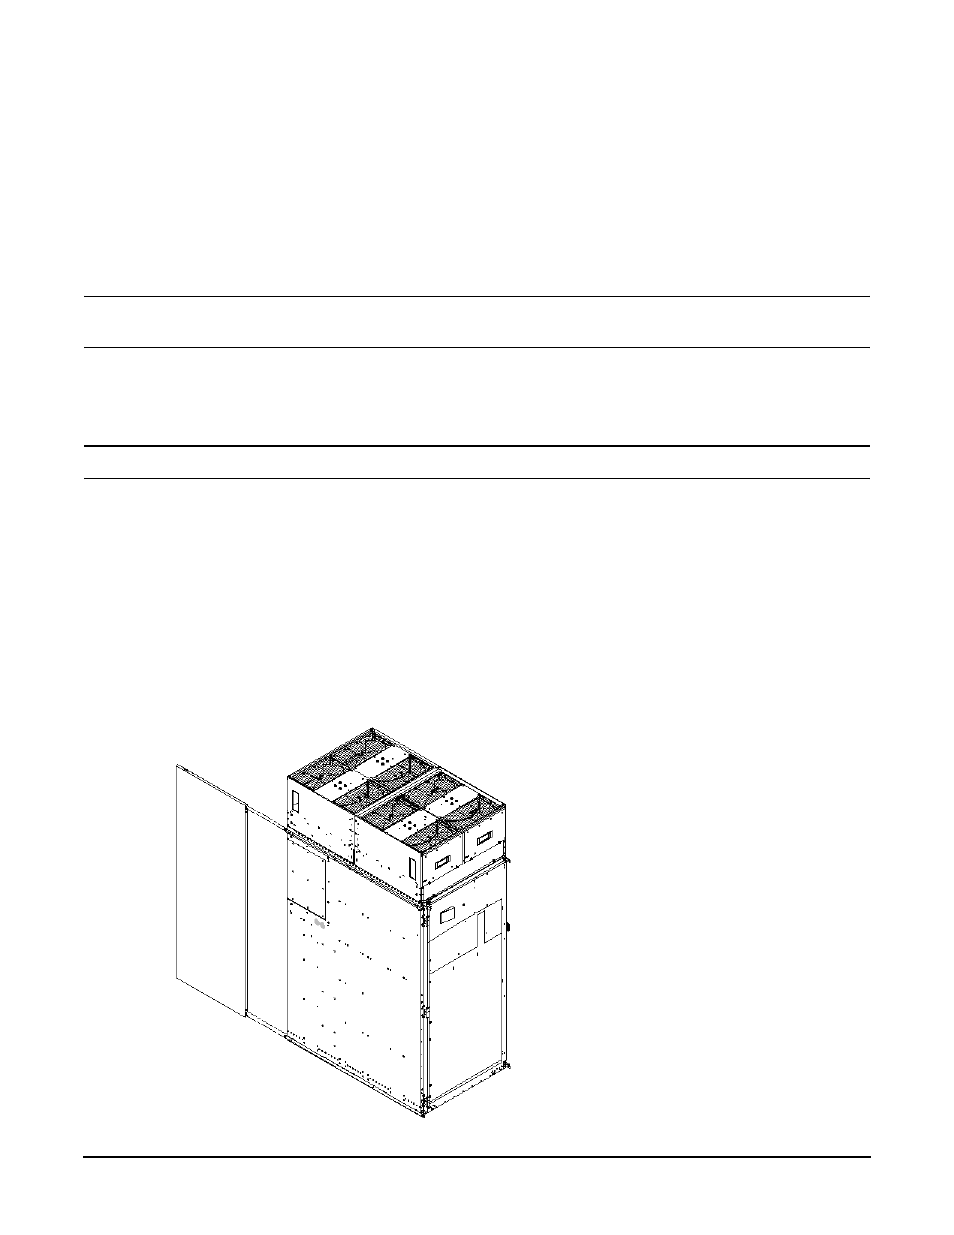
Page 94: Attaching the side skins, Skins, attaching, To attach the side skins, Figure317 attaching the rear side skin, Figure 3-17. attaching the rear side skin
Chapter 3
Installing the System
Setting Up the System
94
Step 7. Tighten the thumbscrews at the front of each blower.
Step 8. If required, install housings on any other cabinets that were shipped with the system.
Attaching the Side Skins and Blower Side Bezels
Two cosmetic side panels affix to the left and right sides of the system. In addition, each system has bezels
that cover the sides of the blowers.
IMPORTANT
Be sure to attach the side skins at this point in the installation sequence, especially if the
cabinet is to be positioned at the end of a row of cabinets or between cabinets.
Attaching the Side Skins
Each system has four side skins: two front-side skins and two rear-side skins.
NOTE
Attach side skins to the left side of cabinet 0 and the right side of cabinet 1 (if applicable).
To attach the side skins:
Step 1. If not already done, remove the side skins from their boxes and protective coverings.
Step 2. From the end of the brackets at the back of the cabinet, position the side skin with the lap joint
(Rear) over the top bracket and under the bottom bracket, and gently slide it into position
(Figure 3-17).
Two skins are installed on each side of the cabinet: one has a lap joint (Rear) and one does not
(Front). The side skins with the lap joint are marked Rear and the side skins without the lap joint
are marked Front.
Figure 3-17 Attaching the Rear Side Skin