Enabling live view shooting, Continuous shooting display – Canon EOS Rebel SL3 DSLR Camera with 18-55mm Lens (Black) User Manual
Page 182

182
z
The image’s field of view is approx. 100% (with image-recording quality set to
JPEG
73
and aspect ratio set to 3:2).
z
You can check the depth of field in Creative Zone modes by pressing the
<
0
> or <
U
> button when they are configured as described below.
-
In
[
5
: Custom Functions(C.Fn)]
, set
[Assign SET button]
to
[7:Depth-of-
field preview]
.
-
In
[
5
: Custom Functions(C.Fn)]
, set
[DISP button function]
to
[1:Depth-
of-field preview]
.
z
You can also use a Wireless Remote Control BR-E1 (sold separately) or
Remote Switch RS-60E3 (sold separately) for Live View shooting (
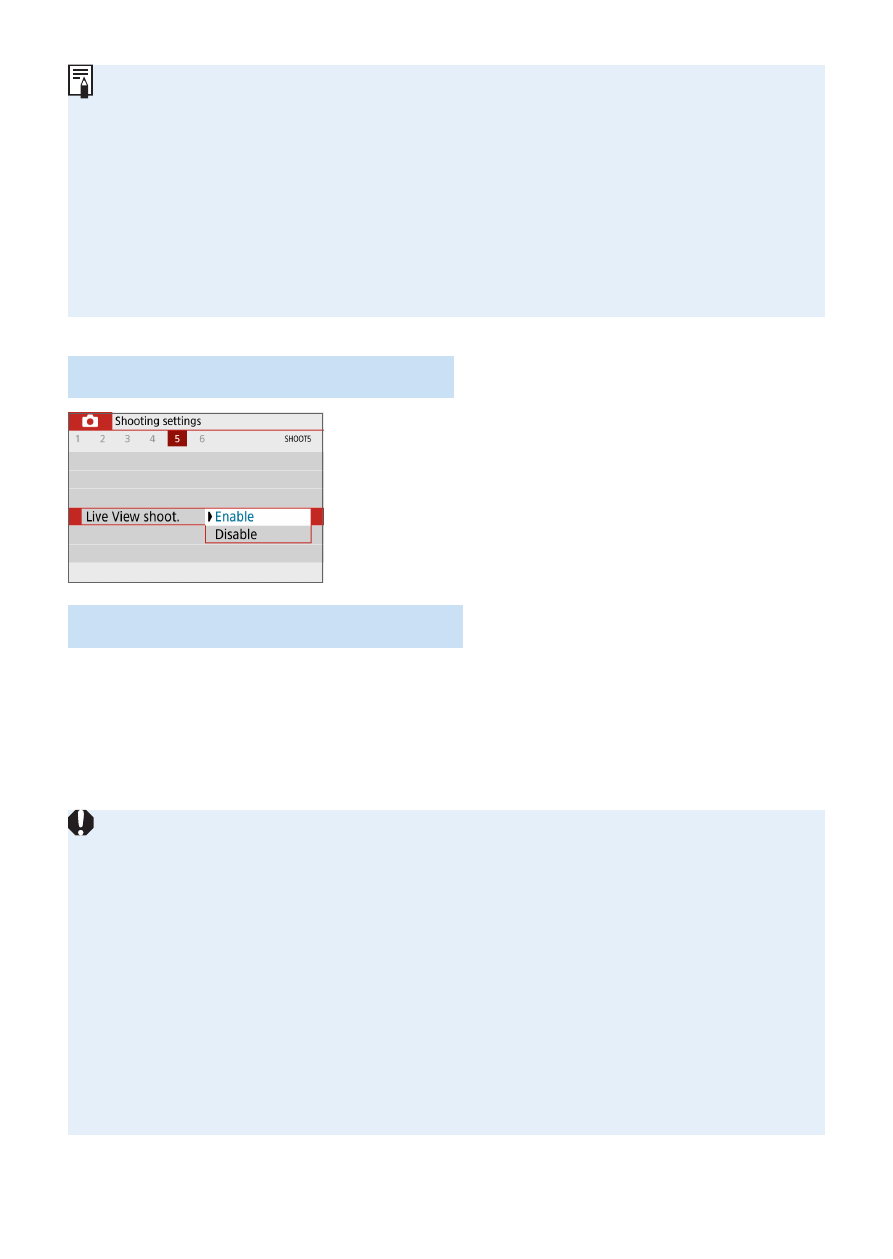
Enabling Live View Shooting
Set
[
z
: Live View shoot.]
to
[Enable]
.
Continuous Shooting Display
During Live View shooting, if you perform <
i
> Continuous shooting with
One-Shot AF, keep holding down the shutter button completely to display
(play back) the captured images continuously. When the continuous
shooting ends (shutter button is returned to halfway position), the Live View
image will be displayed.
z
Depending on the shooting conditions such as when shooting with flash or
shooting long exposures, the captured images may not be displayed (played
back) continuously.
z
In the <
8
:
x
> mode, Live View shooting is not possible.
z
In the <
8
:
q
> mode, the angle of view changes slightly in Live View
shooting because distortion correction is applied.
z
In the <
8
:
FG
> and <
v
:
ABCD
> modes, the image area will
be smaller.
z
For flash photography, the continuous shooting speed will become slower.
z
Do not point the camera toward an intense light source, such as the sun or an
intense artificial light source. Doing so may damage the image sensor or the
camera’s internal components.
z
General Live View Shooting Cautions are on
