NEC 40,000-Lumen 4K Laser Installation Projector User Manual
Page 140
123
5. Using On-Screen Menu
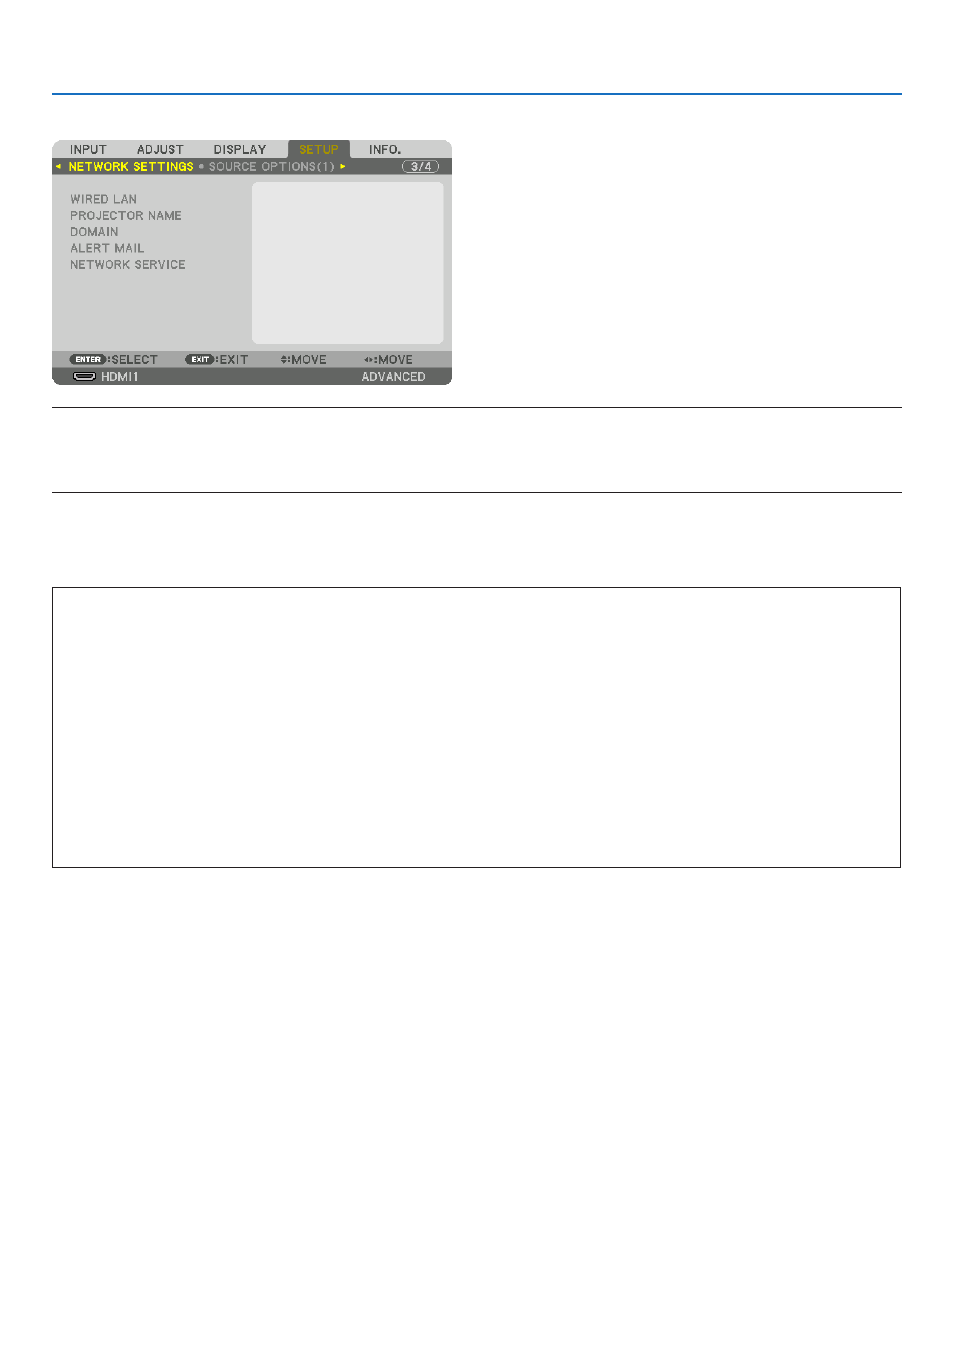
[NETWORK SETTINGS]
Important:
• Consult with your network administrator about these settings.
• When using a wired LAN, connect the Ethernet cable (LAN cable) to the LAN port or HDBaseT port on the projector. (
→
)
• Please use a shielded twisted pair (STP) cable of Category 5e or higher for the LAN cable (sold commercially).
TIP: The network settings you make will not be affected even when [RESET] is done from the menu.
Hints on How to Set Up LAN Connection
To set up the projector for a LAN connection:
Select [WIRED LAN]
→
[PROFILES]
→
[PROFILE 1] or [PROFILE 2].
Two settings can be set for wired LAN.
Next turn on or off for [DHCP], [IP ADDRESS], [SUBNET MASK], and [GATEWAY] and select [OK] and press the
ENTER button. (
→
To recall LAN settings stored in the profile number:
Select [PROFILE 1] or [PROFILE 2] for wired LAN, and then select [OK] and press the ENTER button. (
→
To connect a DHCP server:
Turn on [DHCP] for wired LAN. Select [ON] and press the ENTER button. To specify IP address without using the
DHCP server, turn off [DHCP]. (
→
page
To receive error messages via e-mail:
Select [ALERT MAIL], and set [SENDER'S ADDRESS], [SMTP SERVER NAME], and [RECIPIENT'S ADDRESS].
Last, select [OK] and press the ENTER button. (
→
)