4 removing the inverter, 5 access to the installation area, Danger – SMA MLX Series User Manual
Page 16: Caution
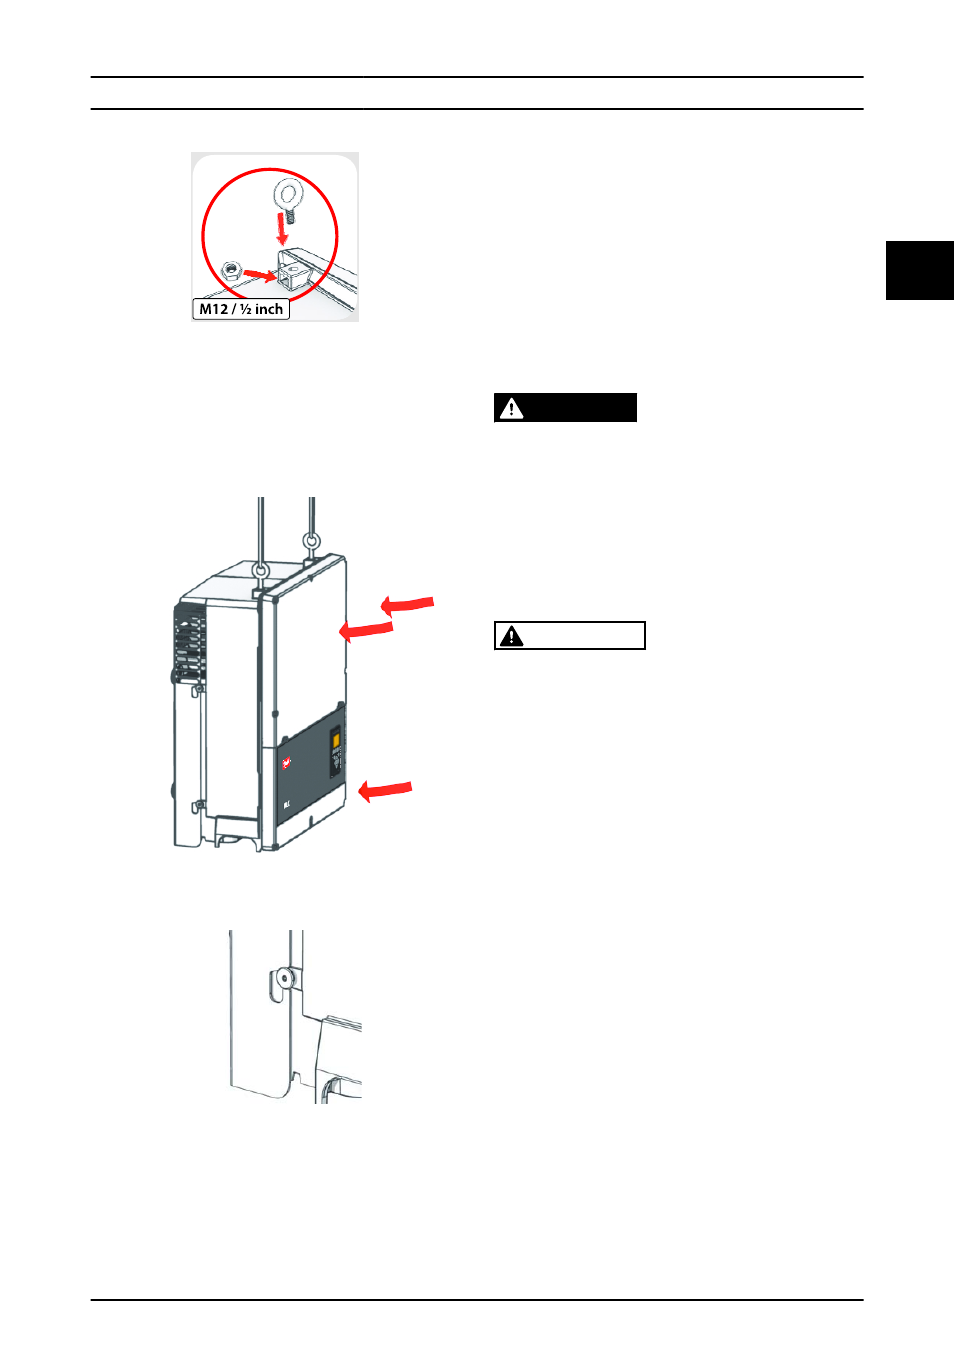
Illustration 2.12 Lifting Bolts
2.
On the inverter, position the side screws against
the mounting plate slots.
3.
Push the inverter as shown so the side screws
slide into the 2 lower slots and the 2 upper slots.
See Illustration 2.13 and Illustration 2.14.
Illustration 2.13 Slide into Slots
Illustration 2.14 Detail of Sliding into Slot
4.
Check that the 4 side screws sit securely in the
mounting plate slots.
5.
Release the inverter.
2.4 Removing
the
Inverter
Procedure:
1.
Perform removal in the reverse order of
mounting.
2.
Lift the inverter.
3.
Lift and slide the inverter out of the mounting
plate slots.
4.
Lift the inverter free of the mounting plate.
2.5 Access to the Installation Area
DANGER
Before starting work on the inverter, switch off AC at the
mains switch and PV using the PV load switch. Ensure
that the inverter cannot be unintentionally reconnected.
Use a voltage tester to ensure that the unit is discon-
nected and voltage free. The inverter can still be charged
with very high voltage at hazardous levels even when it
is disconnected from AC grid and solar modules. Wait at
least 5 minutes following disconnection from grid and
PV panels before proceeding.
CAUTION
Observe ESD safety regulations. Discharge any electro-
static charge by touching the grounded enclosure,
before handling any electronic component.
Procedure:
1.
To open the cover, loosen the 3 lower front
screws using a TX 30 screwdriver. The screws are
captive screws and cannot fall out.
2.
Lift the cover 180
°. A magnet holds the cover
open.
3.
To close the cover, lower it into place and fasten
the 3 front screws.
Installation
L00410644-01_2q / Rev. date: 2014-06-02
15
2
2