Chapter 2 establish communications, Establish communications, Chapter 2 – NavCom StarUtil Rev.G User Manual
Page 21: Figure 5: pc port configuration window, Com port (see figure 5
StarUtil User Guide – Rev. G
Chapter 2 ............................................................Establish Communications
This chapter provides instructions to:
9
Establish communications between a PC running StarUtil and the GPS receiver
9
Configure unit ports
Establish Communications
1. Connect the PC and the GPS receiver. Use the supplied data cable.
Refer to the Product User Guide for the appropriate model purchased for a list of the
equipment supplied with the GPS receiver.
2. Run the appropriate version of StarUtil on the PC. Refer to the section, Determine StarUtil
Version & Run StarUtil in Chapter 1.
3. Click
the
icon on the toolbar to establish communications between the PC and the
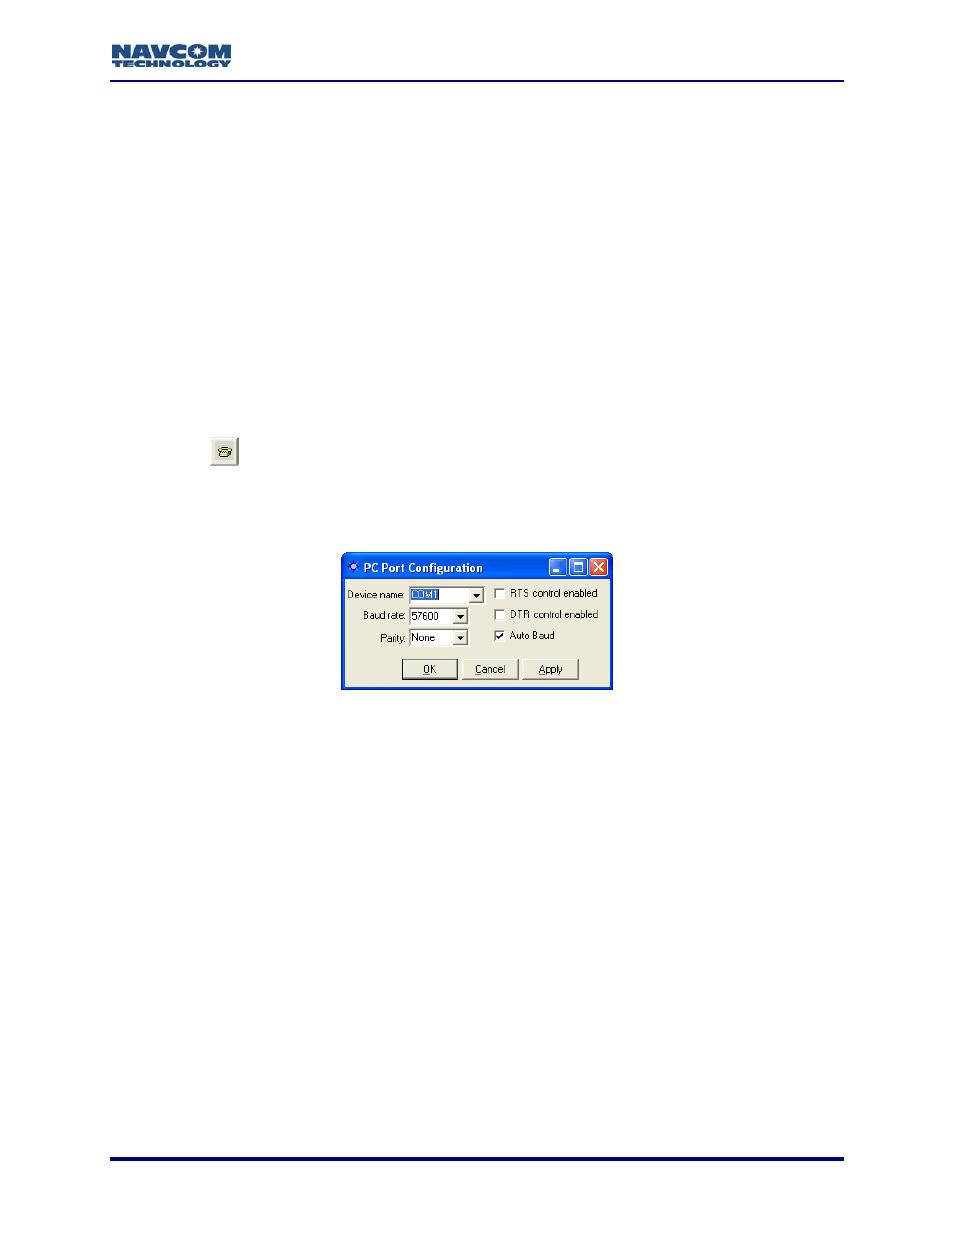
GPS receiver. The PC Port Configuration window opens (see Figure 5).
To open the window from the menu bar, select PC Port > Configure PC COM
Port.
Figure 5: PC Port Configuration Window
4. In
the
Device name drop-down list, select the PC COM port connected to the GPS receiver.
5. Accept the default option, Auto Baud, or uncheck the Auto Baud box and select a baud rate
from the drop-down list if the current receiver settings are known.
Auto Baud automatically detects the baud rate. If the user manually selects a baud
rate that does not match the current receiver settings, the connection will fail. To
change the receiver baud rate, refer to the section below, Configure Unit Ports.
6. Check both options together, RTS control enabled (Request To Send) and DTR control
enabled (Data Terminal Ready), as necessary, to configure the receiver and the computer to
acknowledge readiness before connection is established. This is optional and not required
by the GPS receiver.
2-19