Ch 3 - the configure system hardware dialog box, Setting up analog dbks, The configure system hardware dialog box 3 – Measurement Computing DaqView User Manual
Page 17: Overview
The Configure System Hardware Dialog Box
3
Overview …… 3-1
Setting Up Analog DBKs …… 3-1
Setting Up Digital DBKs ….. 3-4
Enhanced Counter Configuration….. 3-6
A Note about the Internal Clock Speed 100 kHz Prompt …… 3-7
Whenever expansion cards are added you must update Configure System Hardware.
Overview
For proper operation most of the DBK options must be configured, both physically on the DBK, and in the
Configure System Hardware
dialog box.
“Analog Input” type DBKs will be under the P1 section of the screen, “Digital Input” DBKs will be under
the P2 section.
Prior to setting up a DBK you should review the applicable individual DBK section to ensure that the DBK
option is physically set as desired. Note that certain DBKs do not require configuration.
Understand your DBK’s physical configuration before attempting to set the device in
the Configure System Hardware dialog box. For example, if you were configuring a
DBK45 in DaqView, you would need to know the physical setup of rotary switch SW6
to properly set the address. To expedite the configuration, it is a good idea to have the
identity and setting information ready for each DIP-switch, rotary switch, and jumper,
as applicable.
Setting Up Analog DBKs
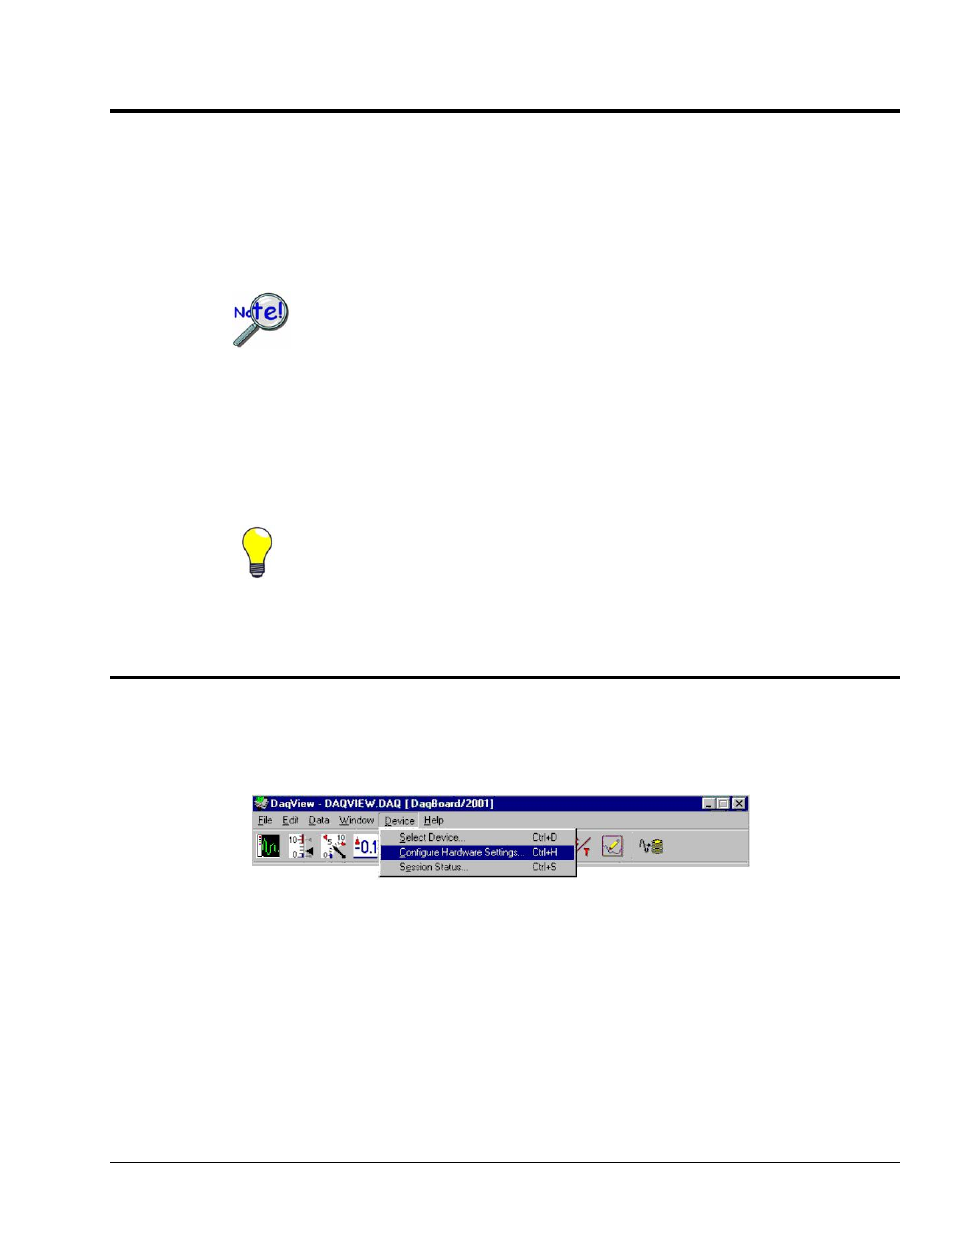
Complete the following steps to set up analog DBKs in DaqView.
1. From DaqView’s main screen, pull down the Device menu, and select “Configure Hardware
Settings
.”
Selecting Configure Hardware Settings from the Device Pull-down Menu
DaqView & ViewXL User’s Guide
886994
Configure System Hardware 3-1