Change a keyword tag icon, Change the icon, see – Adobe Elements Organizer 9 User Manual
Page 70
66
USING ELEMENTS 9 ORGANIZER
Tagging and organizing photos and videos
Last updated 9/12/2011
More Help topics
Editing keyword tags, categories, and subcategories
Change a keyword tag icon
By default, Photoshop Elements creates an icon for a keyword from the first photo to which you’ve attached the tag.
You can change this icon to one that better represents the tag.
1 Select the tag in the Keyword Tags panel of the Organize tab.
Note: This feature is not available for tags generated through Face/People Recognition
2 Click the New button
, and select Edit
from the menu.
3 Click Edit Icon in the Edit Keyword Tag dialog box.
4 To use a different photo for the icon, do one of the following:
•
Click Find to display all the media files with that tag. Select a photo and click OK, or use the arrows next to the Find
button to page through and select the photo you want to use.
•
Click Import, locate and select a photo, and click OK.
Note: An imported photo can be used for the icon, but the tag is not automatically attached to the imported photo. You
can attach the tag to that photo manually.
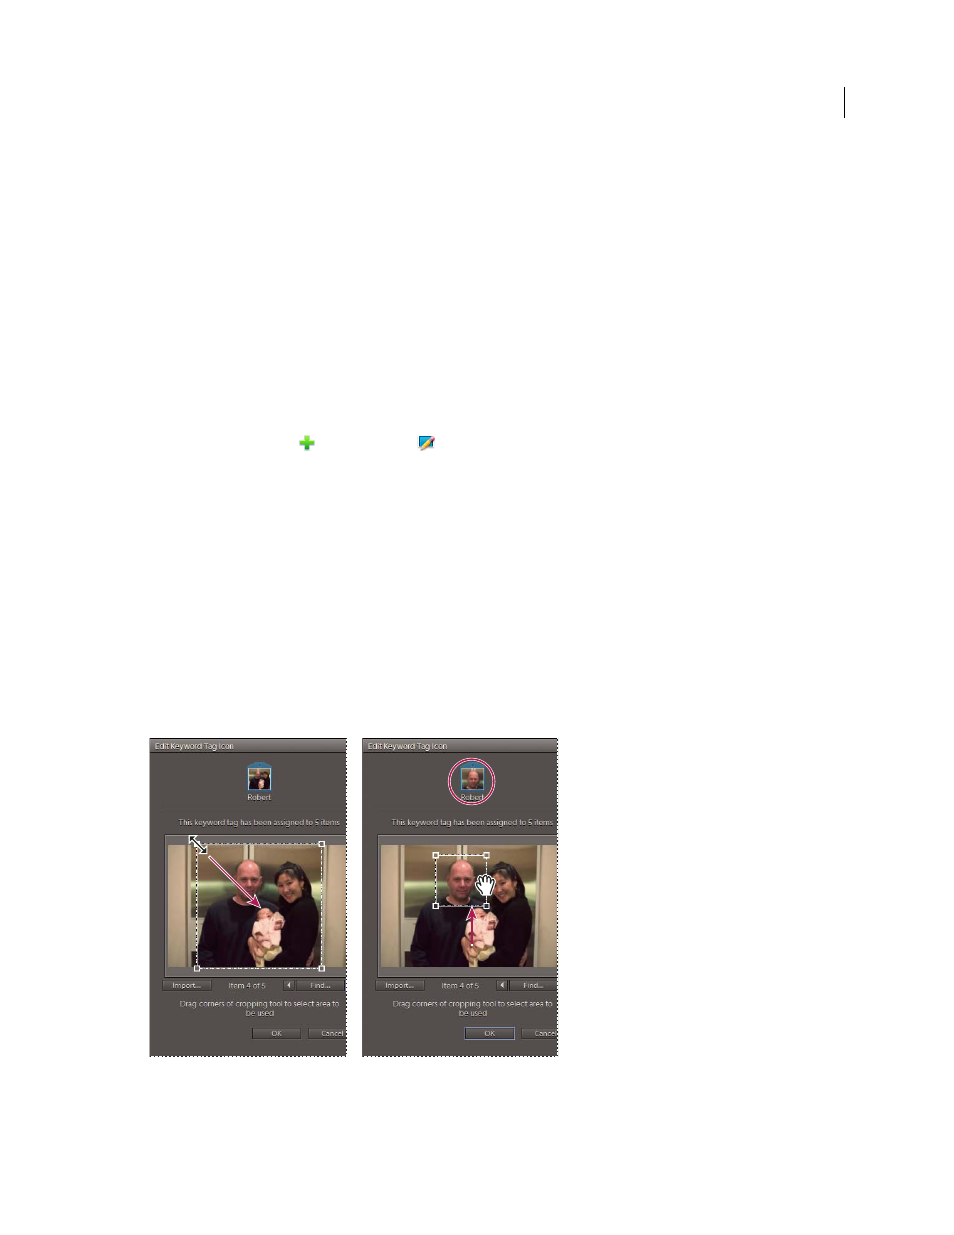
5 To change the portion of the photo included in the icon, resize or move the cropping marquee (the dotted outline):
•
To resize, move the pointer to a corner of the marquee; when the pointer changes to a double-headed arrow, drag
the corner. You cannot resize imported tag icons.
•
To move the marquee, place the pointer inside it; when the pointer changes to a hand, drag the marquee.
Resizing the cropping marquee (left); moving the cropping marquee (right).
6 Click OK, and then click OK again in the Edit Keyword Tag dialog box.