Reorder slides, Add a new blank slide, Edit and adjust a slide – Adobe Elements Organizer 9 User Manual
Page 141
137
USING ELEMENTS 9 ORGANIZER
Projects in Elements Organizer
Last updated 9/12/2011
More Help topics
Publish a slide show (Windows only)
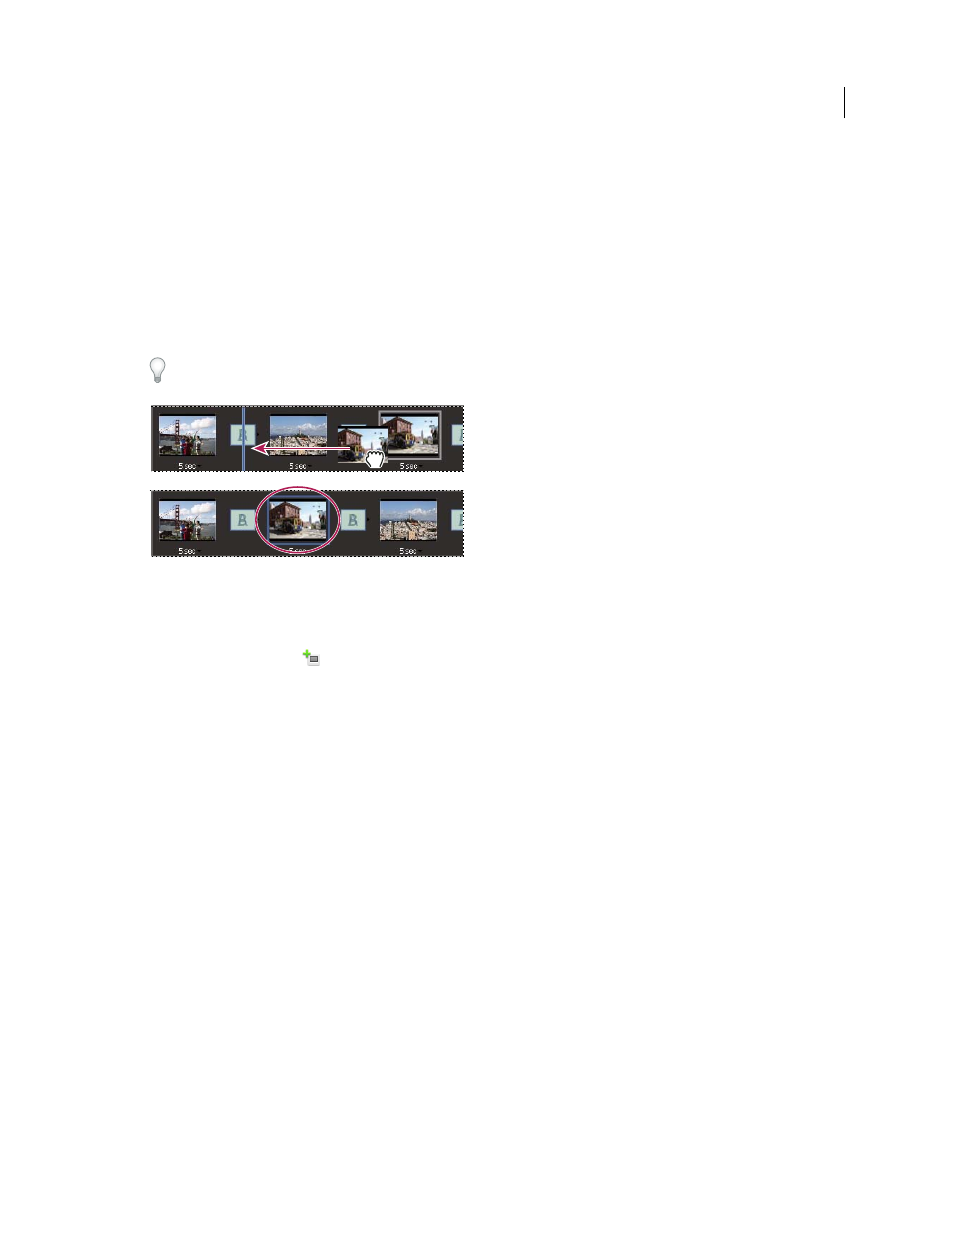
Reorder slides
❖
Do one of the following:
•
Drag a slide to a new location in the storyboard.
•
Click Quick Reorder. In the dialog box, rearrange the slides, and then click Back.
•
Choose an option from the Slide Order menu.
To move a top slide to the bottom, drag the slide to the bottom of the Slide Show Editor and hold it there; this activates
the scrolling function.
Reordering slides is easy using Quick Reorder.
Add a new blank slide
❖
Do one of the following:
•
Click Add Blank Slide
.
•
Choose Edit > Blank Slide.
Edit and adjust a slide
If a slide needs minimal editing, you can have it automatically adjusted using the features in the Slide Show dialog box,
or you can use the Editor for more detailed adjustment. If a photo isn’t fitting in a slide correctly, you can manually
adjust the photo’s size and position.
1 Select a slide, and then click the photo in the main preview window.
2 Do any of the following in the Properties panel:
•
To instantly edit the color balance of a photo, click Auto Smart Fix.
•
To remove the red-eye effect from a photo, click Auto Red Eye Fix.
•
If a photo needs more editing, click More Editing to open the photo in the Editor. When you’re finished working
in the Editor, save the photo and close it to return to your place in the Slide Show dialog box.
•
To adjust the size of the photo, select the photo and drag the Size slider, or drag a side or corner of the photo
bounding box.
•
To fill the slide with the photo, click Crop To Fit.
•
To show the entire photo, click Fit On Slide. Areas of the slide around the photo are filled with the background
color. You can change the color in Slide Show Preferences.