Create tags quickly, Apply tags quickly, Delete tags quickly – Adobe Elements Organizer 9 User Manual
Page 69: Create a new keyword tag category or subcategory
65
USING ELEMENTS 9 ORGANIZER
Tagging and organizing photos and videos
Last updated 9/12/2011
Creating, applying, and deleting tags
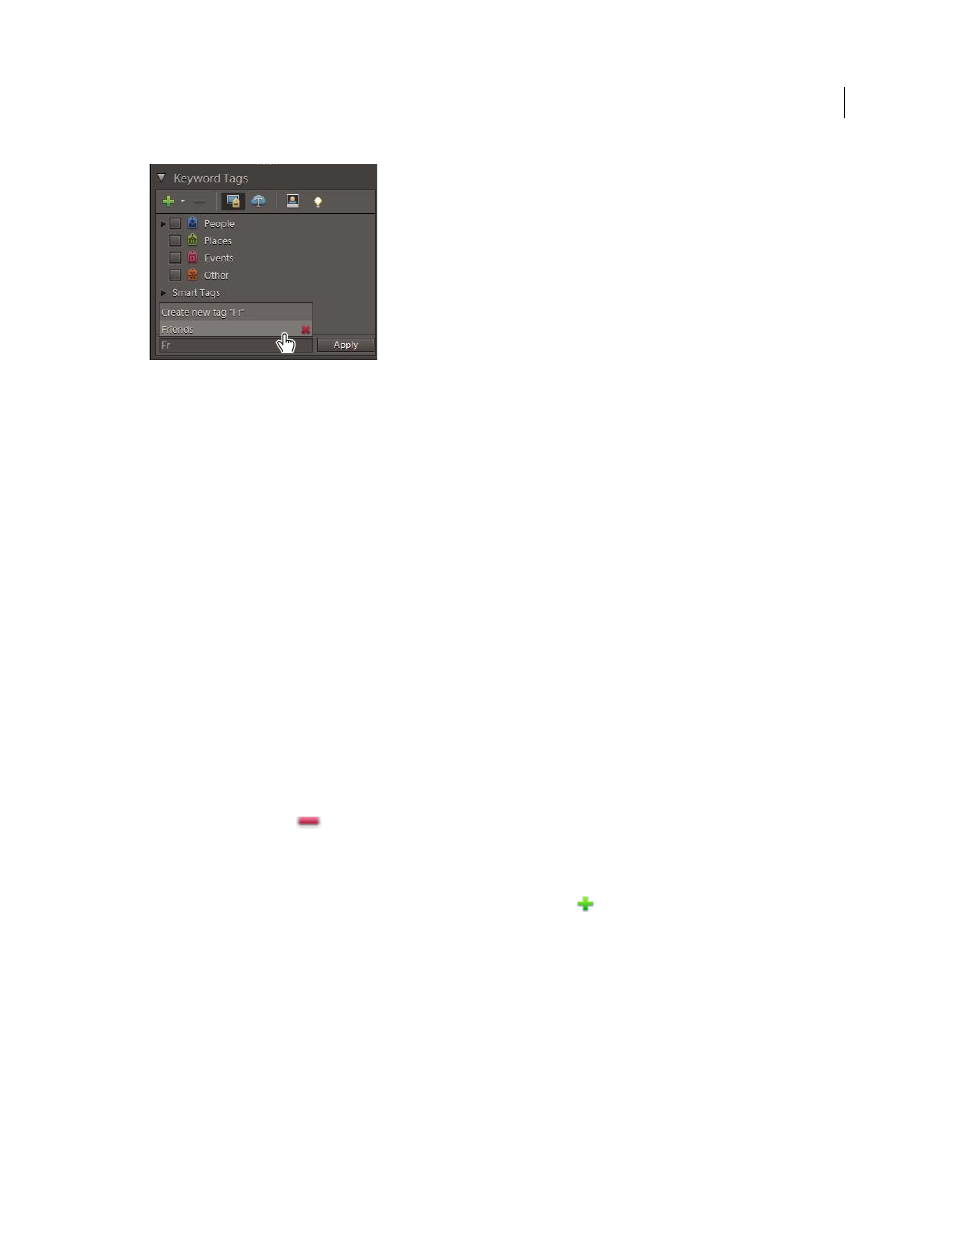
Create tags quickly
1 Select a media file.
2 Type the name of the tag in the Keyword Tags textbox.
3 Click Create New Tag
4 Click Apply.
Apply tags quickly
1 Select the assets you want to tag, and do one of the following:
•
Type the name of the tag in the Keyword Tags textbox.
•
Type a letter, for example, A, to view a list of tags beginning with the letter A. Select the tag you want to use.
2 Click the Apply button.
The tags are applied to the selected assets.
Delete tags quickly
1 Do one of the following:
•
Type the name of the tag in the Keyword Tags textbox.
•
Type a letter, for example, A, to view a list of tags beginning with the letter A.
2 Click the Delete icon
that appears when you move the mouse over the tag name in the list.
Create a new keyword tag category or subcategory
1 In the Keyword Tags panel of the Organize tab, click the New button
and choose either New Category or New
Sub-Category.
2 Do one of the following:
•
To create a new category, type its name in the Category Name box. Click Choose Color and specify the color you
want to appear on the keyword tags in that category. Then click to select an icon from the Category Icon list.
•
To create a new subcategory, type its name in the Sub-Category Name box. Then use the Parent Category Or Sub-
Category menu to choose a category in which to place the subcategory.
3 Click OK.
The new category or subcategory appears in the Keyword Tags panel.
Note: You can edit or delete a subcategory. However, its icon always appears as a plain tag; you cannot add a photo to it.