Adobe Elements Organizer 9 User Manual
Page 152
148
USING ELEMENTS 9 ORGANIZER
Projects in Elements Organizer
Last updated 9/12/2011
5 If you chose to include additional slide shows, do any of the following, and then click Next:
•
To remove a slide show from the list, select it and click Remove Slide Show.
•
To rearrange the slide shows on the DVD, drag their images to the positions you want.
6 Click Next.
7 Select a folder for the new WMV files, and click OK.
Photoshop Elements creates a WMV (Windows Media Video) file for each of the slide shows you included. (You can
click Cancel in the progress dialog box at any time to stop the process.)
Adobe Premiere Elements adds the WMV files to its Media and My Project panels, and automatically opens the DVD
workspace. At the DVD workspace, you can select a menu template and add or customize menu buttons.
Add Photoshop Elements slide shows to video projects
Using Elements
Organizer, you can create a slide show and enhance them with music, transitions, narration, text, and
more. When you finish your project, you can bring it into Adobe Premiere Elements and incorporate it into movies
and DVDs.
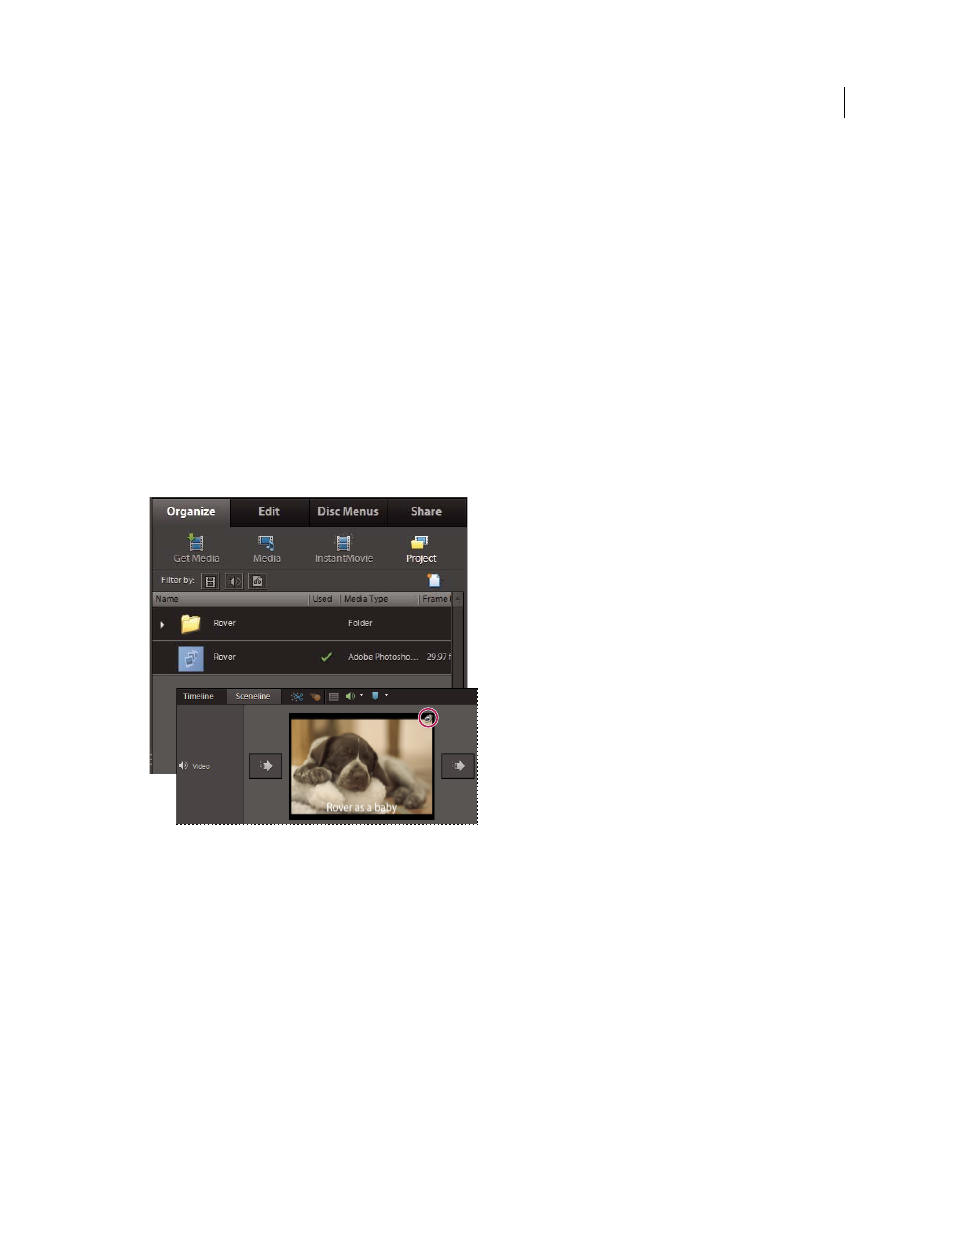
A slide show in the Project view of the Edit tab and in the Sceneline of Adobe Premiere Elements
1 In the Slide Show Editor dialog box, click
Output.
2 Click Edit With Premiere Elements, and click OK. If asked whether to first save your project, click OK, type a name
for your project, and click Save.
A dialog box will appear to tell you when your slide show is complete. The slide show will appear at the top of the Media
Browser in the Elements
Organizer. If Adobe Premiere Elements is open, the slide show also appears in the
Elements
Organizer, ready to drag into the Sceneline or Timeline.