Customize stationery settings in photo mail – Adobe Elements Organizer 9 User Manual
Page 174
170
USING ELEMENTS 9 ORGANIZER
Printing and sharing photos
Last updated 9/12/2011
•
If you wish, add the recipient to your contact book by selecting the Edit Recipients In Contact Book option
.
Click OK; the recipient will appear selected in the Select Recipients list.
4 In the Stationery & Layouts wizard, choose a stationery style and background. Then click Next Step, and customize
the layout.
5 Click Next.
Elements
Organizer opens your default e-mail application.
Customize stationery settings in Photo Mail
You can customize stationery layouts for your Photo Mail attachments. These settings are automatically saved so you
can reuse them. The Stationery & Layouts wizard lets you specify a stationery style, photo size, borders or frames,
backgrounds, drop shadow, and layout.
1 Select a photo in the Media Browser or Date view, and then click the Share tab.
2 Select Photo Mail, then click Next.
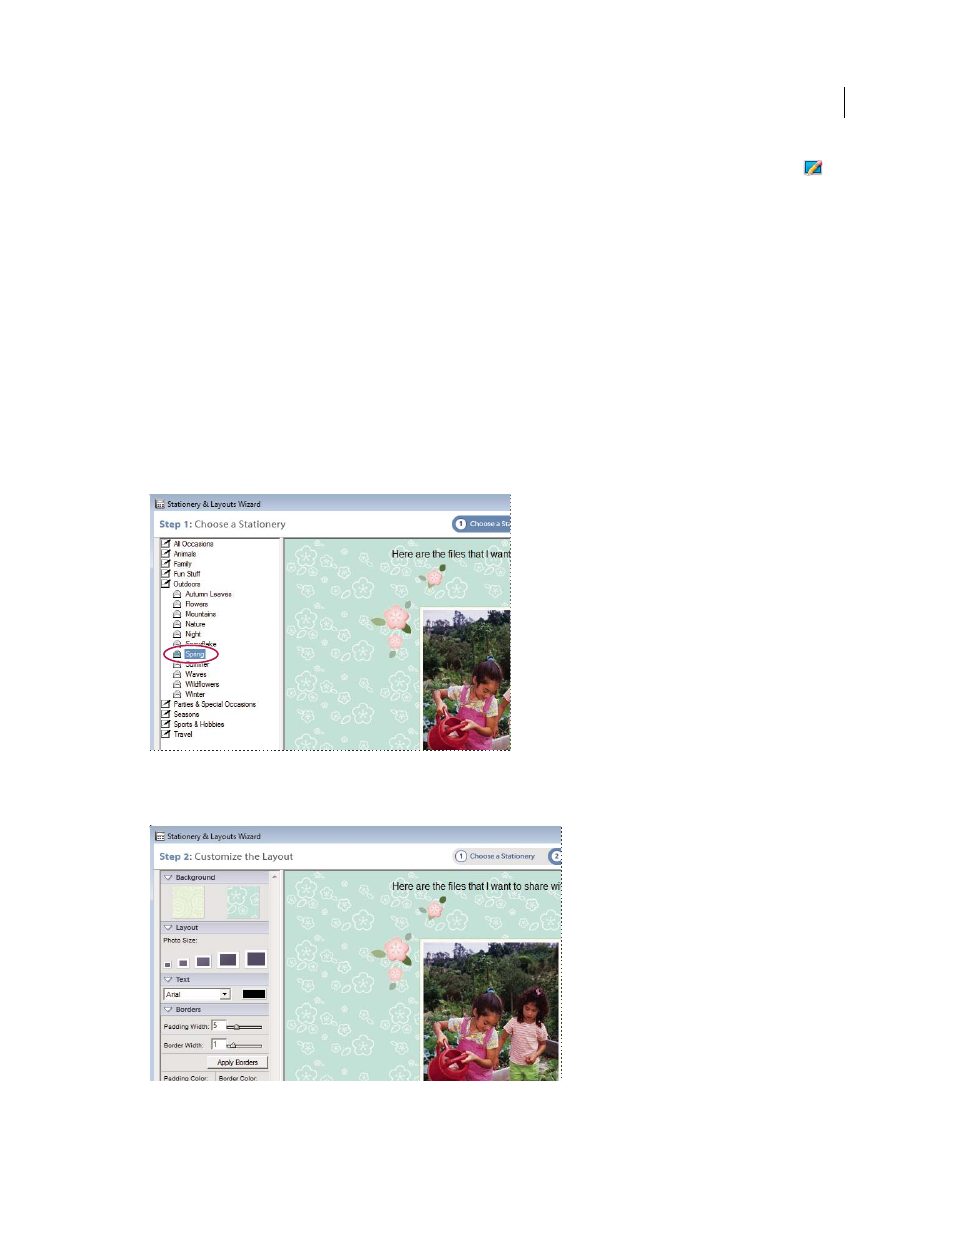
3 Select a category from the list on the left; then select a stationery type from the submenu and click Next Step.
Choosing a stationery
4 Select a size for your photos. Your photo is resized so it fits within the selected stationery.
Selecting a photo size