D*ap8 – Junger Audio D*AP8 Digital Audio Processor User Manual
Page 12
D*AP8
10
Getting started – basic X*AP RM
1
remote panel operation
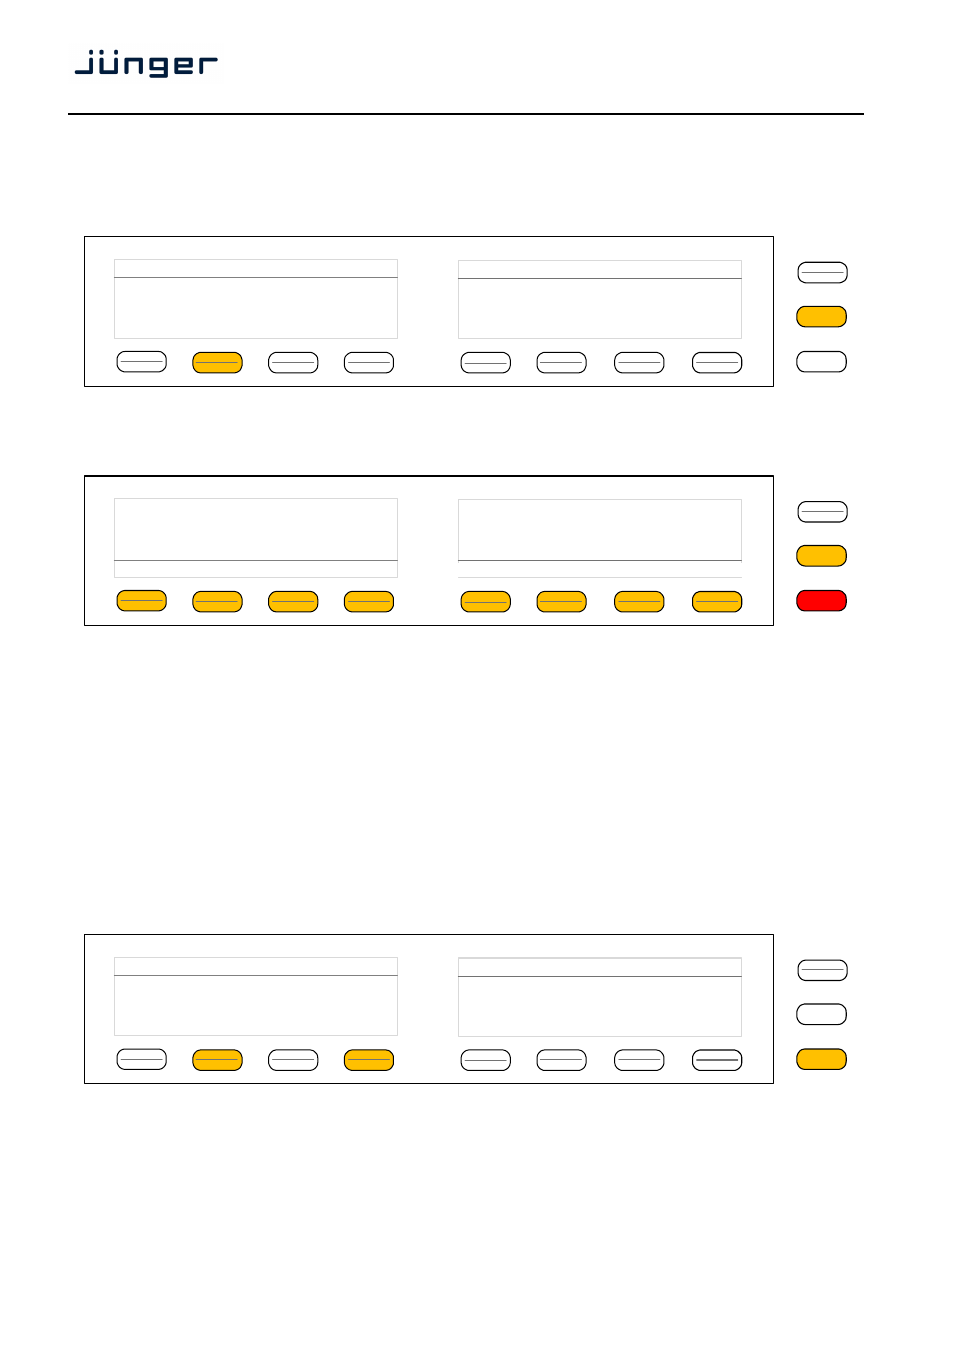
Power up display – may show up to four D*AP8s enabled for remote control for this X*AP RM
1
remote panel. This example has just one D*AP8 named "NEWS Channel" attached for remote control
while the status is "connect" (i.e. you may connect with that device). See X*AP RM1 manual for details.
Pressing one of these buttons will connect with the respective D*AP8.
Now the X*AP RM
1
remote panel will gather all necessary information from that D*AP8
(may take a few seconds) and open up the main operating display:
From here you may fire pre-defined hotkeys and observe the status of the volume setting.
Because this is the main operating display, the escape button will light up
red
to indicate that the power up
display is below the main operating display. Pressing
returns you back to the power up display
(device selection).
The hot keys may be programmed by the administrator of the device to recall global settings
(see EVENT management for details) and therefore may have dedicated names.
Operating – menu structure of the X*AP RM
1
remote panel – operating displays
Important Note! The functions described below expect a proper routing of the signal from hardware
interfaces to the audio processor and back (see ROUTING pane).
When pressing the button, the main page of the operating menu opens up:
This menu allows for high level selections like the control of the audio processor or showing the meter
display.
MENU
ESC
Remote Panel select device to control
News Channel
10.110.92.180
connect
MENU
ESC
Menu News Channel
10.110.92.180
Audio
Processor
EBU R 128
Meter
MENU
ESC
R128
ITU1770
Loudn Lim
D02
Limiter!
Nicerizer
[Panic 1
Panic 2]
Program 1
Program 2
-22.5
LUFS
-23.0
LUFS
EBU
S
out