Sens lo 5.0 flo, Flo re6, 854 sprayer control – TeeJet 854 Sprayer Control User Manual
Page 25: Sensor.selection
www.teejet.com
20
854 Sprayer Control
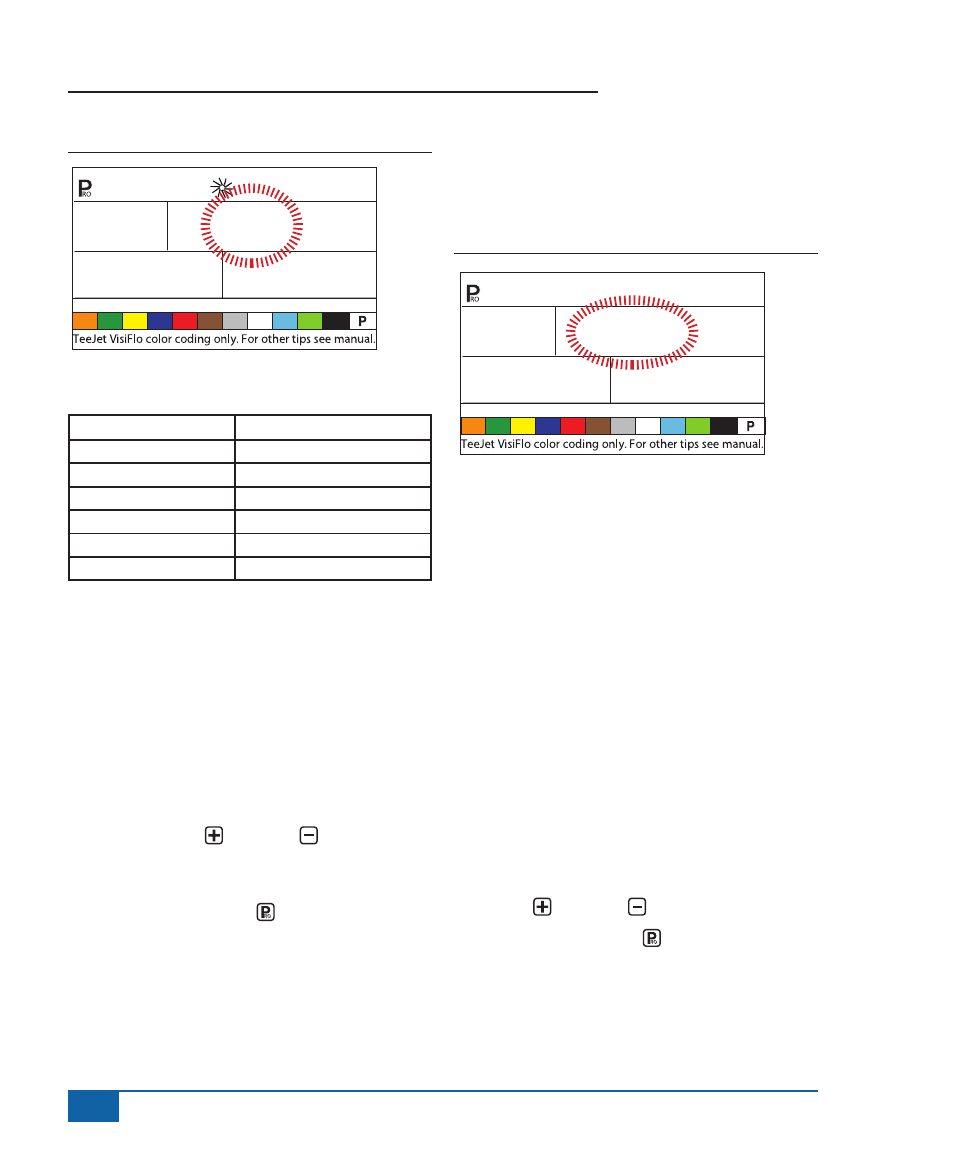
Figure 4-17: Flow Sensor Minimum Flow Capacity
SEnS
LO
5.0
FLO
Flow Meter Rates:
Nominal Flow Meter Size
Minimum Flow Rate in GPM (l/min)
1/2”
0.79 GPM (3 l/min)
3/4”
1.9 GPM (7 l/min)
1”
2.6 GPM (10 l/min)
801-PP-RUB
2.5 GPM (9.5 l/min)
1 1/2”
9.2 GPM (35 l/min)
2”
19 GPM (72 l/min)
Sensor.Selection
NOTE: This step may not appear. It will only
appear if both sensors (pressure sensor
and flow sensor) have been installed and
programmed.
The 854 system can be used with either a flow
meter, pressure transducer, or both. The Sense
Selection step instructs the console which type(s) of
sensor is/are being used to control the regulation.
• Use the PLUS or MINUS keys to
select either “Flo” for Flow Meter or “PRS” for
Pressure Sensor.
• Press the PROGRAM key to advance to the
next step.
If both sensors are installed on the sprayer, this
process will determine which sensor is used as
the primary one for regulation. If “Flo” is selected,
the Flow Meter will be used to control flow and the
pressure transducer will be used only to display the
actual pressure. If “PRS” is selected, the pressure
transducer will be used to control the flow and
display the actual pressure.
Figure 4-18: Sensor Selection
FLO
Re6
Section.Valve.Type
The Section Valve Type distinguishes the type of On/
Off boom control valves installed on the machine.
There are 2 types of valves that can be used:
• 2-way valves
• 3-way valves
A 2-way control valve is simply an On/Off valve.
Flow is either directed to the boom section(s) or it is
blocked.
A 3-way control valve is known as a Bypass valve.
Flow continuously passes through this valve. When
the valve is activated (on), flow is directed to the
boom section(s). When the valve is not activated
(off), flow is directed through a bypass port back to
the supply tank.
• Change the value if required by pressing the
PLUS or MINUS keys.
• Press the PROGRAM key to accept the
value and advance to the next step.