Off prs, Yes prs sens, 00 ref na 0 – TeeJet 854 Sprayer Control User Manual
Page 21: 854 sprayer control
www.teejet.com
16
854 Sprayer Control
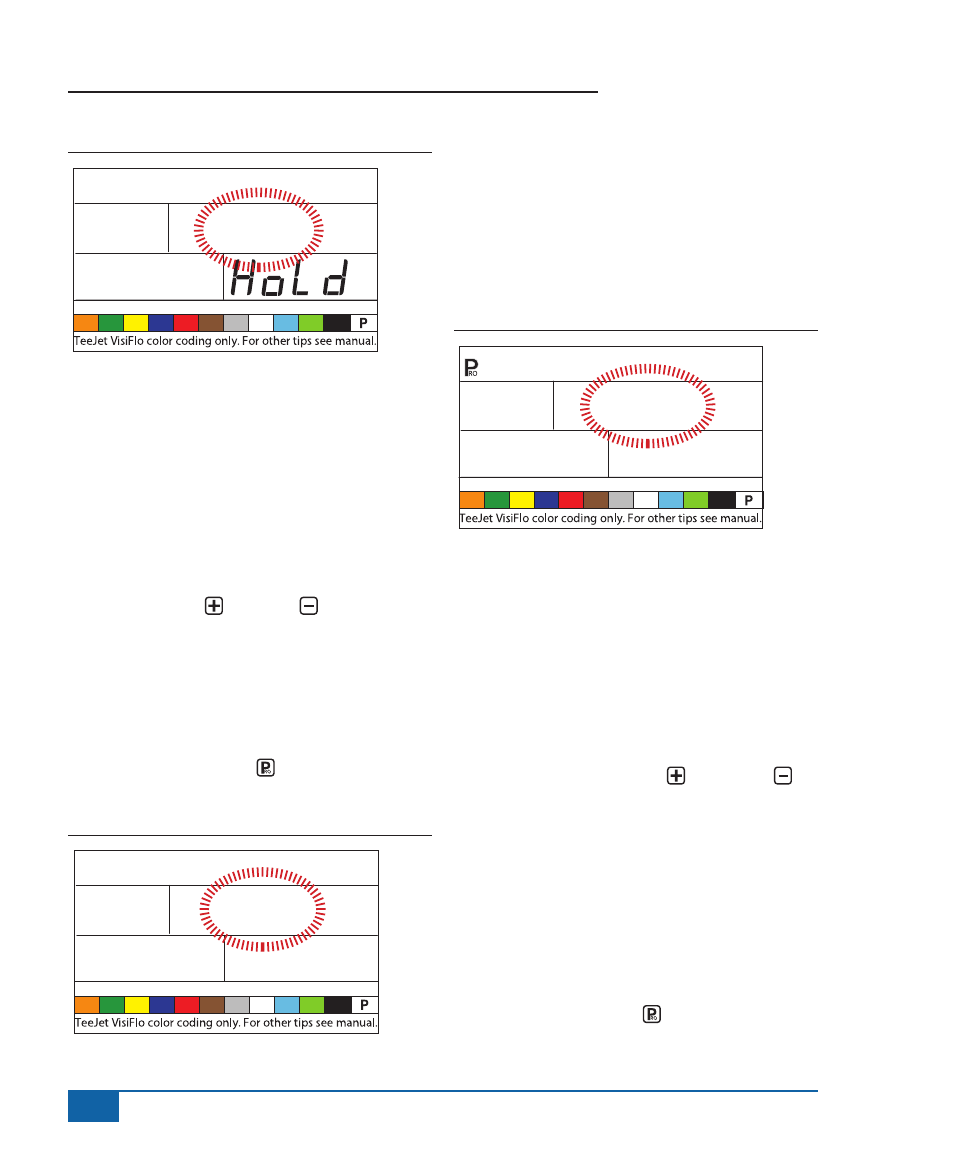
Figure 4-7: Pressure Hold
Off
PrS
Pressure.Sensor.Installed
NOTE: If “No” is selected in this step, the next
two screens/steps in this User Guide will
not be displayed on the console during
programming.
The Pressure Sensor Installed step indicates to the
console whether or not a pressure sensor has been
installed on the sprayer.
• Use the PLUS or MINUS keys to select
“Yes” or “No”.
• Select “Yes” if a pressure transducer is
installed.
• Select “No” if a pressure transducer is not being
used.
• Press the PROGRAM key to accept the
value and advance to the next step.
Figure 4-8: Pressure Sensor Installed
YES
PrS
SEnS
Pressure.Transducer.Low.
Pressure.Calibration.(P.Ref)
This function is used to calibrate the Zero Pressure
setting of the pressure transducer installed on the
system. The pressure transducer used with the 854
is a current type transducer and uses a 4-20 mA
reading. “4.0 mA” represents “Zero” pressure.
Figure 4-9: Pressure Transducer
4.00
rEF
nA
0
PSI
Automatic Calibration
• Make sure that the sprayer pump is turned off
and that there is absolutely no pressure in the
system (release pressure held by boom control
valves and nozzle body check valves).
• In some cases it may be best to remove the
sensor from the plumbing system to complete
the calibration.
• Press and hold the PLUS and MINUS
keys simultaneously for 3 seconds to activate
the automatic calibration feature.
• The lower left portion of the display will count
from 1 - 10 during the calibration.
• Once the display finishes counting, it should
display a number close to 4.0 (+/- 0.2).
• The low pressure value of the transducer has
been calibrated.
• Press the PROGRAM key to advance to the
next step.