145 phi prs sens, 854 sprayer control, Pressure.transducer. calibration.(p.hi) – TeeJet 854 Sprayer Control User Manual
Page 16
www.teejet.com
11
854 Sprayer Control
PRESSURE.TRANSDUCER.
CALIBRATION.(P.HI)
NOTE: This step may not appear if the console has
not been programmed during System Setup
Mode for use with a pressure sensor.
WARNING! It is not recommended that this
calibration procedure be initially performed.
It should ONLY be performed if a known
pressure drop exists between the Pressure
Transducer and the spray tips and if a TeeJet
representative recommends performing it.
The pressure sensor can be automatically calibrated
to compensate for pressure loss between the
pressure transducer and the spray tips.
• Press and hold the PLUS and MINUS
keys to start the Auto Calibration process. The
lower left hand screen will go blank.
• Place an accurate manual pressure gauge in
the spray line, as close to the spray tips as
possible.
• Activate the pump and boom sections to be
used for calibration.
• Turn the Master Switch to the “On” position.
• Press the PLUS or MINUS keys to adjust
the pressure on the manual pressure gauge
near the tips to the desired pressure to be used
for the calibration. The higher the pressure the
better.
• Turn the Master Switch to the “Off” position.
• Use the PLUS or MINUS keys to adjust
the displayed pressure to match the actual
calibration pressure.
• Activate the pump and boom sections to be
used for calibration.
• Confirm that the actual pressure matches the
displayed pressure.
• Press the PROGRAM key to begin
calibration.
• The console will display “0-10” during the
calibration process.
• The new Pressure Transducer Maximum Rating
will be displayed. The value is automatically
carried over to the System Setup Mode.
• Press the PROGRAM key to advance to the
next step.
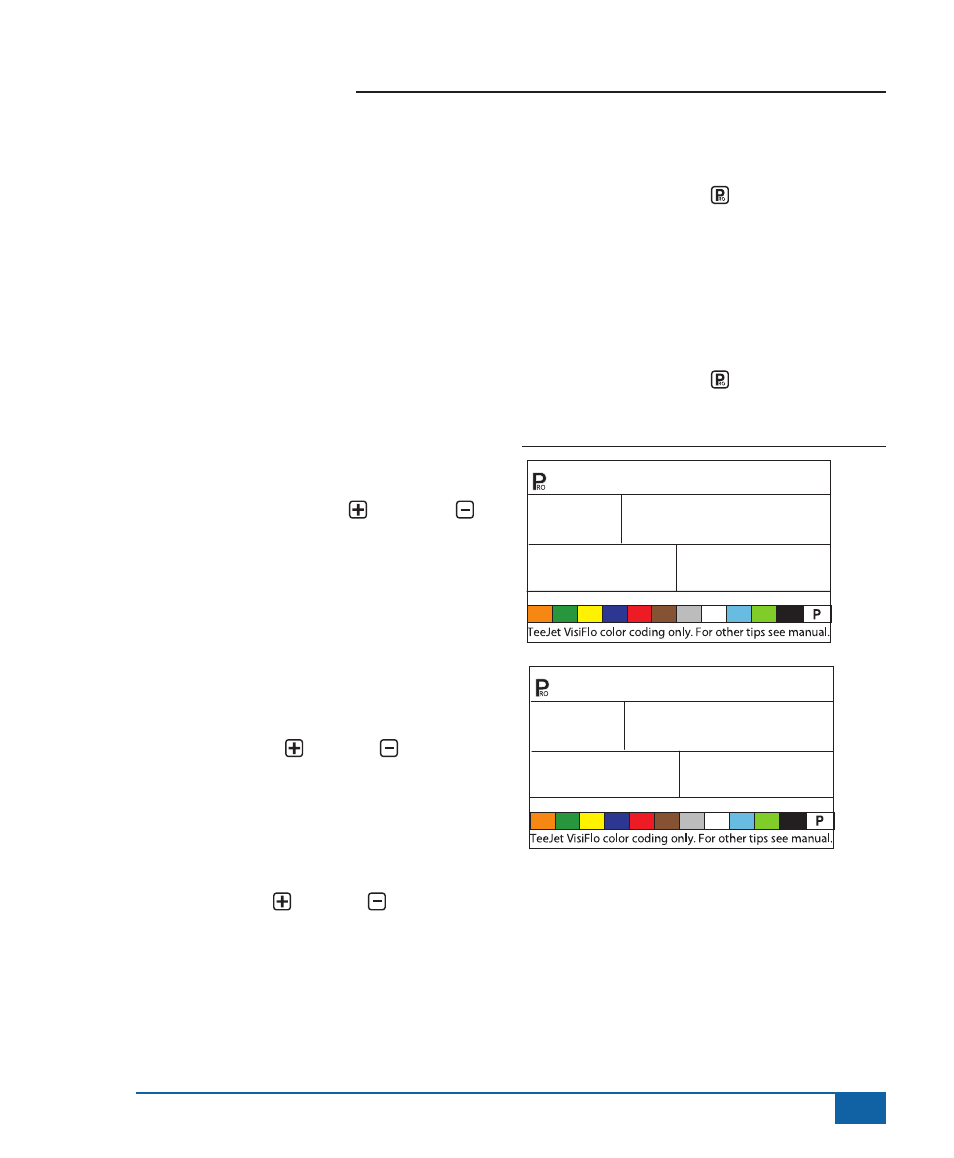
Figure 3-21: Pressure Transducer Calibration
PSI
145
PHi
PrS
SenS
PSI
75
16.2
206