Tc dmx controls – PRG Mbox Studio Manual 3.8 User Manual
Page 74
66
MBOX
®
STUDIO USER MANUAL
Step
5. Press [return].
Step
6. Continue adding entries by pressing Add Item button.
Step
7. At File menu, select Save As. Navigate to the
Mbox/Media
folder, enter
MediaTimeCodes.plist
as the file
name and click Save.
IMPORTANT! All values entered in the MediaTimeCodes.plist file must have the padding zeros. Folder and file
numbers must have three digits, and the timecode values must have two digits. Incorrectly formatted values will result
in those entries being ignored.
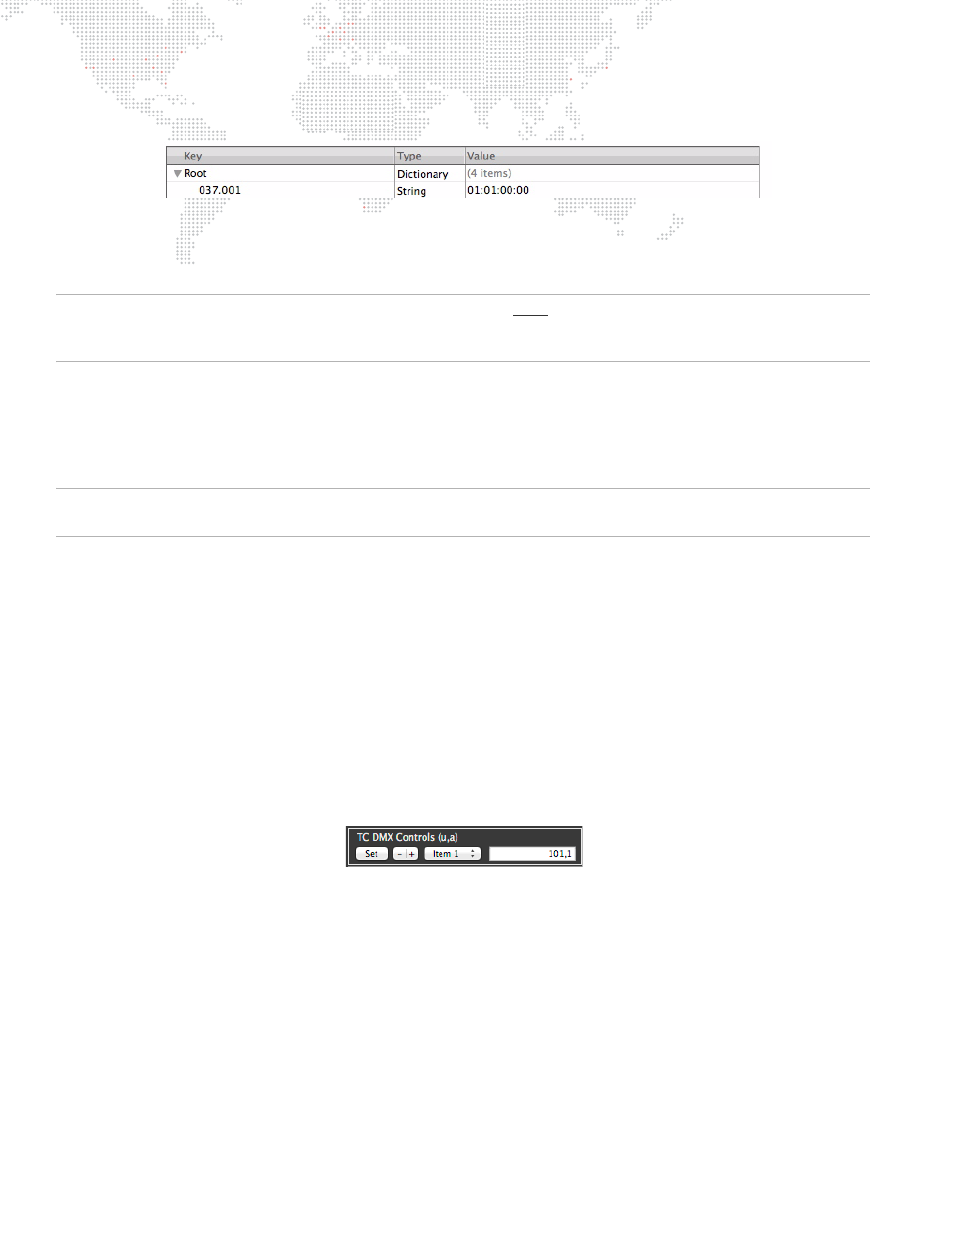
TC DMX Controls
In addition to assigning timecode values to individual media elements using the .plist method (refer to previous page),
the timecode start value for a specific layer can be modified by patching additional control channels on any control
universe.
Note: The TC Default preference also assigns a default timecode start time to all movie files even in the absence of
other timecode start time settings.
The TC DMX Control feature allows patching of four control channels per layer to make live changes to the timecode
parameters (HH:MM:SS:FF). This functionality is enabled by adding items to the "TC DMX Controls" preference in the
Mbox Remote application, then patching the necessary channels on the control console. The control console may
then be used to instantly set the timecode start time on the corresponding layer. (Refer to
on page 149 for more information on using the Remote Preferences.)
To configure:
Step
1. Using Remote, open Mbox Server Preferences window (for the desired server).
Step
2. At "TC DMX Controls," click the [+] button to add a layer item to the parameter item list. (The item number
relates to the layer number that the control will modify the timecode start time for.)
Step
3. In the text area to the right of the item number, enter the setting using the following format:
Universe 101 starting at channel 1.
Step
4. Once the configuration is complete, click the [Set] button to accept the change. (Note: You cannot skip
layers, so if you need timecode controls for Layers 1 and 3 you must also add a control for Layer 2, though
it need not have a valid universe and address.)
Step
5. Click the [+] button to add additional layers as needed. (Added controls or edits to existing controls are
immediately available for use without quitting and relaunching the Mbox software.)