Drawmodes, Using drawmodes – PRG Mbox Studio Manual 3.8 User Manual
Page 63
MBOX
®
STUDIO USER MANUAL
55
DRAWMODES
Using Drawmodes
The Drawmodes feature provides control over how a 3D object is lit and how it interacts with other layers. Drawmode
has its own control channel with several modes:
For a complete channel map, refer to
Example:
Mode 1, Light, automatically raises the ambient lighting level to 100%
for the selected layer only. This control works with both gobos and 3D
objects and enables objects (and their applied textures) to be seen
without affecting the lighting on other layers.
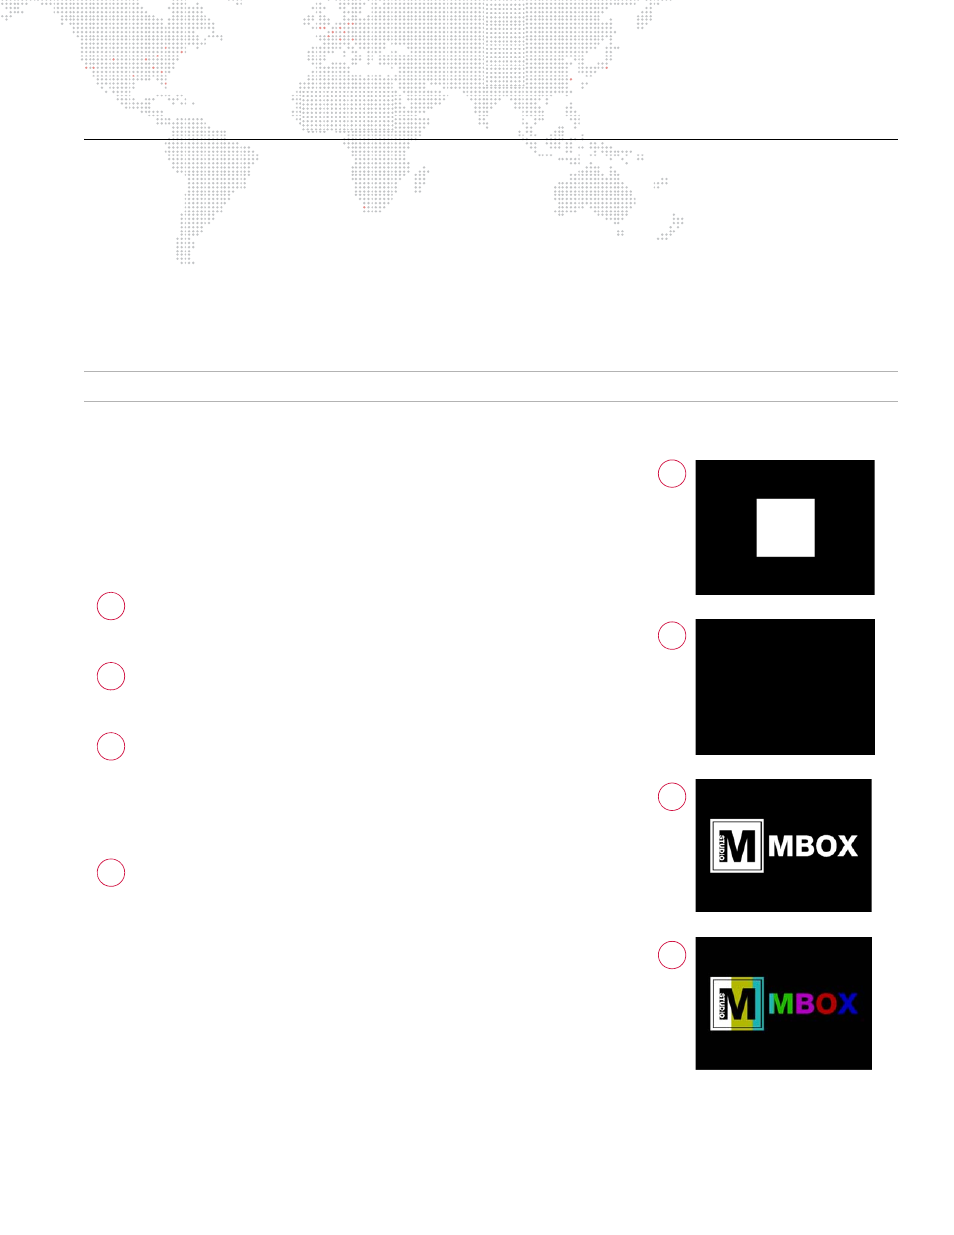
To achieve the results shown in the images to the right, do the
following:
Set the Camera intensity to 100% and then, on Layer 1 only,
with all other attributes set to default values, set the opacity
to 100%. (You should see a white square.)
With Layer 1 still selected, choose Object 10 from the
Objects folder. (The screen should be black - you cannot see
anything.)
At Drawmode control, change from 0 to 1. The gobo should
now be visible. Feel free to experiment with the gobo at this
point. Because it is essentially a 3D object (but with no
thickness on the Z axis), you can do pretty much everything
to it that you can do to a 3D object: scale, rotation, spin, and
X/Y/Z position. Most importantly, you can apply a texture.
Image 4 is the same gobo with a texture applied. In this
case, it is acting like a mask; the texture is applied onto the
gobo, but it appears you’re looking through the gobo to a
layer behind it. However, you’re only using one layer not two.
You can set the Drawmode back to 0 and try out the other
lighting fixtures to see how they affect the gobo.
+
0 = Idle
+
1 = Light
+
2 = Cut Stencil
+
3 = Cut plus Light
+
4 = Cut and Draw
+
5 = Cut, Draw plus Light
+
6 = Draw Thru Stencil
+
7 = Draw Thru plus Light
+
8 = Draw Onto Stencil
+
9 = Draw Onto plus Light
1
2
3
4
1
2
3
4