Interlogix Monitor XL Hardware Guide User Manual
Page 27
22-0375 rev1.1
Monitor ISM/xL™ Hardware Guide
23
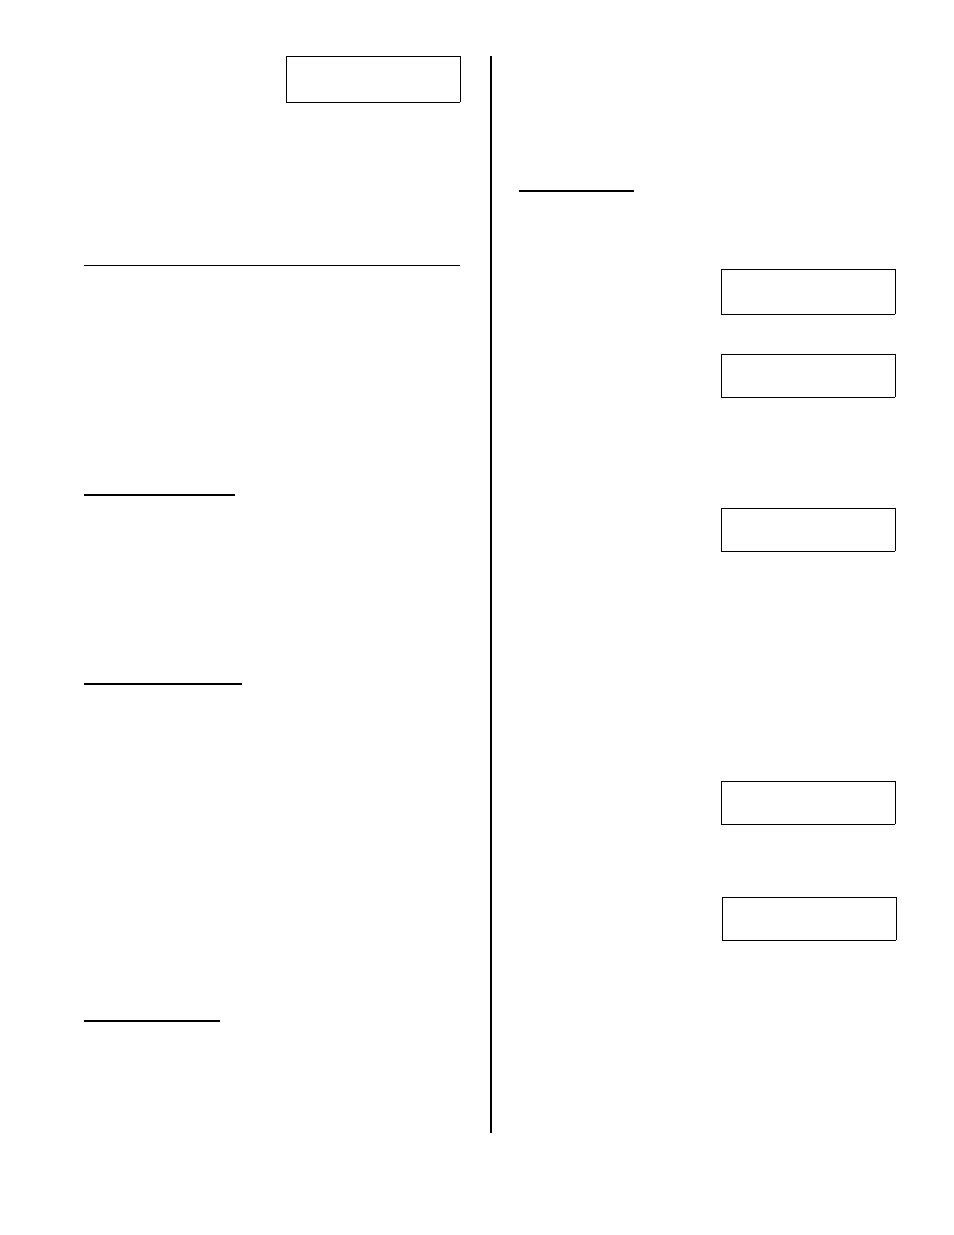
SN#:1B3414
→Edit
↓Save ↓
Pxxx
↓2
•
This screen will then
display:
SN#:1B3414:
This is
the Serial Number of the sensor that was enrolled
into this input number.
Pressing the keypad right arrow button will display
the
“
SVN:0 TMP:
IN:
”
screen for editing. The
‘
Del
‘ button can also be pressed to remove the
sensor and another sensor could be programmed
for this input number if desired.
Equipment/Pseudo Point Selections for Wireless V2
Module Trouble
(E011), ensure this is set to detect:
•
Module Bus connection to V2 module failure.
•
V2 module failure.
•
V2 module has not received any sensor signal for X
amount of time (
AllSVN
).
Module Battery Low
(E012), ensure this is set so
‘Senor Low Battery’ will be detected.
Module Program Edit
(E013) can be optionally set to
detect when the sensor settings have been changed.
This alert will not re-set until there have not been any
further program changes for one hour.
LCD Keypad Status
•
Enter ‘Status’ at the system’s LCD keypad.
•
Press the keypad’s right arrow key until
↓
App
(Application Module) displays. Press the keypad
button under it.
•
When
Wireless2
or
WL2
displays, press the button
under
↓Yes
.
•
Keypad left and right arrow keys can be pressed to
scroll through the input numbers and V2 module
conditions.
Input Number Status
•
The input number range associated with the V2 will
display and the input’s condition e.g.
009
→Ok
.
•
It can also display the following for an input:
‘
NoSvn
‘ No Supervision. A sensor supervision signal
failure. The input will appear in point status as a
tamper.
‘
Lobat
‘ Low senor battery. This will generate a
module or pod low battery alert. If the sensor’s
battery was replaced, the sensor’s reset button on
its printed circuit board must be pressed.
‘
Not Enrolled
‘ A sensor is not programmed to
this input. The input will appear in point status as a
tamper. Delete the input if it will not be used.
‘
NoRcv
‘ No Receiver detected. V2 module
malfunction.
‘
PtTmp
‘ Input sensor tamper. The input will appear
in point status as a tamper.
V2 Module Status
•
After scrolling through all the V2 input conditions, the
condition of the V2 module will display: e.g.
Pod
→Ok
.
•
It can also display the following for a module:
‘
NoSvn
‘ The V2 module is not communicating on the
module bus.
‘
NoSen
‘ The V2 module has not received
communication from its sensors, based on the
supervision delay period set for the V2 module
(
AllSVN
).
•
Module Status will display the V2 module in tamper
for either of these conditions.
V2 Test Menus
•
Log on to the system LCD keypad as a Service
User.
•
Select ‘
Test
‘ from the Menu and
App
→ WL2
or
Wireless2.
Check (X.Xx)
↓Signal ↓Scan
•
This screen will display:
(X.Xx)
indicates the V2
firmware version number.
•
‘
Signal
‘ selects a sensor signal strength menu.
xxx
< >
Si
>
3 OK
Signal 014 of 21
•
Pressing ‘
Signal
‘ will
display
this
screen:
xxx
represents an
input sensor number on the V2 module.
< > keypad left and right arrow keys can be pressed
to scroll through the input numbers.
Si
(gnal)
>
3 OK
is an example of the V2 receiver
getting an adequate signal strength from the sensor.
xxx
< >
Si
>
4 Weak
Signal 001 of 21
•
This screen is an example
of the V2 receiver getting
an inadequate signal from
the sensor.
•
The second line in both screens displays the actual
signal strength measured on a scale of 000 to 021
(maximum).
•
If a sensor has not been enrolled in an input
number,
‘
Not Enrolled
‘
will display on the top line.
•
‘
Scan
‘ selects an RF scanning menu.
•
When ‘
Scan
’ is pressed the screen will display
‘
Waiting...
’ to receive an RF transmission from
any sensor. NOTE: if this screen never changes, it is
possible the V2 module is not working properly.
SN#:1B3414 LEARN
AA BB
•
If this screen displays
when a signal is received,
it is from a sensor that has
not been enrolled in the system, indicated by
LEARN. SN#:1B3414
is the sensor’s unique serial
number.
SN#:1B3414*P#xxx
AA BB
•
If this screen displays
when a signal is received,
it is from a sensor that is
enrolled in the system, indicated by
P#xxx
where
xxx
is the input number.
•
Either an asterisk or a blank will display after a
sensor’s serial number as it toggles every time a
transmission from a different sensor is received.
•
In either screen, ‘
AA BB
‘ is changing data that can
be ignored. It is for internal Engineering use only.