Testing (signal strength) – Interlogix Monitor XL Hardware Guide User Manual
Page 20
16
Monitor ISM/xL™ Hardware Guide
22-0375 rev1.1
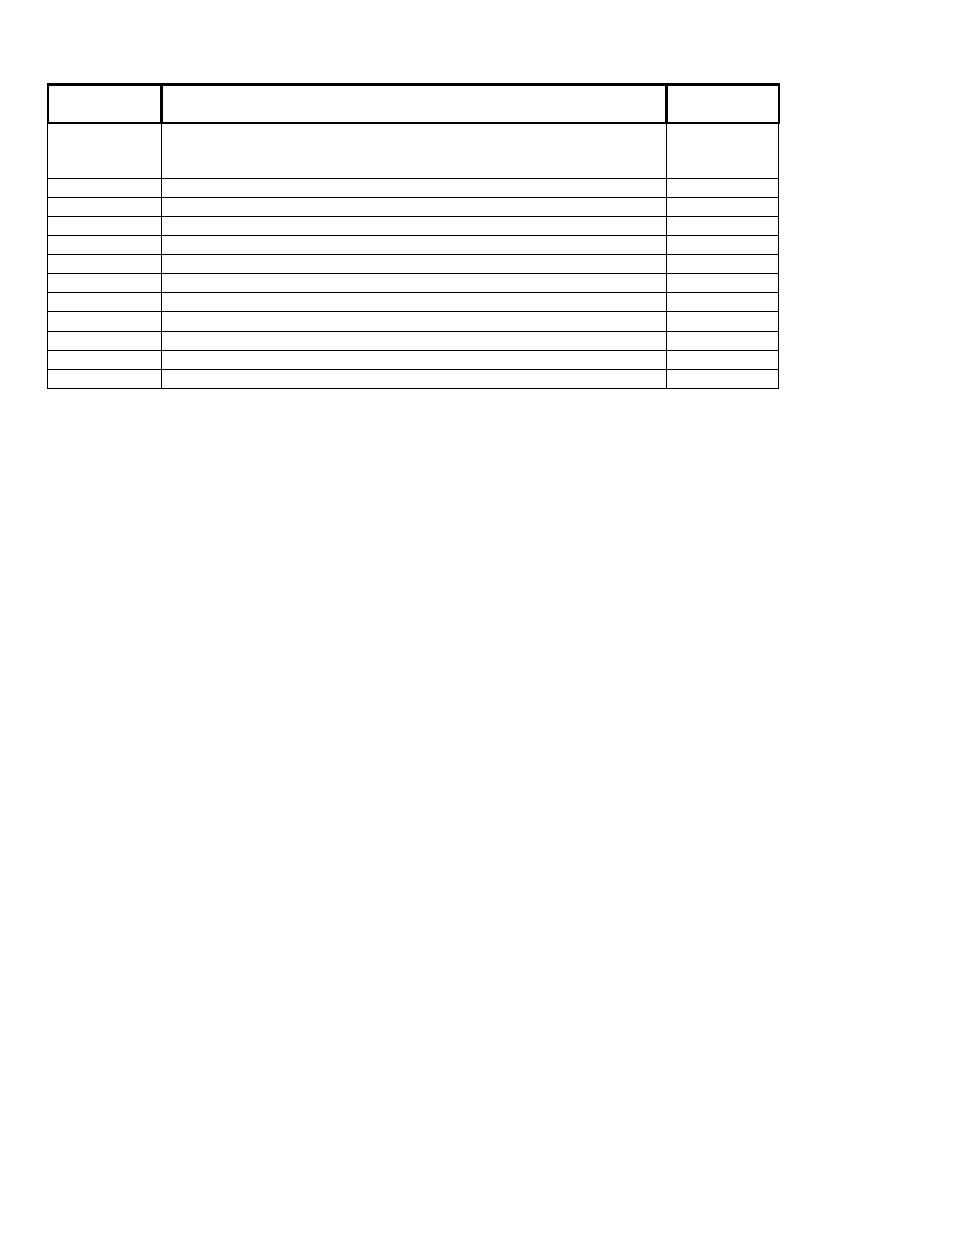
SENSOR
CATEGORY
DESCRIPTION DEFAULT
SETTINGS
Cnt
Door Window Contact (surface mount)
-
also used as an RF transmitter for hard wire inputs
-
e.g. Overhead Door Contacts
3. .
FrP Fire
Pull
3.
.
Frz
Freeze Temperature Detector
3. .
Gls
Glass Break Detector
3. .
HKP
Hand Held Keypad
0. .
PIR
Passive Infra-red Detector
3. .
Pnc
Panic Pendant OR Hand Held Double Button Panic
0. .
Rcn Recessed
Contact
3. .
RoR
Rate of Rise Detector
3. .
Smk Smoke
Detector
3.
.
SoS
Shock and Sound Detector
3. .
???
Unknown sensor type – delete this sensor and re-learn
Testing (Signal Strength)
•
Use the Service PIN to go to the TEST menu.
•
Select App for application module and then W/L for wireless.
•
Select Scan. Activate a sensor.
•
The screen will display information about each sensor it receives. E.g. Cnt56DB5 (door/window contact and its
address), 014 (input #14), 80 02 4 (sensor transmit codes).
•
Press XESC escape to return to the TEST screen. Press Signal.
•
Activate a sensor. Screen indicates signal strength of sensor it receives. E.g. “Strength is 8 !”. Signal strength of
7 to 8 is acceptable. Signal strength of 6 or less is poor to unacceptable. The input point # transmitting will also
indicate: (Tx: 014).
•
Another method to check if a sensor is transmitting is to stand near the RF module holding a sensor and activate
the sensor. The large green LED, visible through the module’s cover will flash upon activating the sensor to
indicate signal transmission.
•
RF Module sensor inputs OK or Not OK and Tamper can be checked in System Status/Area/Points.
•
RF Module, hand held keypad(s) and sensor status
can be checked in System Status under App – Wireless
using the left or right arrow LCD keypad keys for conditions such as low battery, sensor loss. Disregard any codes
in lower right corner of these screens.