Magnified view, Magnify the image, Scroll around the image – Canon EOS-1D Mark IV User Manual
Page 161: Magnified view’s starting position
Attention! The text in this document has been recognized automatically. To view the original document, you can use the "Original mode".
Magnified View
Magnified area position
You can magnify the image by 1.5x to lOx on the LCD monitor
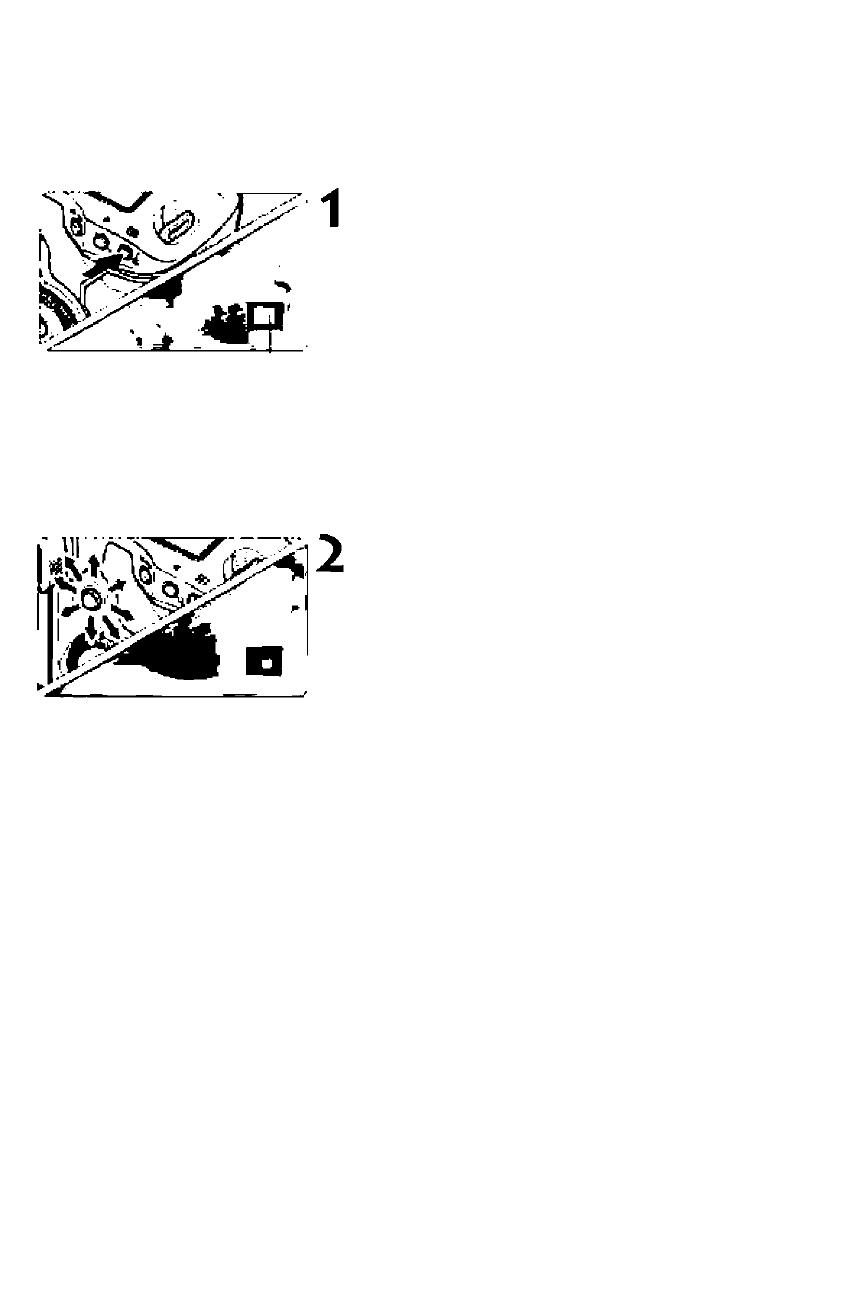
Magnify the image.
• During image playback, press the
<£t> button.
► The image will be magnified
• If you hold down the < St. > button, the
image will continue to be magnified until
it reaches the maximum magnification.
• To reduce the magnification, press
the
button, the magnification will continue
to reduce to the single image display.
Scroll around the image.
• Use to scroll around the
magnified image.
• To exit the magnified display, press the < [El >
button and the single image display will return.
Magnified View’s Starting Position
Normally, the magnified view starts at the image center. When the [E'
Enlarge display] menu option is set to [Enlarge from selected AF
point], the magnified view starts at the selected AF point. This is
convenient for quickly checking the focus.
Q • While in the magnified view, you can keep the same magnified area and
magnification when you turn the <0=* dial to view another image.
• In the case of images shot with automatic AF point selection or with
manual focus
the magnification will start at the image center.
• Magnified view is not possible during the image review immediately after
the image is taken
• With
[Enlarge from selected AF point]
• The starting magnification varies depending on the image size that was set.
• If C.Fn III -8-1/2/3 is set, the focusing point area will be expanded and the
magnified view starts from the AF point that actually achieved focus. Therefore,
the view may not be magnified from the manually-selected AF point.
• A movie cannot be magnified.
161