DgFlick CalendarXpress User Manual
Page 43
User Manual-5.0
Page 43 of 65
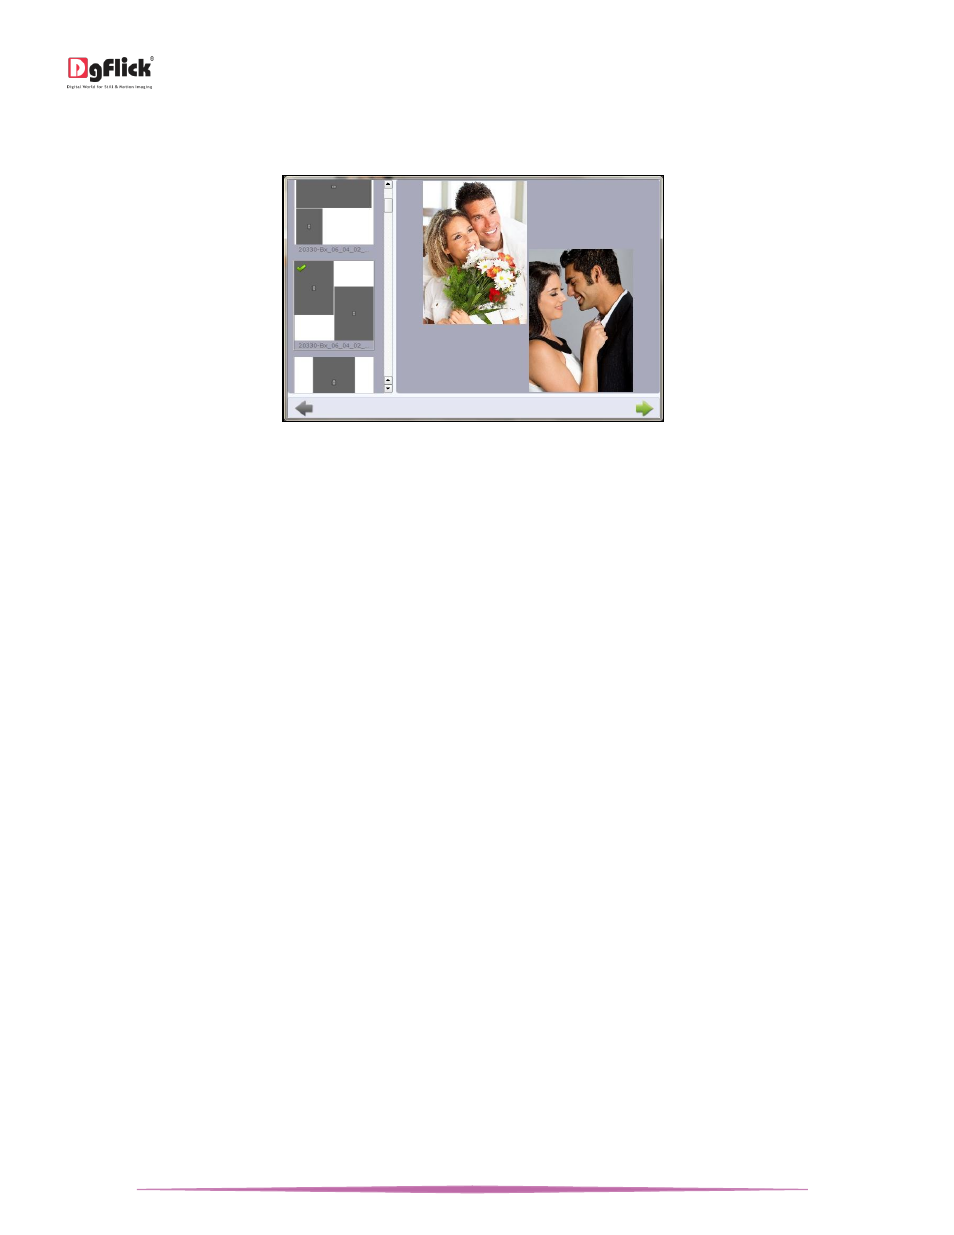
You get some additional controls on the photos here too.
You can pan and zoom the photos with mouse wheel.
‘Select Layout’ window
You can also swap the photos with each other and create a design.
The empty space in the layout in which you have not placed any photo will remain blank.
Select the desired layout and move on to the next provess with the ‘Next’ button.
You will see the preview of the date block in the ‘Preview’ box.
You can delete the selected photos from the ‘Clear’ button.
To change the alignment and formatting of the event name, check the ‘Name’ checkbox and from the alignment drop
down menu shoose the alignment of the name.
From ‘Font’ button, you can choose font type, size and style for the event name.
From the ‘Color Palette’, choose the color for the evnet name.
You can align the photos you chosen in many ways from ‘Alignment’ drop down menu. To choose alignment, check
the photo checkbox and choose the desired alignment.
To change the alignment and formatting of the event date, check the ‘Date’ checkbox and from the alignment drop
down menu shoose the alignment of the date.
From ‘Font’ button, you can choose font type, size and style for the event date.
From the ‘Color Palette’, choose the color for the event date.
The formatting you set during the event, can be applied to either:
o Current event
o All the events in current month
o All the events in current year.
After filling all the details, click on the ‘Save’ button to add the event to the selected category.