Preferences – DgFlick CalendarXpress User Manual
Page 10
User Manual-5.0
Page 9 of 65
Decrease the size of Object from – Bottom Center
CTRL + ALT + 2
COMMAND + ALT + 2
Decrease the size of Object from – Bottom Right
CTRL + ALT + 3
COMMAND + ALT + 3
Page
Flip Page composition Horizontally
ALT + H
ALT + H
Flip Page composition Vertically
ALT + V
ALT + V
View
Fit to Screen
CTRL + F12
COMMAND + F12
Actual Size (1:1)
CTRL + SHIFT + F12
COMMAND + SHIFT + F12
Zoom In
+
+
Zoom Out
-
-
Screen
Toggle Full Screen
CTRL + SHIFT + F11
COMMAND + SHIFT + F11
Easy Steps to have Your Excel Data in Calendar Xpress
Make New Excel File –“New File.xls”
In first column, write the name of the event.
In second column, mention the date of the event.
The date format should be ‘MM.DD
For example, if the date is 01
st
April then the date should be mentioned as ’04.01
How to save file on different OS?
For Windows OS:
File must be saved as Microsoft Office “New File.XLS” (97/2003 Format only)
For Mac OS:
Go to Toolbox and Select “Check the Compatibility” option. Now select “Excel 97” or “Excel 2003”.
Click on “Save” button, Check mark the Append file extension option and save as the File in “Excel 97-2004.xls”
format.
Note: Do not leave any row blank between two data rows while generating Excel data for Calendars
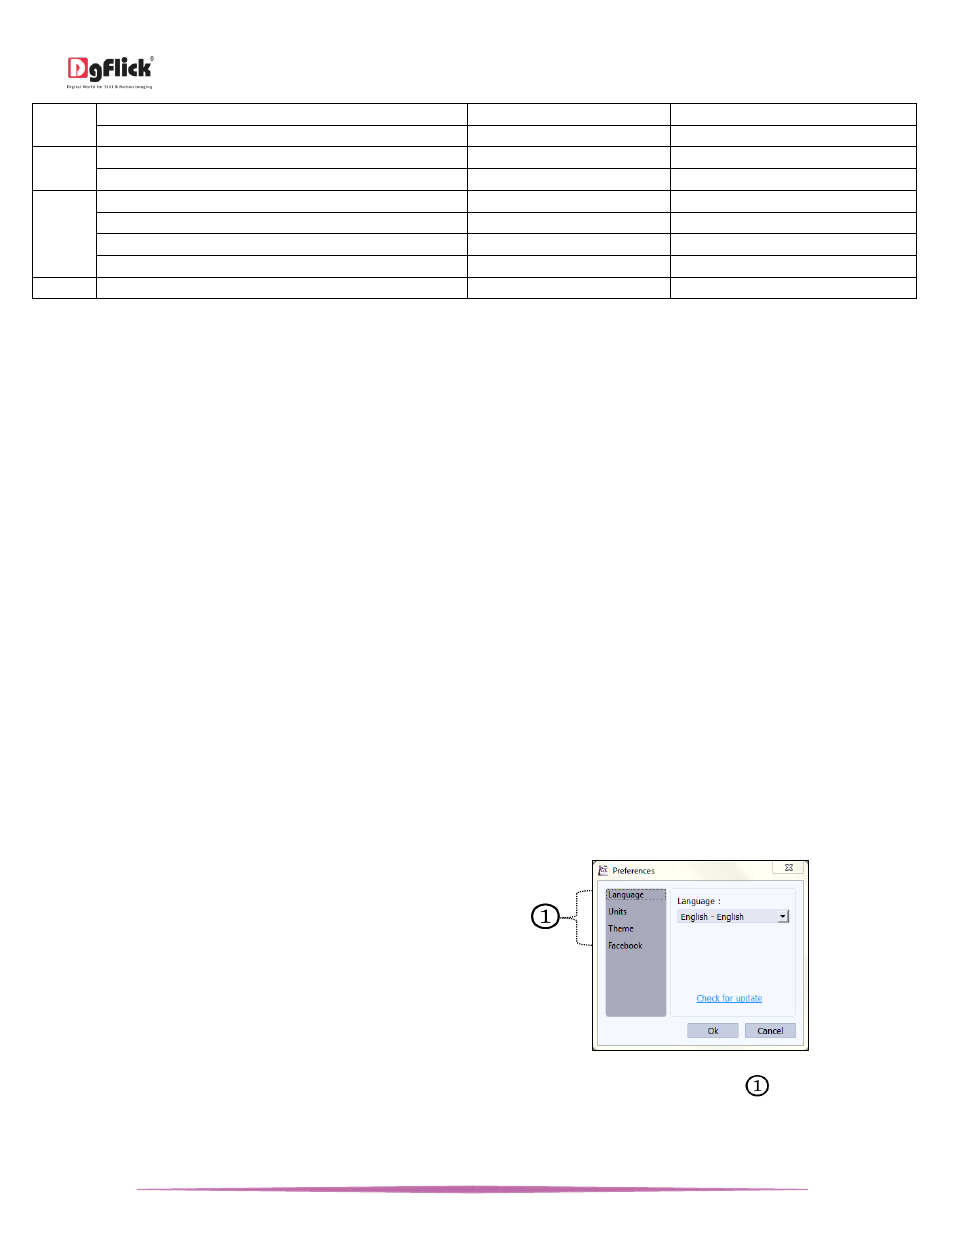
Preferences
Calendar Xpress allows you great flexibility in usages while working on it. You could
Change to the language of your choice.
Select the units you wish to work with.
Select the desired Theme for your software.
Choose your Facebook history storage options.
After installation, click on the Calendar Xpress shortcut
icon in your specified path to start the software.
‘Preferences’ window
Clicking on the ‘Preferences’ icon on the top right-hand corner, displays the ‘Preferences’ Window
.
Choose your preferred language from various available languages from ‘Language’ tab, click on ‘Check for Updates’ to
check the updated list of languages.