Personalize calendar with calendar xpress – DgFlick CalendarXpress User Manual
Page 24
User Manual-5.0
Page 24 of 65
Orange
The photo quality is poor and will not yield good results on printing.
Red
The photo is unsuitable for printing.
Here the instant Calendar is ready and now can be saved and exported.
Personalize Calendar with Calendar Xpress
You can edit your already created Calendar in a very easy way with the help of following process. In this section we
will edit the Calendar which we created in previous section.
The Process
Open the calendar from the ‘Open’ button on the ‘Home’ window. You will see the Calendar is ready in ‘Design
Calendar’ window. You can edit it and add a personal value to Calendar in following way.
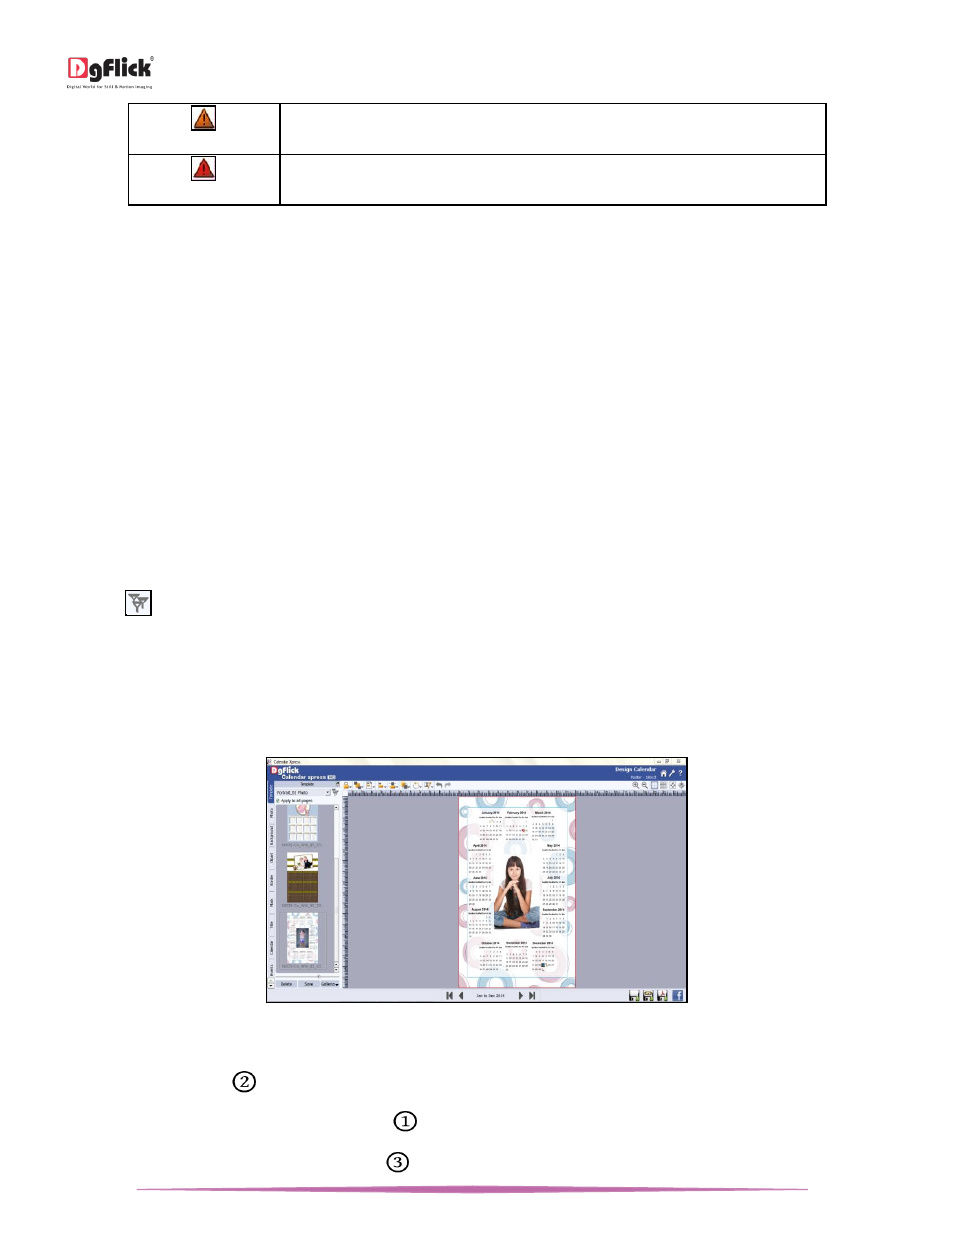
Design Calendar
Now in ‘Design Calendar’ window you can see already created Calendar.
Click on ‘Template’ tab on the option bar to insert the templates of your choice.
Click on
to filter the templates according to Orientation, No. of photos, Color, Theme, Style and Default.
Select the desired filtration type and click on‘OK’.
Double click on the desired template to be applied.
If you are designing multipage Calendar, then with ‘Apply to all Pages’ option you can apply selected template on all
the pages of the Calendar.
‘Design Calendar’ window …. Template changed
Change Photo
Click on the ‘Photo’ tab
on the left panel to change the photos into the applied template.
You could browse photos from ‘Browse’ button
and even access the last 15 paths you have used.
Sort the photos by clicking on ‘Sort By’ button
.