DgFlick CalendarXpress User Manual
Page 40
User Manual-5.0
Page 40 of 65
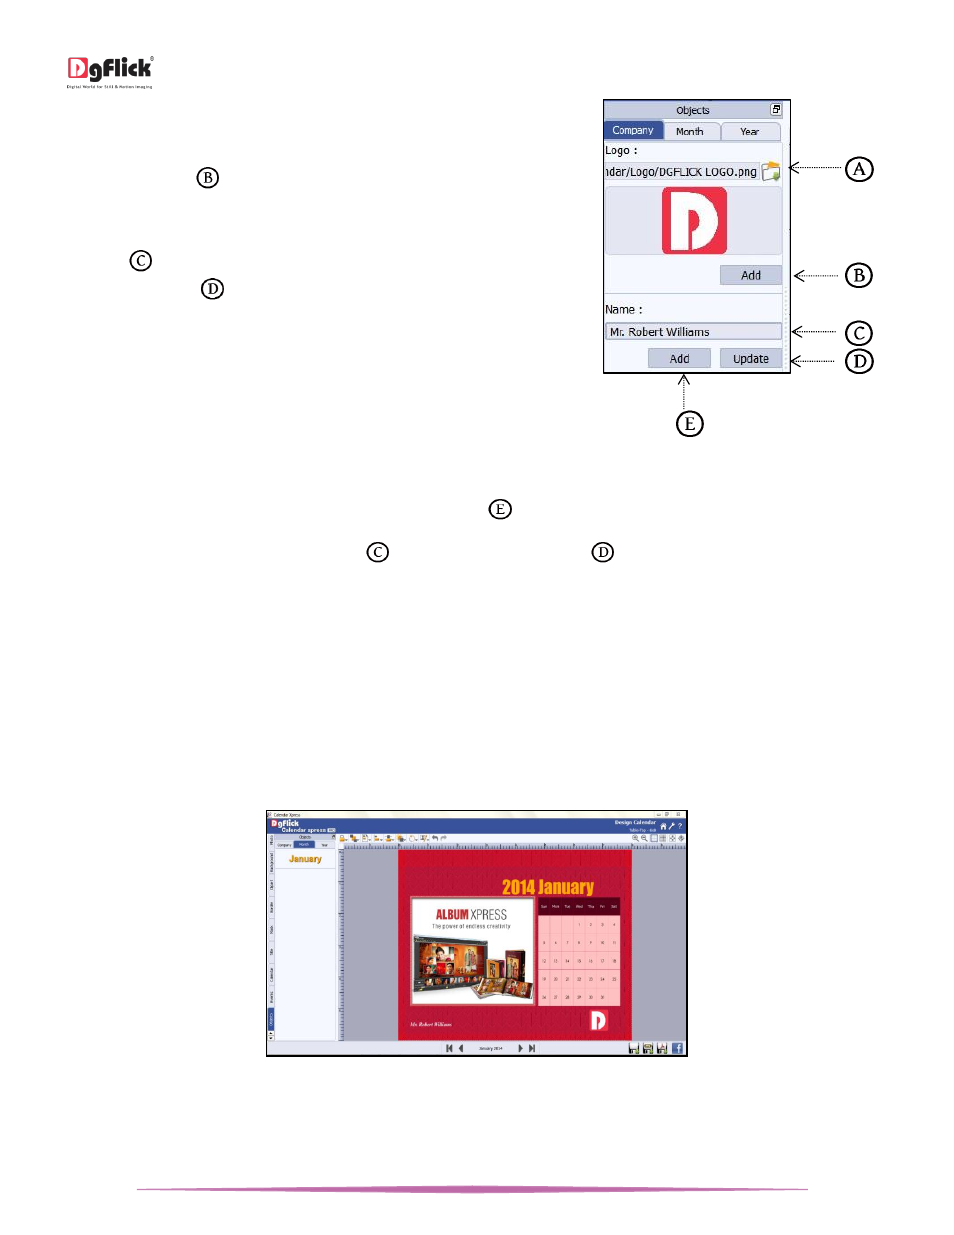
When the calendar is not created with corporate
theme and you want to add same logo on all the
pages of the calendar, then go to the next page simply
press ‘Add’ button
to add the same logo on
selected page.
You can also add name on the calendar pages. Type in
the field
provided below ‘Name’ option and click
on ‘Update’ button
. You will see the name added
on the page.
The advance functionality of the software
automatically updates the name on all the pages of
the calendar.
‘Objects’ tab …. Company option
When the calendar is not created with corporate theme and you want to add same name on all the pages of the
calendar, then go to the next page simply press ‘Add’ button
to add the same name on current page.
If you want to edit name, edit it in the field
and click on ‘Update’ button
.
You can do formatting to the name. For that select the name first and then go to the ‘Title’ tab.
From ‘Title’ tab you can change font type, size and style of the name. In addition you can also apply various ready
presets to the name.
From ‘Month’ option, you can add ready presets of the months which are currently displayed on the page. For
example, if your current calendar page is bi- monthly and showing January and February, then in the ‘Month’ option,
you will get ready preset of January and February. When you go to the next calendar page from the navigator, you will
get the presets of March and April.
You can insert these presets by clicking on the required preset.
‘Design Calendar’ window …. Logo, Name and ready preset of month and year inserted from ‘Objects’ tab
From ‘Title’ tab you can change font type, size and style of the preset inserted. In addition you can also apply various
ready presets.