DgFlick CalendarXpress User Manual
Page 32
User Manual-5.0
Page 32 of 65
Click on ‘Next’ button
on the lower, right-hand corner to go to ‘Select Period’ window.
! At any point during the process, you could click on the ‘Back’ button to go back to the previous page. You could also click on
‘Home’ icon to go back to the home page.
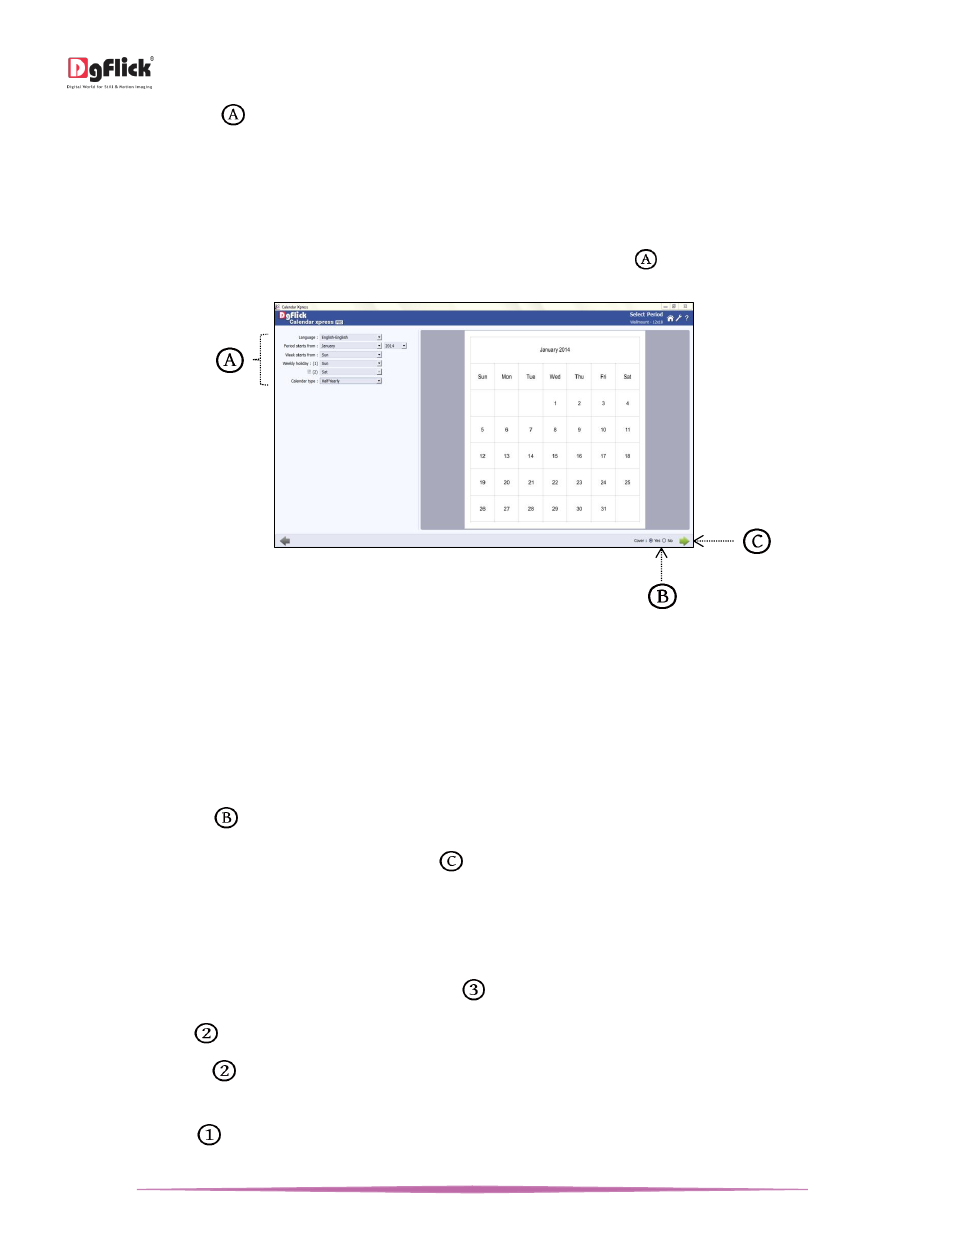
Select Period
In ‘Select Period’ window, specify the period of the Calendar from various options
i.e. starting month, year, week
starts from, weekly holidays, etc.
‘Select Period’ window
Select the desired language from ‘Language’ drop down menu.
Select the starting month and year for the Calendar from ‘Month’ and ‘Year’ drop down menu. .
Select the day of the week to start from ‘Week Starts From’ drop down menu.
Select the weekly holiday for the Calendar from ‘Weekly Holiday’ drop down menus. You can specify upto two weekly
holidays from drop down menu.
There are various Calendar types available in Calendar Xpress- Monthly, Monthly Plus, Bi-Monthly, Quarterly and Half
Yearly. You can choose Calendar from drop down menu.
From ‘Cover’ option,
you can select whether you want cover for Calendar or not.
Select all the desired fields and click on ‘Next’ button
to go to ‘Select Events’ window.
Note: In case of planner and poster, Calendar type and cover option will not appear.
Select Events
Select the events to be added from Events Collection tab
.
Click on ‘Add’ icon
to create your own event collection. (for Details refer section Add Events to the Calendar)
Click on ‘Delete’ icon
to delete the event collection.
You can add birthdays of your Facebook Friends to the Calendar as a event. To add Birthdays to your calender, click
on ‘Facebook’ icon
. (for Details refer section Add Events to the Calendar)