Adding shadows – Apple Numbers '09 User Manual
Page 223
Chapter 9
Working with Shapes, Graphics, and Other Objects
223
To change a picture frame:
1
Select a framed object or media placeholder, click Inspector in the toolbar, and then
click the Graphic inspector button.
2
Choose Picture Frame from the Stroke pop-up menu, and then click the arrow next to
the thumbnail to choose a new picture frame.
To remove a picture frame:
Select the media or media placeholder, and then choose a line style (or None) from
m
the Stroke pop-up menu.
Adding Shadows
Shadows create an appearance of depth. An object’s shadow appears on any
object behind it. You can create a variety of shadow effects or remove the shadow
from an object.
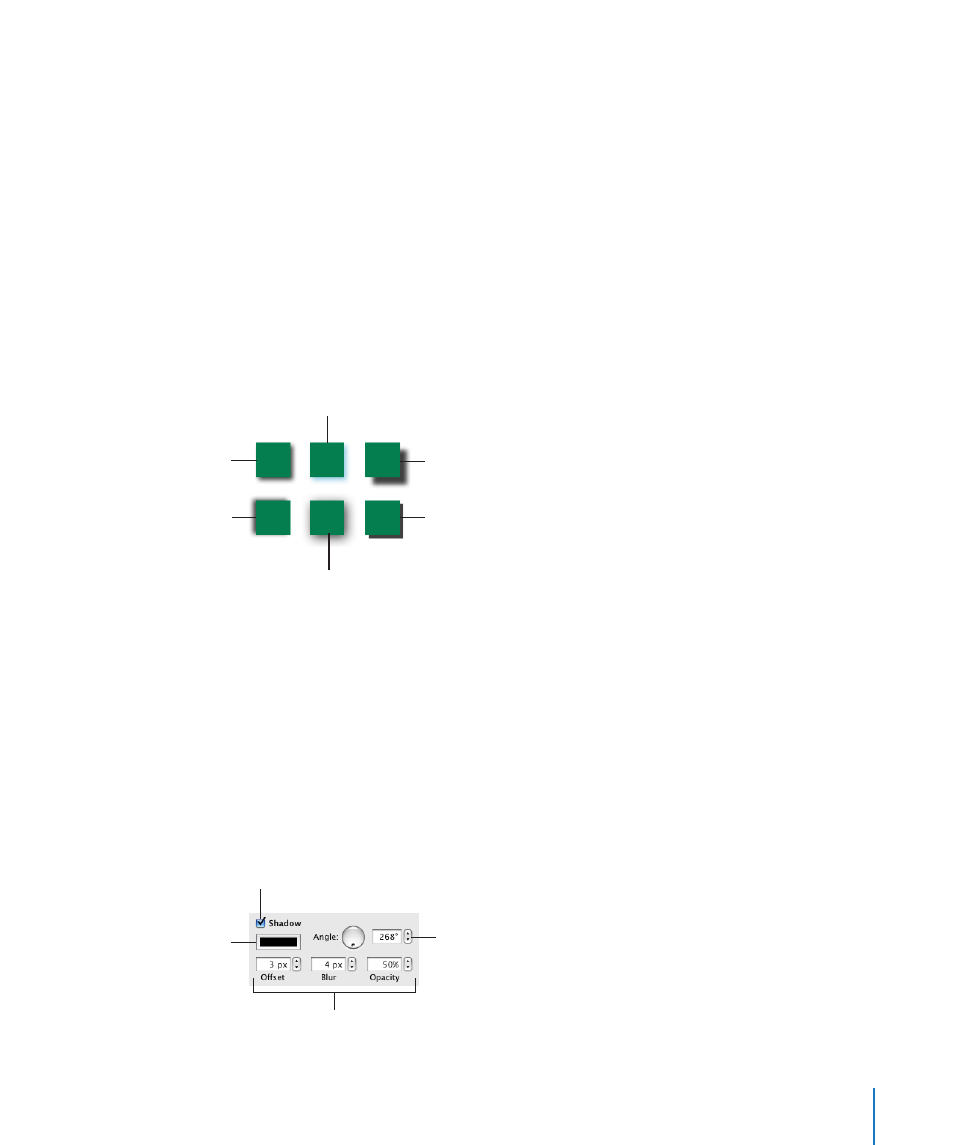
This object has the default
shadow properties.
This object’s shadow is set
to a different angle.
This object’s shadow has
a high offset value.
This object’s shadow has
the lowest blur factor.
This object has a different
shadow color.
This object’s shadow has
a high blur factor.
To quickly add or remove a shadow, select the object and then select or
deselect Shadow in the format bar. The Graphic inspector gives you more control
over shadow formatting.
To add a shadow using the Graphic inspector:
1
Select the object or text.
2
Click Inspector in the toolbar, and then click the Graphic inspector button.
3
Select Shadow to add a shadow to the object. Deselect Shadow to make a shadow
go away.
Change the shadow
color in the color well.
Change the angle of
the shadow with the
Angle wheel.
Offset, Blur, and Opacity
values change the look
of the shadow.
Select the checkbox
to add a shadow to a
selected object.