Adding text boxes, Presenting text in columns – Apple Numbers '09 User Manual
Page 185
Chapter 8
Working with Text
185
Using Text Boxes, Shapes, and Other Effects to Highlight Text
To learn how to
Go to
Add text boxes
“Adding Text Boxes” on page 185
Emphasize text using color
“Changing Text and Text Background Color” on
page 177
Create columns of text
“Presenting Text in Columns” on page 185
Place text in a shape
“Putting Text Inside a Shape” on page 186
Adding Text Boxes
You can add a text box to a sheet and drag to position it.
To create a text box:
1
Click Text Box in the toolbar (or choose Insert > Text Box).
2
In the text box that appears, double-click the text and type.
Text boxes automatically grow or shrink to accommodate the length of your text.
3
When you finish typing, click outside the text box. Or, to stop editing text and select
the text box, press Command-Return.
4
Drag the handles on the text box to change its width.
5
Drag the text box to position it on the sheet.
You can’t make a text box taller by dragging up or down. However, you can force
the box to grow vertically by dragging the selection handles inward to make the
box narrower.
You can also draw a text box. Option-click Text Box in the toolbar, and drag the pointer
across the spreadsheet window to create a text box that’s the size you want.
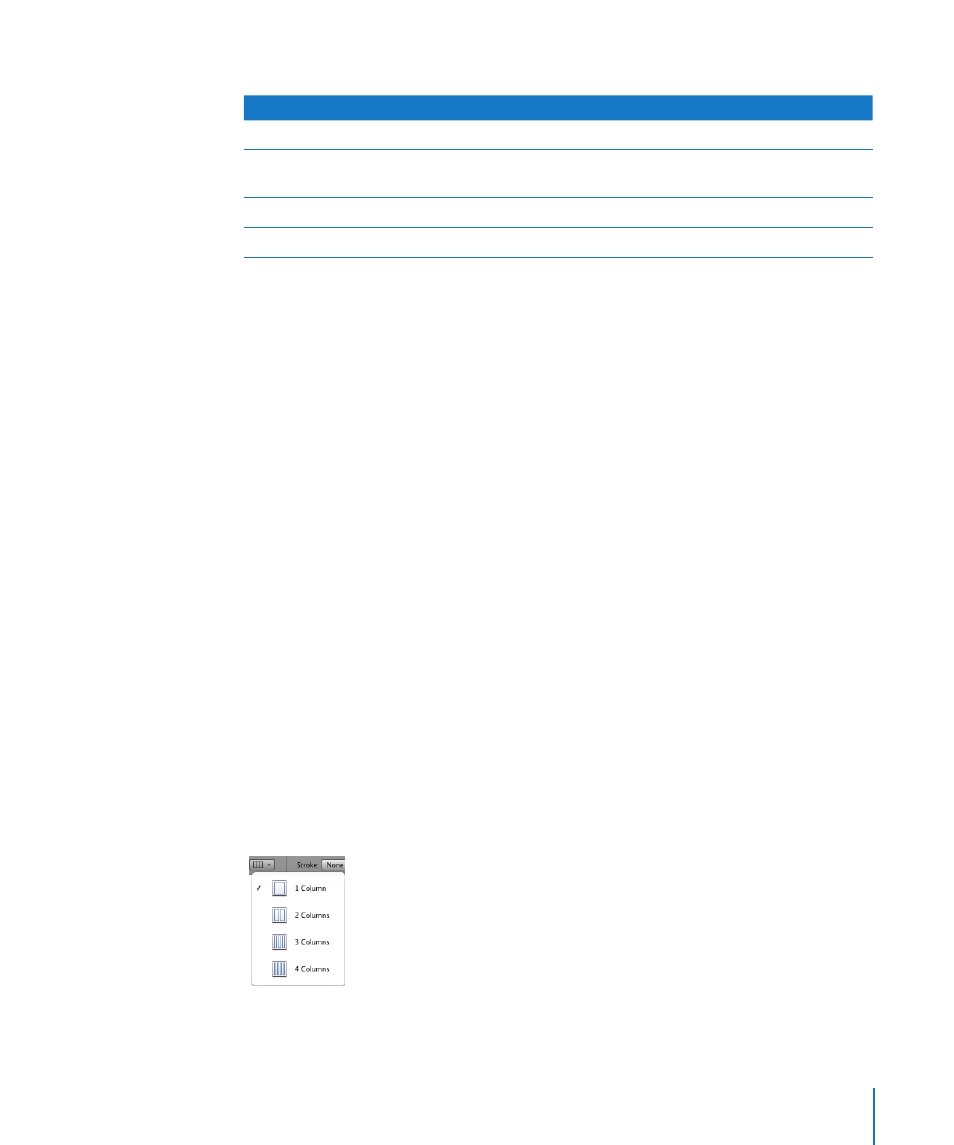
Presenting Text in Columns
You can organize text in a text box or in a rectangular shape into columns. When text
has filled one column, it flows into the next column.
Use the Columns pop-up menu in the format bar to quickly divide text into columns.
For more options, use the Text inspector.