Search – Sony SVS1511BFXB User Manual
Page 133
projection in the slot.
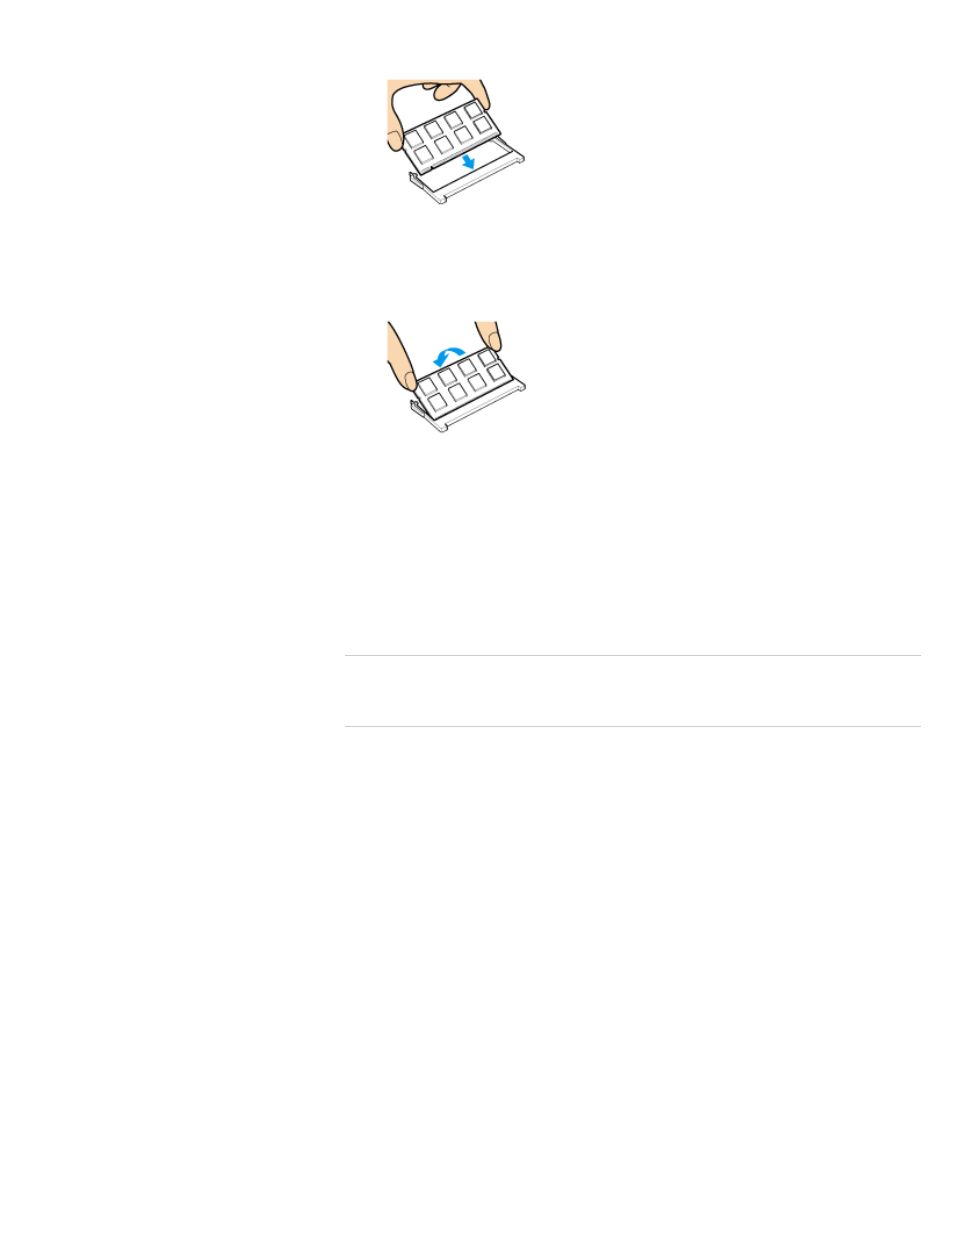
9. Hold the memory module by its edge and push in until it clicks into place as shown in
the illustration.
The latches on both sides of the slot snap into place to secure the module. Do not
touch any ICs (black components) on the memory module.
10. Install the battery pack.
11. Replace the memory module compartment cover and secure it with the screws you
removed in step 3.
12. Connect all connection cables and peripherals that you removed in Step 1, and turn on
the computer.
13. Check that the amount of system memory has correctly changed.
If the amount of indicated system memory is correct, memory module installation was
successful.
Related Topic
Notes on Adding and Removing Memory Modules
© 2012 Sony Corporation
133
Search
This manual is related to the following products:
- SVS15115FXB SVS1511CFXB SVS13115FXB SVS151190X SVS13112FXW SVS1311BFXW SVS13A1EGXB SVS1311ZDZB SVS13A1CGXB SVS13A18GXB SVS13115FXS SVS15113FXS SVS15116FXB SVS1511GFYB SVS1311DGXB SVS15118FXB SVS131190X SVS1511DGXB SVS1311CGXB SVS15116FXS SVS1511EGXB SVS1511JFXB SVS13A190X SVS1311AGXB SVS13A12FXB SVS13112FXB SVS13112FXS SVS1511HGXB SVS1511AGXB SVS13A12FXS SVS15113FXB SVS13A190S SVS13112FXP SVS13A1DGXB SVS13118FXB