Triton TargetPro User Manual
Page 52
June 2004 TargetPro™ User's Manual
1. From the main menu choose Tools
→Classify. The system displays
a dialog box (Figure 17) where you can inspect, add, delete, change
or assign a classification to a contact.
2. For a new contact or target image, use the radio buttons to assign a
sub classification to the image. Ten ready-made subclasses (the
leftmost column) are initially available for you to use.
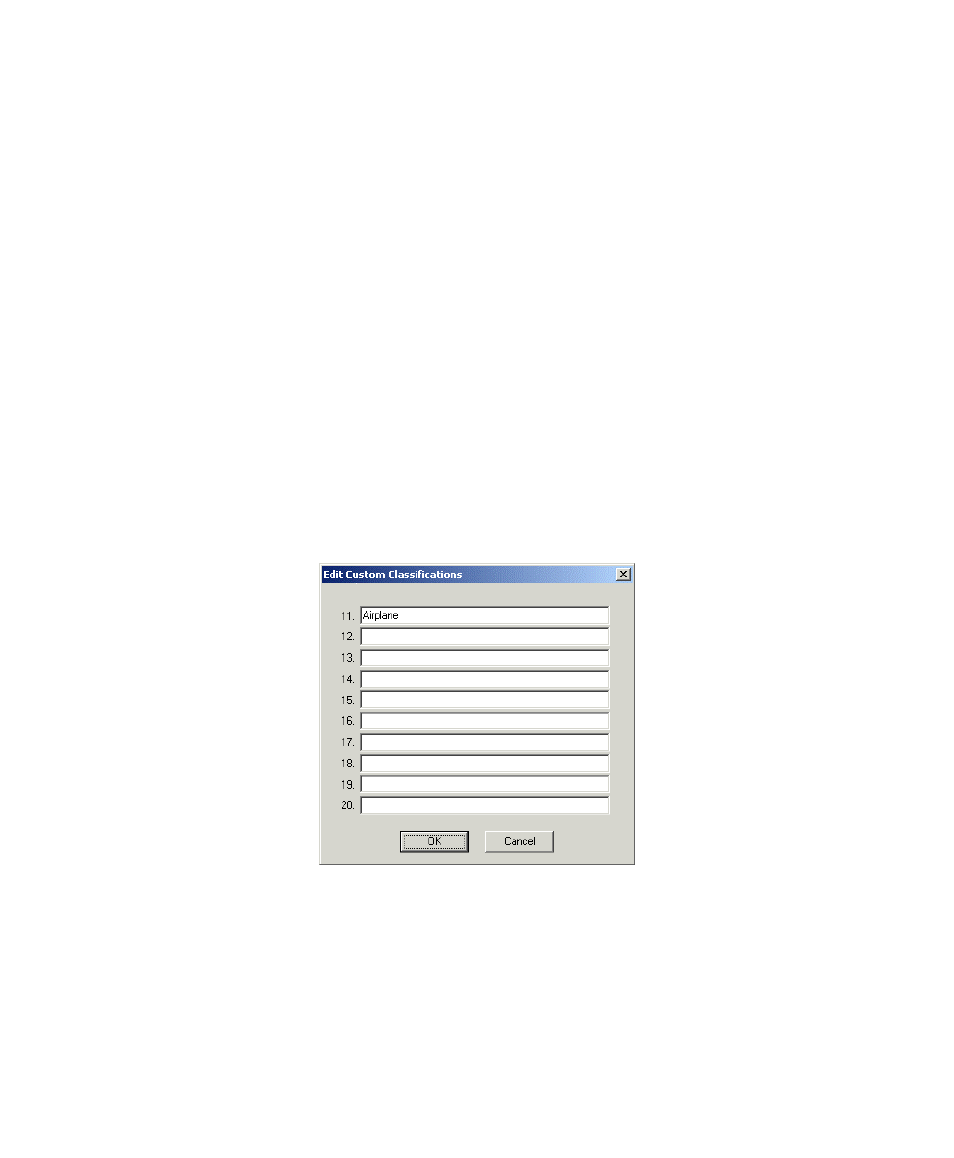
3. Optional: If you want to create a new sub classification or modify an
existing one, click Custom Classifications to display the Edit Custom
Classifications dialog box, revealing ten more fields where you can
specify a new classification. Figure 18 shows this dialog box where
a user has added the classification type “Airplane” in the first
available field. Figure 19 shows the effect of the change in the
Target Properties dialog box.
Note: if you change the rank prior to saving or resaving the image upon which
this rank classification is based, TargetPro warns you that you are about to save
the file in the format of the newly specified contact or target rank. If you accept
the change, TargetPro then changes the file’s extension to match the respecified
type of rank (that is, either to CON or TGT)
Figure 19. Edit Custom Classifications dialog box.
1. Click OK in the Edit Custom Classifications dialog box to update the
Target Properties dialog box.
Chapter 4: Object Modification and Classification
41