Triton TargetPro User Manual
Page 25
June 2004 TargetPro™ User's Manual
For space reasons, the icons appear in this book in two rows. In the TargetPro
program, the icons are laid out in a single row. Most icons are grayed out until a
contact image is opened. All icons become visible when an image is opened and
as long as the Cursor Tool icon remains clicked. (The Paste icon will be grayed
out if there is nothing in the Windows Clipboard.) All choices within an icon
group are mutually exclusive; you can perform only one function at a time from a
group. Icons in Groups Two, Three and Four are unique to TargetPro. All the
icons are explained in the next few tables.
TABLE 2.
Group Two: Standard Icons
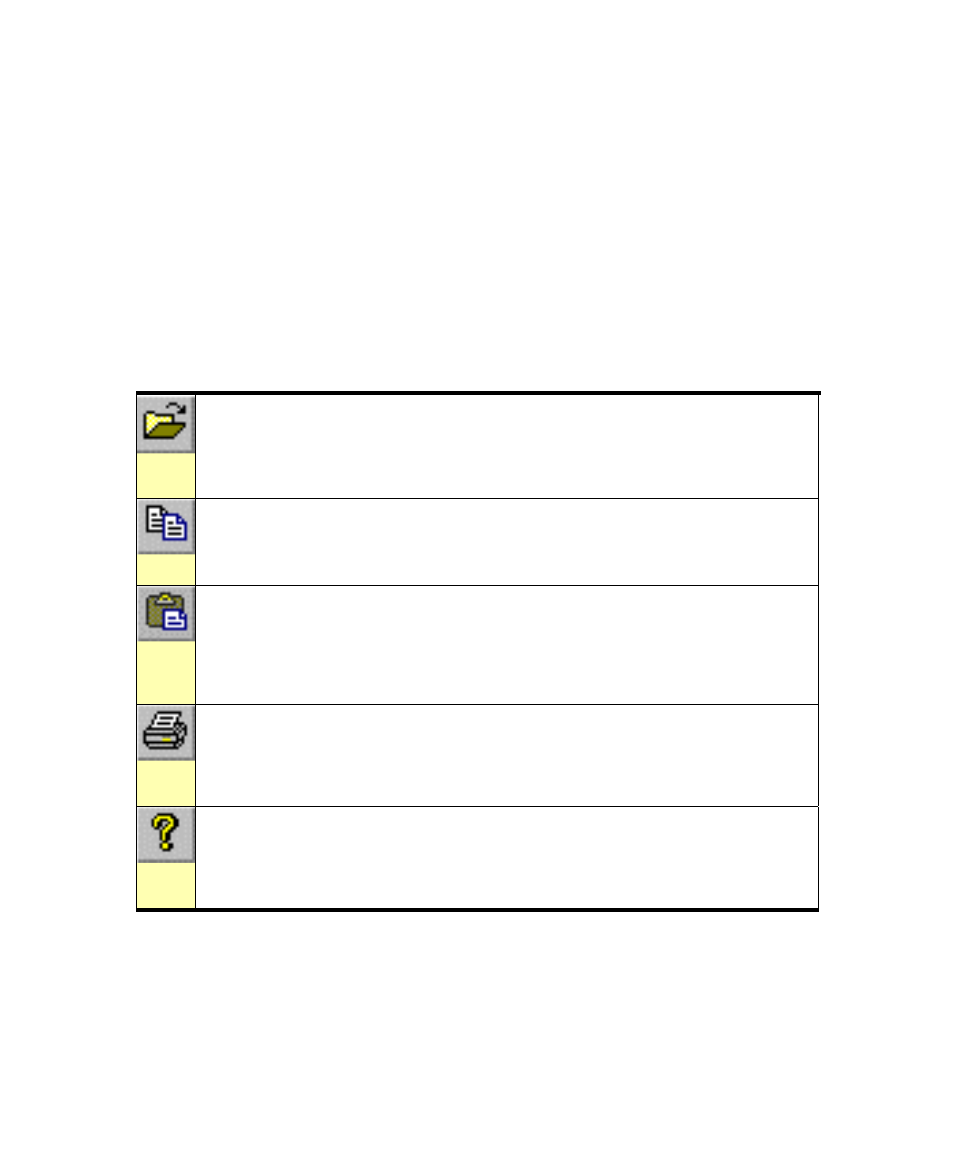
Open icon.
Click this to get a dialog box where you can specify a file to
open from TargetPro’s combo box. This icon is equivalent to choosing
File
→Open from the main menu. The equivalent keyboard shortcut is
Copy icon.
Click this to copy the currently displayed target contact to the
Windows Clipboard. Menu equivalent: Edit
→Copy. The equivalent key-
board shortcut is
Paste icon.
Click this to get a dialog box where you can choose a type of
image to paste: ESC (Electronic Still Camera images as TIFF files having
the Tag 270 attribute), Generic Image, Contact File, or Target. Menu
equivalent: Edit
→Paste. The equivalent keyboard shortcut is
Print icon.
Click this to get the standard Windows Print dialog box from
which you can print the currently displayed image. Menu equivalent:
File
→Print. The equivalent keyboard shortcut is About icon. Click this to see the About TargetPro information box. The box reveals the program’s name, version number, date compiled, Chapter 2: Using TargetPro 16
Copyright date, and the icon associated with the program. There is no
equivalent keyboard shortcut.