Acnodes FPC 6084 User Manual
Page 41
661 Brea Canyon Rd., Suite 3
Walnut, CA 91789
tel: 909.598.7388, fax: 909.598.0218
© Copyright 2011 Acnodes, Inc.
All rights reserved. Product description and product specifications
are subject to change without notice. For latest product information,
please visit Acnodes’ web site at www.acnodes.com.
FPC 6065 / 6084
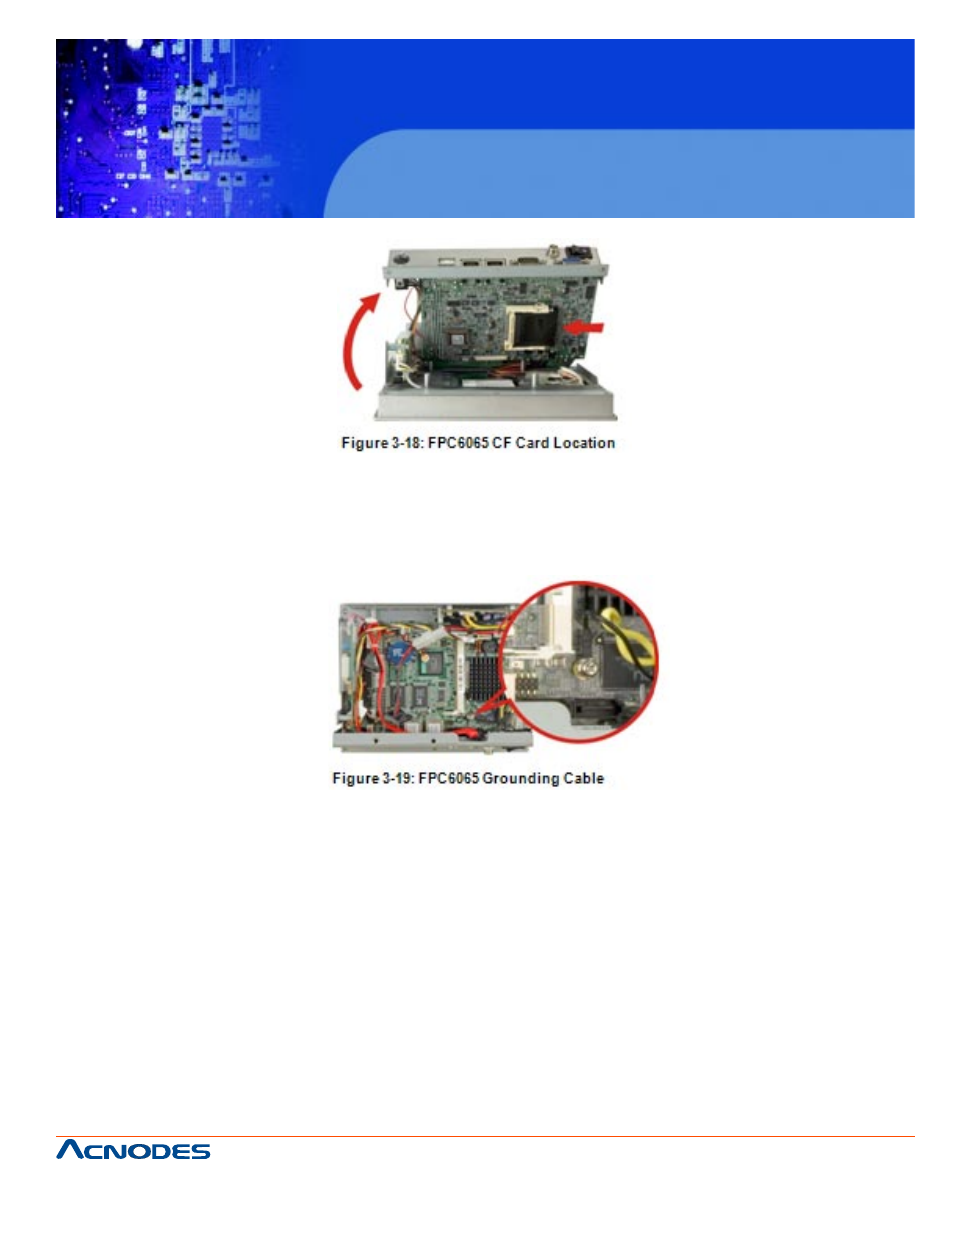
Step 7: Secure the motherboard with the copper pillar first. Then, Insert all previously
removed retention screws into the FPC6065 to secure the motherboard and the chas-
sis. Remember to connect the grounding cable when inserting the retention screw to
the copper pillar (Figure 3-19).
Step 8: Install the previously removed HDD bracket and reconnect the fan cable.
Step 9: Replace the top cover. Once replaced reinsert the six previously removed retention screws.
3.9.2 FPC6084 CF CARD INSTALLATION
The FPC6084 embedded motherboard has one CF Type II slot on the solder side. To install the CF card,
follow the instructions below.
Step 1: Remove the back cover. See Section 3.5.2 above.
Step 2: Remove HDD bracket from the chassis. See Section 3.8.2 above.