Chapter 2 – Yamaha SU700 User Manual
Page 75
Chapter 2 Tutorial
75
CHAPTER
2
4.
Press the PAD FUNCTION [PLAY] button.
▼ This completes mute settings.
Now we will store this condition to the [TOP] and [G] scene buttons.
5.
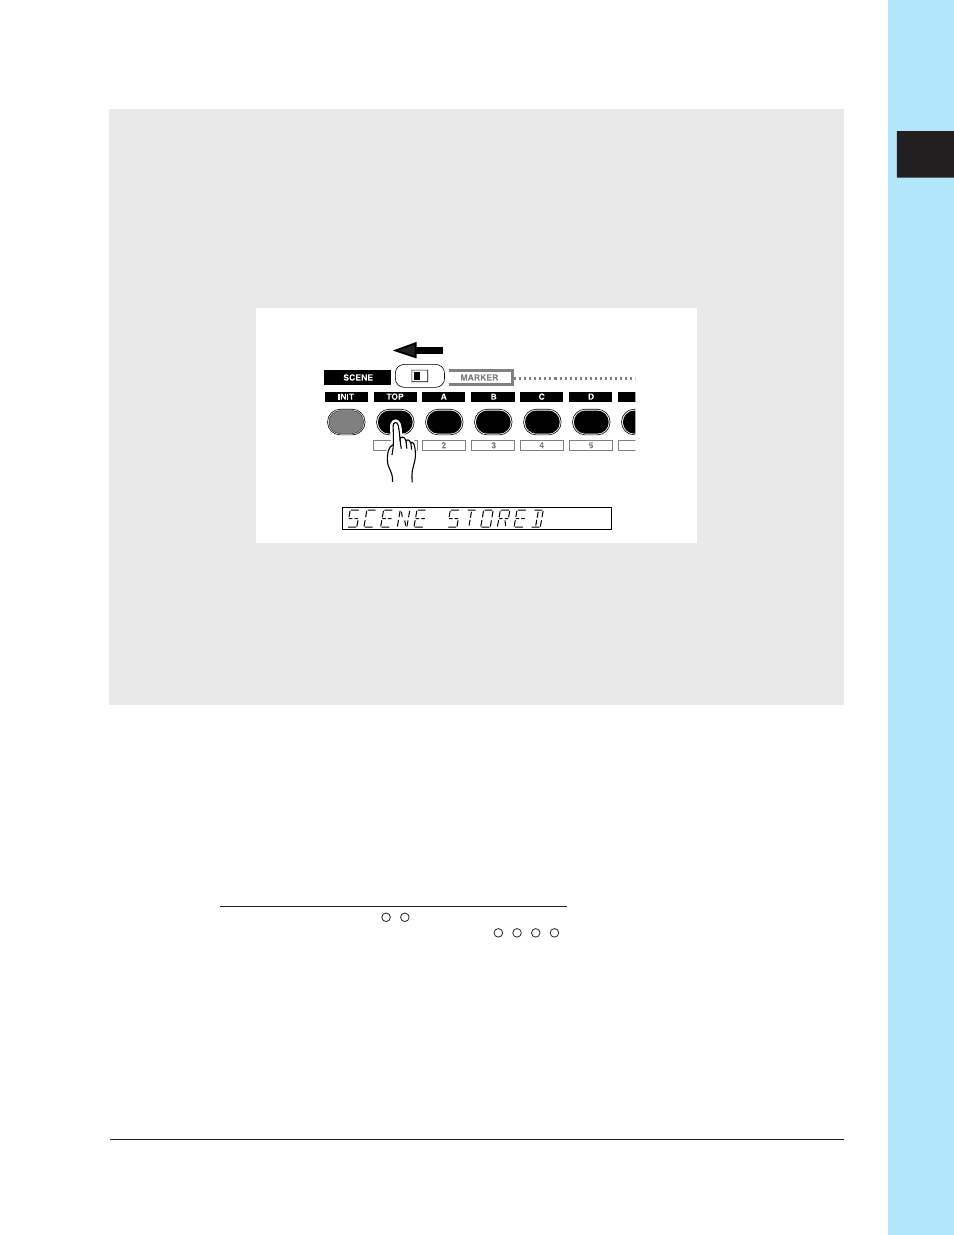
Set the [SCENE/MARKER] switch to the SCENE position.
6.
Continue pressing the [TOP] button until the display indicates “SCENE STORED.”
7.
Release the [TOP] button. The settings have now been stored to the [TOP] button.
8.
Next store the same mute settings to the [G] button.
▼ Press and hold the [G] button until the display indicates “SCENE STORED.”
9.
Release the [G] button. The settings have now been stored to the [G] button.
●
Intro B and Ending A = Scene button [A]
Intro B and Ending A have the same mute settings.
We will defeat muting for the CL1/2 tracks of track bank [1] and the FREE 1–4 tracks
of track bank [2]. All other tracks will be muted.
We will store these settings in scene button [A].
TRACK
LOOP
C.LOOP
FREE
BANK
1
2
1 2 3 4
1 2 3 4
[1]
Ч
Ч
Ч Ч
Ч Ч Ч Ч
[2]
Ч
Ч
Ч Ч Ч Ч
set to the SCENE position