C. installing apache web server on windows – RuggedCom RuggedRouter RX1100 User Manual
Page 328
Appendix C. Installing Apache Web Server On Windows
Revision 1.14.3
328
RX1000/RX1100™
Appendix C. Installing Apache Web Server On Windows
A number of customers have asked for advice and instructions on setting up a web server on Windows.
RuggedCom recommends the Apache web server, because it is secure, robust, easy to install and
configure as well as being able to be installed on a wide variety of Windows platforms.
Begin by identifying a host computer and its physical and logical location on the network. The
Repository Server Requirements of the appendix “Setting Up A Repository” provide some guidance
on host requirements. The Apache installation process will prompt you for an IP address and domain
name with which to serve the web pages. Later in the install, you will also need to provide the directory
where the RuggedRouter releases will be kept. Ensure that a web servers is not already installed.
Obtain Apache by visiting the web page of
[. Visit the “HTTP
Server” portion of the web site and click on the “Downloads” page. Identify the latest version of
Apache and find its Win32 version, usually under “httpd/binaries/win32/”. You should be able to find
a Microsoft System Installer Version (e.g. apache_2.0.55-win32-x86-no_ssl.msi), as well as platform
specific notes. Download and install this version.
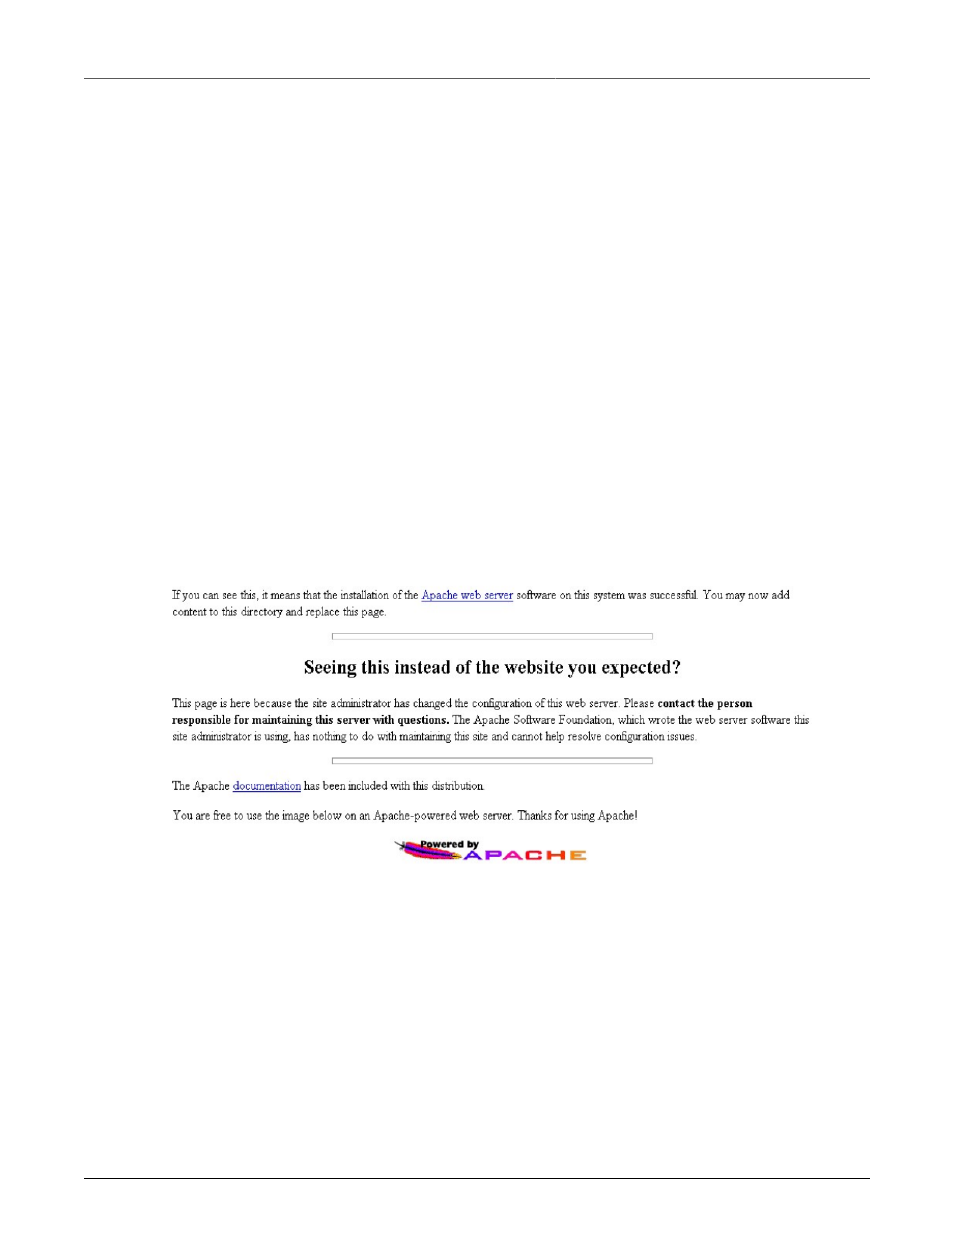
Verify the web server by opening a web browser on another host on the network and entering the URL
http:// followed by the IP address Apache was installed with. Note that you may also verify Apache
from a browser on the web server itself by browsing
[] If properly set-
up, the Apache default web page will be shown.
Figure C.1. Apache Default Web Page
Apache serves the web pages contained in the directory known as the “DocumentRoot”. You must
change the document root by, from the desktop, clicking Start -> All programs -> Apache HTTP Server
-> Configure Apache Server -> Edit the Apache httpd.conf file. Search the file for the DocumentRoot
variable and change it to the directory where your RuggedRouter releases are kept. Restart Apache
by clicking Start -> All programs -> Apache HTTP Server -> Control Apache Web Server -> Restart.
Return to the web browser used earlier to verify Apache and refresh the screen. It should now reflect
the contents of your RuggedRouter release directory. You should now be able to perform an upgrade
from a router.