Displaying led conditions – Paradyne ACCULINK 336x E1 User Manual
Page 31
ACCULINK 336x E1 NTU
3-10
December 1996
3360-A2-GB20-20
Displaying LED Conditions
The same conditions monitored by the front panel
LEDs can also be monitored by the LED command. This
command is most useful when the E1 NTU is being
accessed remotely (see Appendix G,
). When using Front Panel Emulation, no LEDs
are shown on the PC’s screen; you must use the Stat
command procedure described below to get LED
information.
NOTE
The following procedure is an
example only. Screen displays
may vary depending on the
model of the E1 NTU.
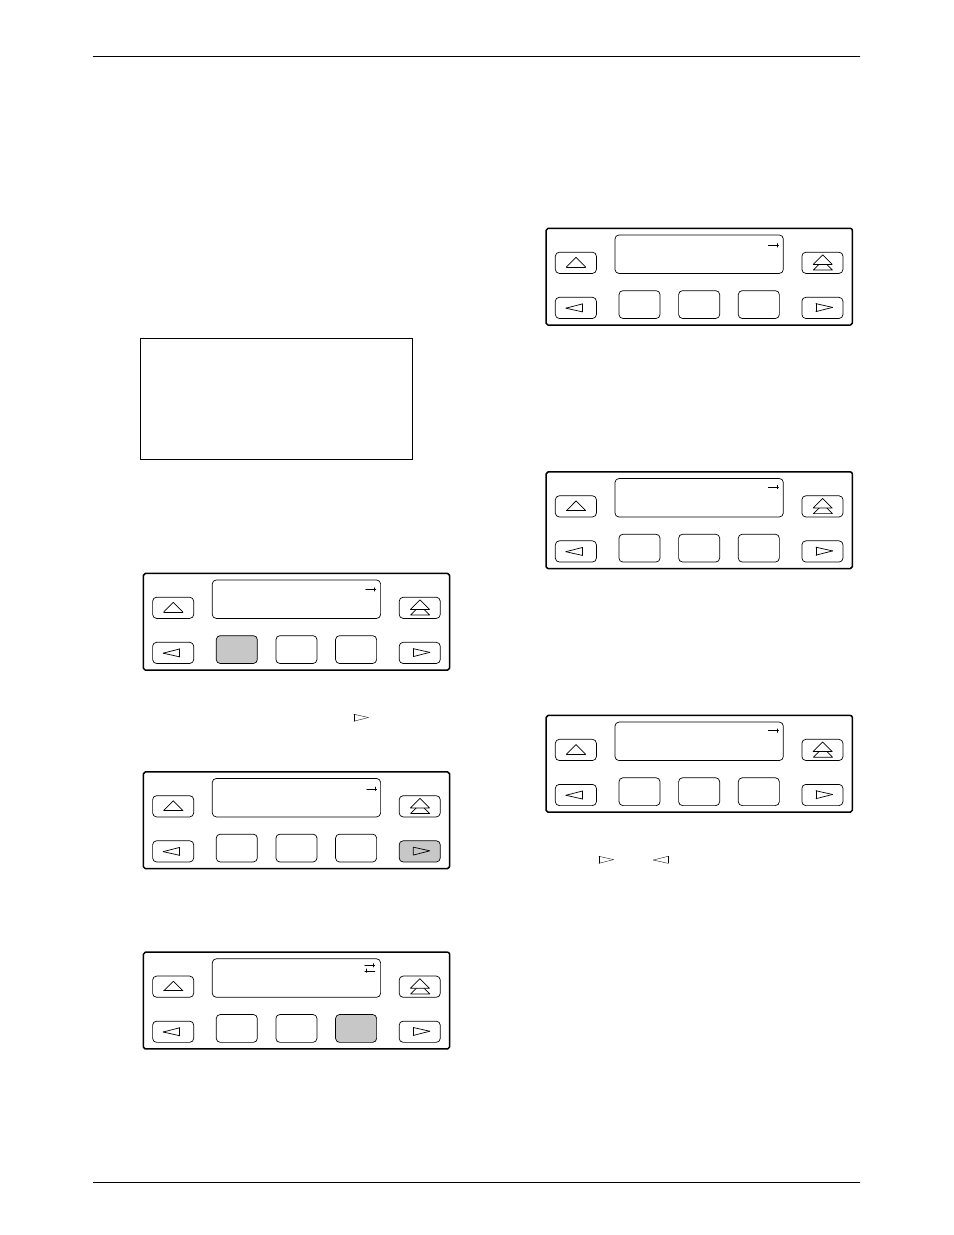
To display LED conditions on the front panel screen,
1. From the top-level menu screen, select Stat.
F1
E1 HDSL NTU
Stat
Test
Cnfig
F2
F3
2. From the Status screen, press the
key until the
LED selection appears on the screen.
F1
Status:
HDSL DevHS STest
F2
F3
3. From the Status screen, select LED.
F1
Status:
Perf
TStat
LED
F2
F3
4. From the Select LEDs screen, press the Function
key that corresponds to E1 or the port for which
you want to display LEDs. Use the scroll keys, if
necessary.
F1
Select LEDs:
E1
Prt1
Prt2
F2
F3
If you chose E1, the LED Display screen lists the
LED signals, two at a time, on the second line. A
vertical bar at the left of the LED name indicates
the condition is ON, while an underscore indicates
the condition is Off.
F1
LED Display:
_Test
_NetSig1
F2
F3
If you chose a port, the Port n LEDs screen lists
the LED signals, two at a time, on the second line.
A vertical bar at the left of the LED name
indicates the condition is ON, while an underscore
indicates the condition is Off.
F1
Port
n LEDs:
_DTR _TXD
F2
F3
5. Use the
and
keys to scroll LED names
onto the screen.