Test jacks, Leds – Paradyne ACCULINK 336x E1 User Manual
Page 25
ACCULINK 336x E1 NTU
3-4
December 1996
3360-A2-GB20-20
The scroll keys (
and
) serve one of two functions,
depending on whether a menu screen or a data entry
screen appears on the front panel.
For data entry screens, the
key scrolls one
character to the left while the
key scrolls one
character to the right.
For menu screens, the
key scrolls to the previous
menu choice while the
key scrolls to the next menu
choice.
If a choice is available to the left of the screen, the
character
←
appears on the top line. If a choice is
available to the right of the screen, the
→
character
appears on the top line. If choices are available to both the
right and the left of the screen, two arrows appear ( ).
The arrows indicate that you must use the scroll keys to
bring the additional options onto the screen.
F1
F2
F3
Test Jacks
Six test jacks are located on the front panel
in Chapter 4, Maintenance.
Lp1
Lp2
In
Out
In
Out
HDSL
NET
E1
LINE
E1
MON
495-14753
Figure 3-4. Test Jacks
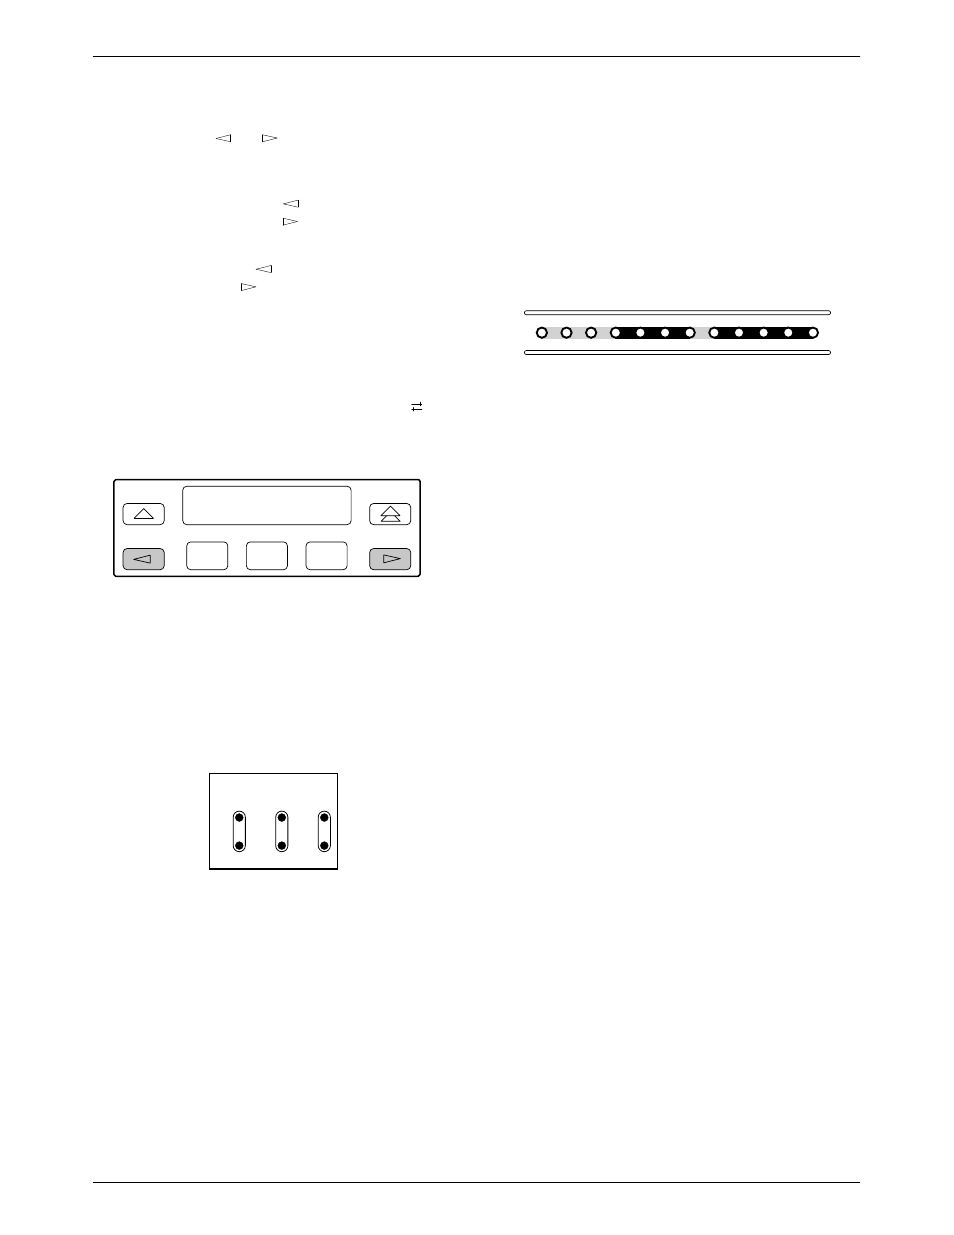
LEDs
There are twelve LEDs on the E1 NTU front panel.
between the G.703 DTE port and the data ports. Refer to
the
Selecting the G.703 DTE or Data Port for LED
section later in this chapter to choose which port’s
status the LEDs display.
495-14749
OK
TEST SIG1
SIG2
OOF
NETWORK
RXD
ALRM
SIG
ALRM PDV
OOF
BPV
FAIL
DTR
TXD
CTS
RTS
Figure 3-5. E1 NTU LEDs
A green LED indicates normal operation. A yellow
LED indicates a warning (for the G.703 DTE port) or
activity (for the data ports). Conditions are sampled every
tenth of a second.
The twelve front panel LEDs are grouped into four
sections to indicate the status of the:
•
•
•
•