1 click remote setting>network>email setting, 2 configure the following, 3 click apply to save your settings – LOREX Technology Lorex Digital Video Surveillance Recorder lh1 10 User Manual
Page 89: 1 click remote setting>device>hdd information, Configuring device settings, Configuring hard drive settings
75
Remote Viewing
Enabling e-mail notifications using the Lorex e-mail server
Lorex provides an e-mail notification service free of charge.
To enable e-mail notifications using the Lorex e-mail server:
1
Click Remote Setting>Network>Email Setting
2
Configure the following:
• Email Enable: Select Default to enable the Lorex e-mail server.
• Enter the Sender and Receiver e-mail address.
• Select the Send Interval duration.
NOTE: A password is not required.
3
Click Apply to save your settings.
Configuring Device Settings
The device settings tab allows you to configure hard drive, PTZ parameters, Mobile, and
Motion settings.
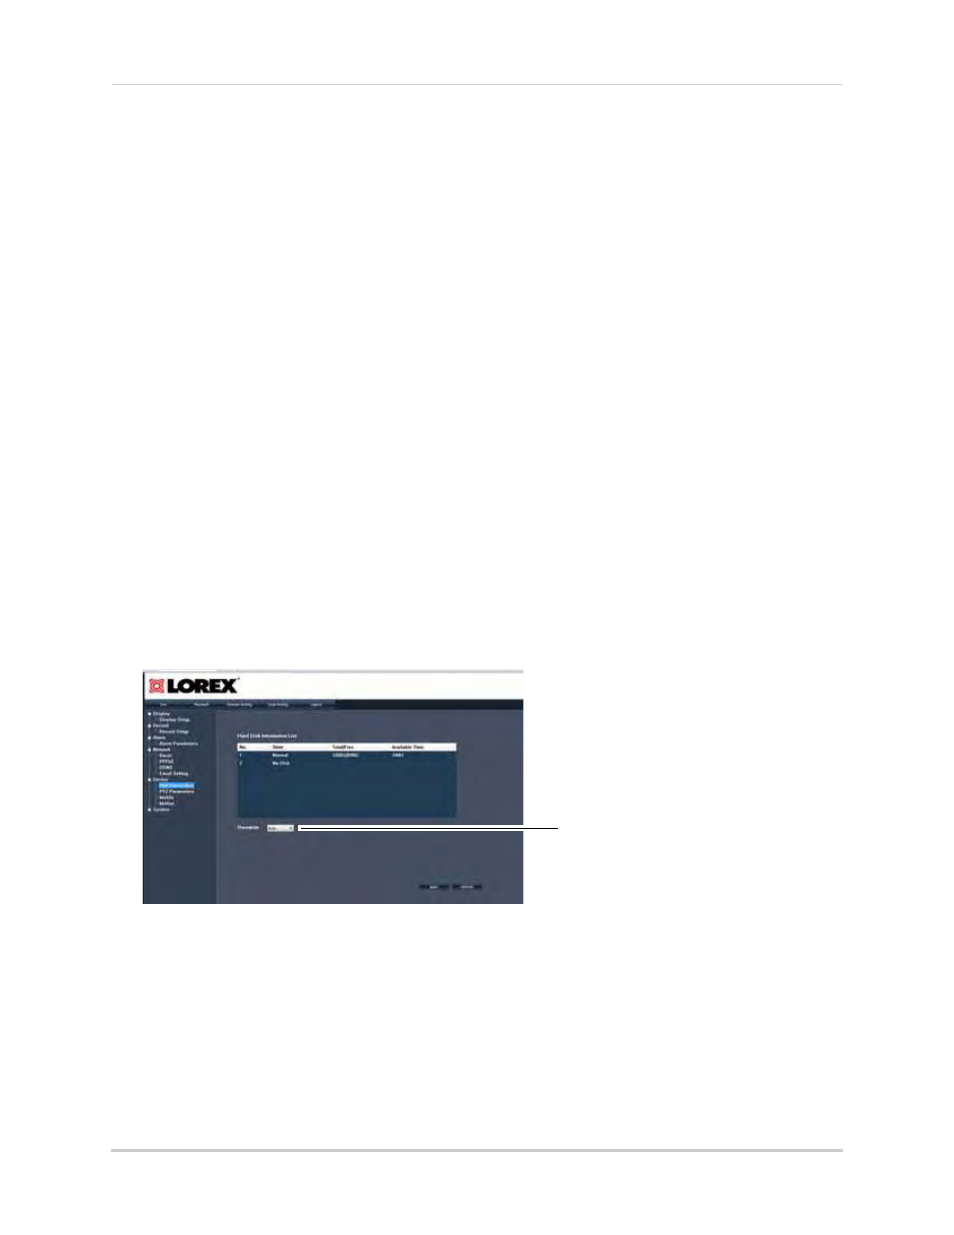
Configuring Hard Drive Settings
To configure hard drive settings:
1
Click Remote Setting>Device>HDD information.
2
Configure the following:
• Overwrite
• Select Auto if you want the hard drive to overwrite itself once it is full.
OR
• Select a desired number of hours or days that you want the hard drive to store the video
files (select from 1 hr - 90 days).
3
Click Apply to save your settings.
Overwrite