Operator’s manual, Perform an auto configuration – Great Plains DICKEY-john MVT Monitor Operator User Manual
Page 65
OPERATOR’S MANUAL
IntelliAg MVT
11001-1643-201401
56 / SYSTEM CONFIGURATION
IMPORTANT: Place the master/control switch in the OFF position to
access and input data into the SETUP/CONFIGURATION
mode.
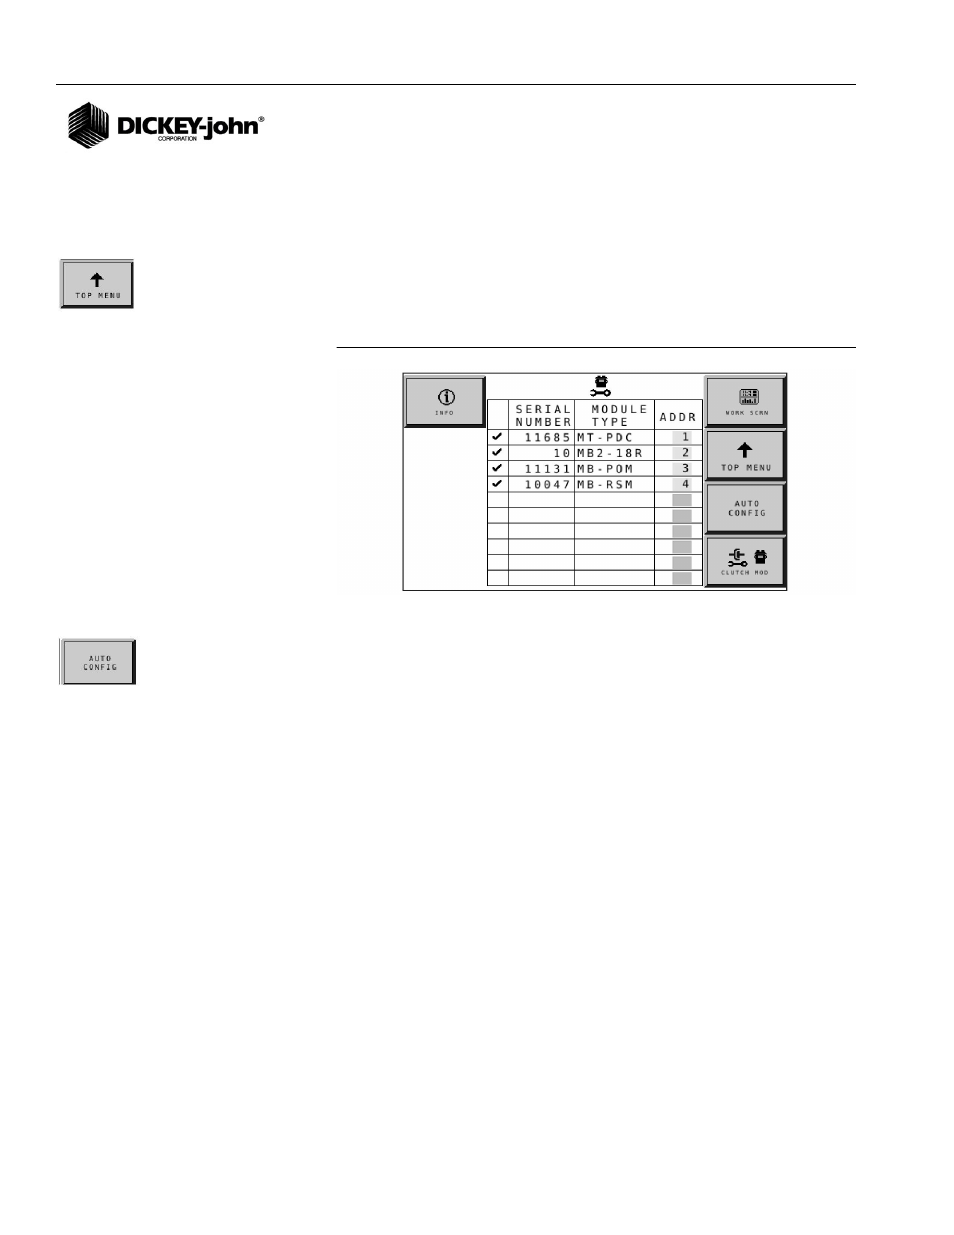
To Display the Module Configuration Screen:
1. Press the Top Menu button.
– At the Module Configuration screen, a Module Next Page button
will display if more than 12 modules are connected.
– Press the Module Next Page button to display additional modules.
Figure 49
Module Configuration Screen
PERFORM AN AUTO CONFIGURATION
The Auto Config button is an automated method of configuring the
attached seed sensors and hopper sensors. To utilize the Auto
Configuration function, all sensors must be connected to the appropriate
modules in correct sequence.
Auto Config performs the following:
•
detects the presence of seed, hopper, and pressure sensors
connected to each module. The detected number of seed sensors for
each module automatically appears in the # of Rows data items on the
Seed Sensor Configuration screen.
•
the detected number of hopper sensors are automatically entered in
the # of Hopp data items on the Hopper Sensor Configuration screen.
•
the detected number of pressure sensors are automatically entered in
the # of ACC data items on the Accessory Sensors Configuration
screen.
•
row numbers are automatically assigned based on the module address
of each module.
IMPORTANT: Double check each sensor configuration to verify
correct numbering. RPM sensors must be configured
manually.
IMPORTANT: All sensors must be connected to the harnessing in the
correct sequence for AUTO CONFIG to operate properly.
Refer to the Installation Instructions accompanying each
module for correct installation.