Clearing the eerom – HP 220 User Manual
Page 177
Cancel
Replot
8Ć29
Removal and Replacement
C3187Ć90000
The block of text on the service configuration plot that shows the contents of the
EEROM, appears in the form shown in Table 8Ć3. This table is a text block from a sample
plot. The contents of the EEROM that you are testing will differ from this sample.
Table 8-3. Sample EEROM Contents Text Block
EEROM contents:
0: 55
aa
5a
0
20
0
0
0
–
2b
0
0
0
3a
0
0
0
10: 0
0
44
31
0
0
0
0
–
0
0
0
0
0
0
0
0
20: 3
20
3
a3
a3
a3
a3
a3
–
a3
a3
a3
a3
a3
a3
a3
a3
30: a3
a3
0
21
0
0
0
81
–
88
35
0
0
0
e0
fe
1d
40: f2
0
2
25
27
f2
f2
9
–
9
e0
e1
f0
0
5
0
0
50: 0
0
0
0
0
8d
0
1
–
de
ed
57
3e
d3
8e
db
3d
60: e
ed
b
3a
16
0
0
0
–
2
0
0
ca
c
4
39
0
70: 0
0
0
0
0
0
0
0
–
0
0
0
0
0
0
0
c9
80: ff
ff
ff
ff
ff
ff
ff
ff
–
ff
ff
ff
ff
ff
ff
ff
ff
90: ff
ff
ff
ff
ff
ff
ff
ff
–
ff
ff
ff
ff
ff
ff
ff
ff
a0: ff
ff
ff
ff
ff
ff
ff
ff
–
ff
ff
ff
ff
ff
ff
ff
ff
b0: ff
ff
ff
ff
ff
ff
ff
ff
–
ff
ff
ff
ff
ff
ff
ff
ff
c0: ff
ff
ff
ff
ff
ff
ff
ff
–
ff
ff
ff
ff
ff
ff
ff
ff
d0: ff
ff
ff
ff
ff
ff
ff
ff
–
ff
ff
ff
ff
ff
ff
ff
ff
e0: ff
ff
ff
ff
ff
ff
ff
ff
–
ff
ff
ff
ff
ff
ff
ff
ff
f0: ff
ff
ff
ff
ff
ff
ff
ff
–
ff
ff
ff
ff
ff
ff
ff
ff
Clearing the EEROM
Careful: If you clear the EEROM, you will then need to perform all of the plotter
calibrations. (Details D chapter7.)
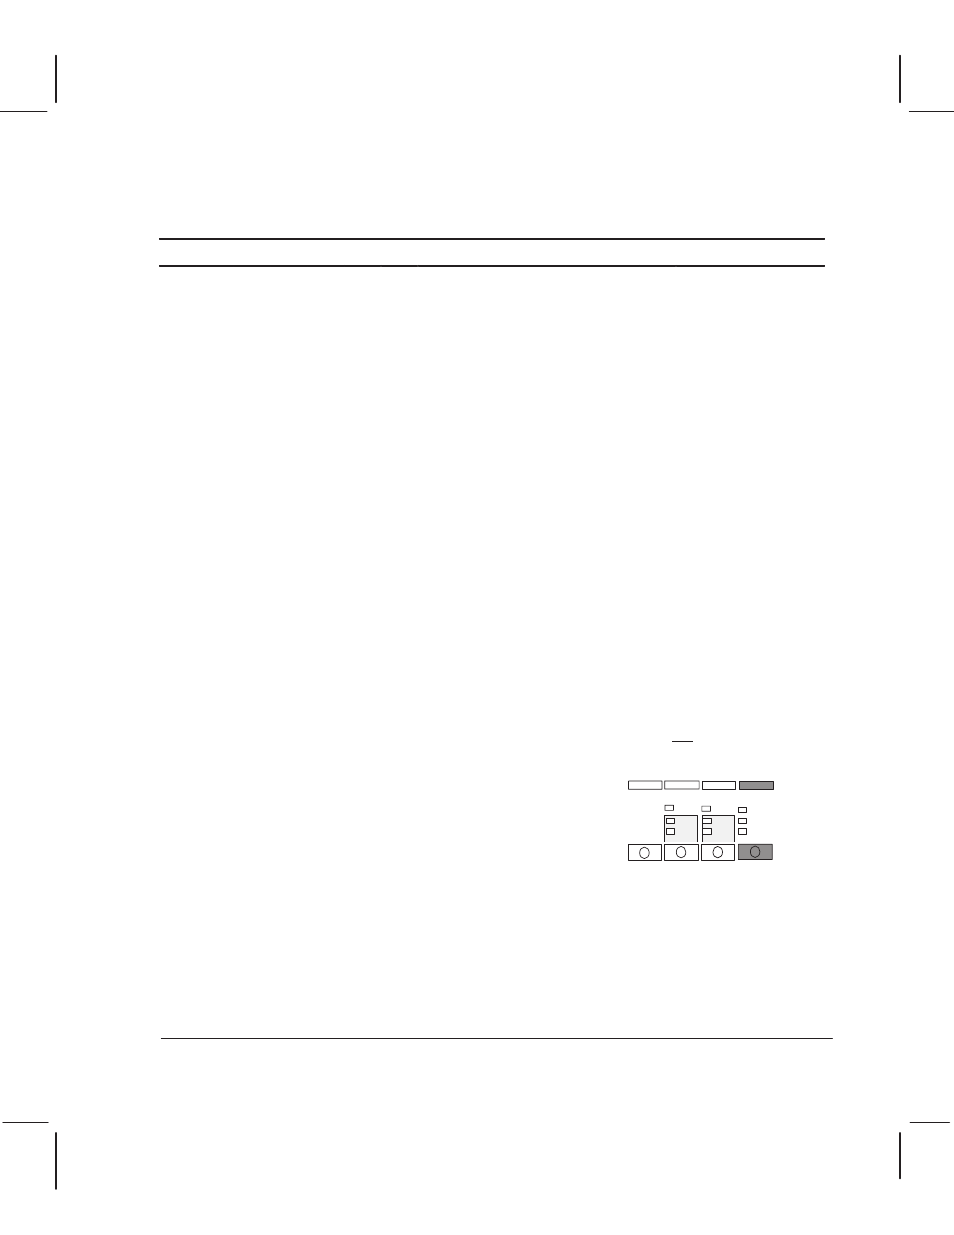
To clear the EEROM, perform the following procedure:
1 Switch the plotter off.
2 While holding both the Cancel and Replot keys down,
switch the plotter on.
3 Once the Busy LED lights up, release the Cancel and Replot keys.