HP 220 User Manual
Page 137
6Ć73
Removal and Replacement
C3187Ć90000
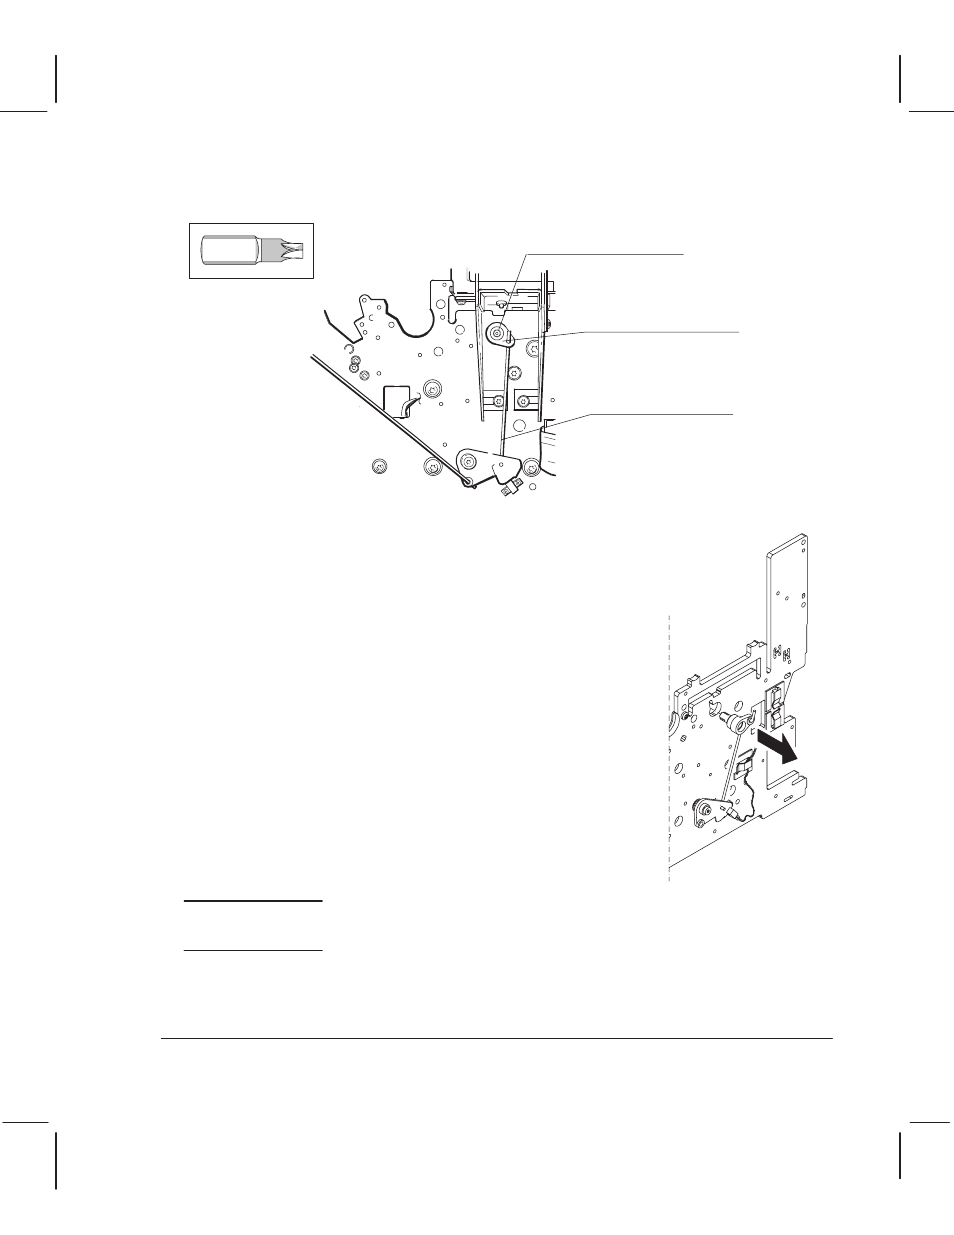
5 On the right side, loosen the camĆjournal screw 12 turns counterĆclockwise and push the
screw in towards the center of the plotter.
Cam journal
CamĆjournal screw
Rear wire link
Torx-8
6 Repeat the previous step and try to pull the cam journal and rear wire link
to the right and clearof the barcam.
I unsuccHss ul, turn thH camĆjournal scrHw two morH turns
countHrĆclockwisH, push thH scrHw in towards thH cHntHr o thH
plottHr, and try again to pull thH journal and rHar wirH link
to thH right and clHar o thH bar cam. RHpHat thHsH actions
until succHss ul.
0D2 DmbtinJ: BH orH rHinstalling thH cam journal, tightHn thH
nut and scrHw just to thH point whHrH thH nut is insidH thH
journal. RHinstall thH journal and slightly tightHn thH scrHw.
Reassembling: Do not overtighten the camĆjournal screw. Doing
so could break the journal, cause the bar cam to enter the sideplate
hole, and thus restrict the action of the pinchĆarm lever.
C A U T I O N