HP LASERJET 300 User Manual
Page 40
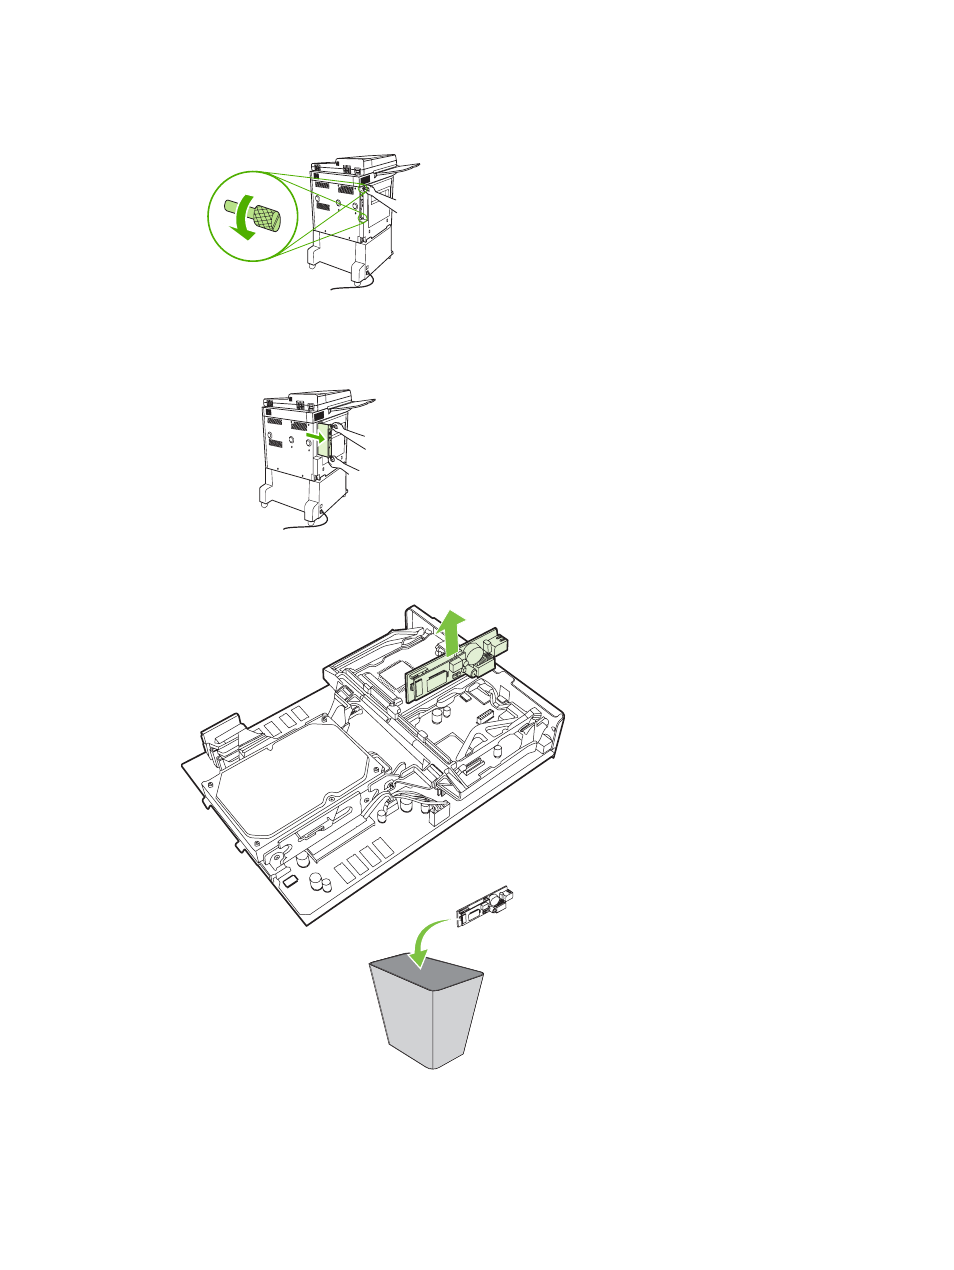
3.
Loosen the two captive thumb screws on the back of the MFP.
Figure 1-45
Loosening the screws
4.
Grasp the screws and pull the formatter board out of the MFP. Place it on a flat, non-conductive
surface.
Figure 1-46
Removing the formatter
5.
If you are replacing an existing fax accessory, pull up to remove it.
Figure 1-47
Replacing an existing fax accessory
32
Chapter 1 Setup
ENWW