Grass Valley NewsBrowse Desktop Browsing System Installation v.2.7 User Manual
Page 42
42
NewsBrowse Installation and Configuration Guide
December 16, 2004
Chapter 3 Configuring the NewsBrowse System
• To use the remote Windows desktop rather than the Fastora configuration pages,
click
Maintenance | Remote Desktop
. This feature prompts you to again log on to
the NAS unit, and then allows you to access the Windows desktop. Make
settings with standard Windows procedures.
• To use the Fastora configuration pages, continue with this procedure.
5. Click
Set Server Name
and, if necessary, change the name, DNS suffix, and
Domain/Workgroup setting. Work with IT at the customer site to add the NAS to
a Domain.
If you make a change, click
OK
.
NOTE: After making changes on a configuration page, you must click OK or else
your changes are lost.
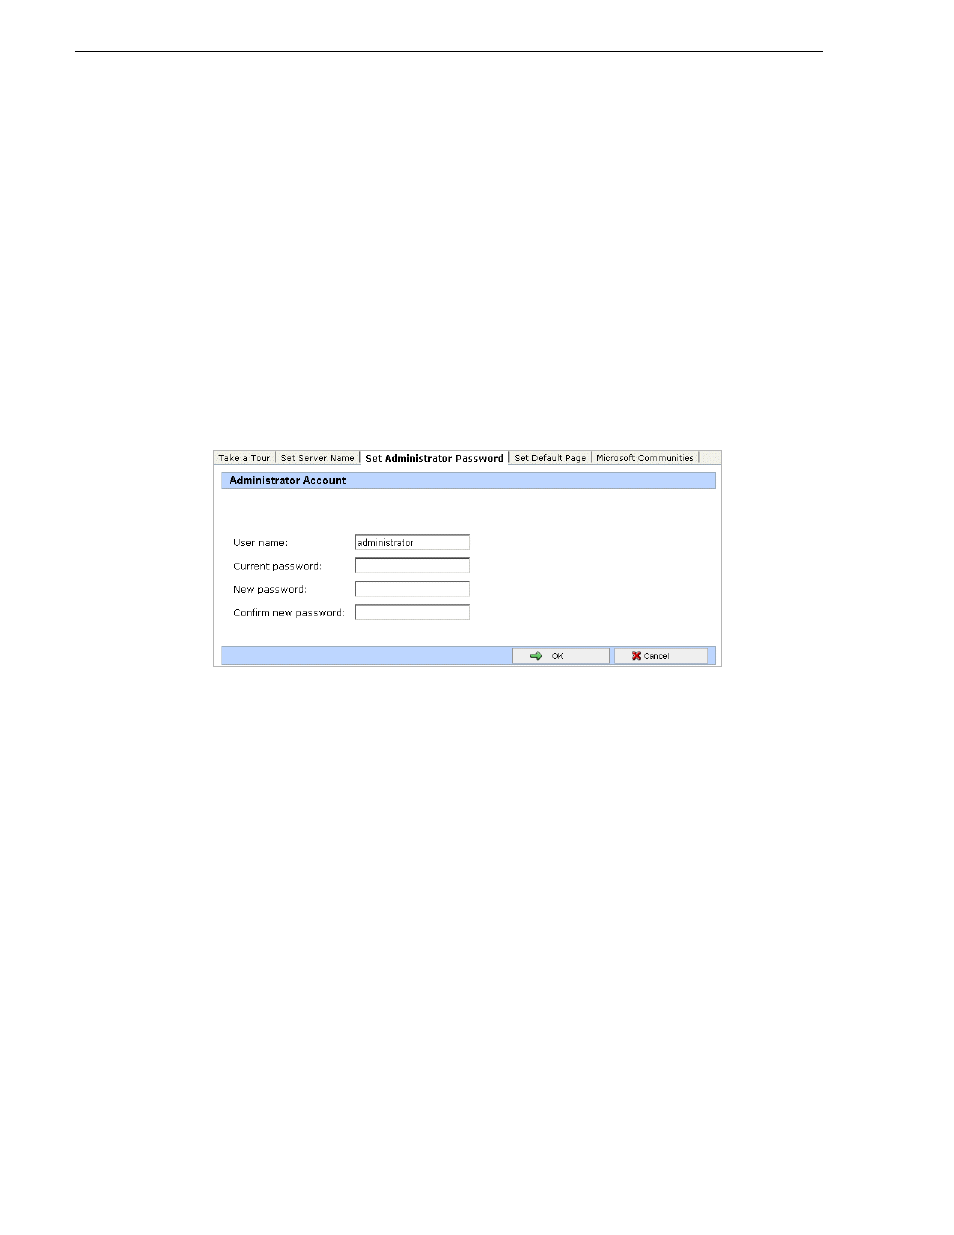
6. Click
Set Administrator Password
.
Set a password according to the customer site requirements. Click
OK
to save
settings.
7. Click
Network | Interfaces
. If required by the customer site network, change IP,
DNS, and WINS settings. A recommended configuration is to use the Gigabit port
for the Client network, leave LAN Port 1 at the default static IP for system
maintenance access, and use LAN Port 2 for the Production network.
8. Click
Administration Web Site
. If required by the customer site security policies,
change the IP addresses and/or ports for encrypted and non-encrypted access used
to access the administration Web site. If you make a change, click
OK
and then
reconnect via the new port and/or IP address.
9. Click
Shares | Folders
. Share the media directory as follows:
a. Select
New Volume (E:)
b. Click
Manage Folders
.
c. Select
media
.