Sensor mounting tips, Figure 2.14, Label the sensor – RLE Wi-MGR V.1.6 User Manual
Page 22
22
Wi-MGR User Guide
800.815.1519
2
Getting Started
6
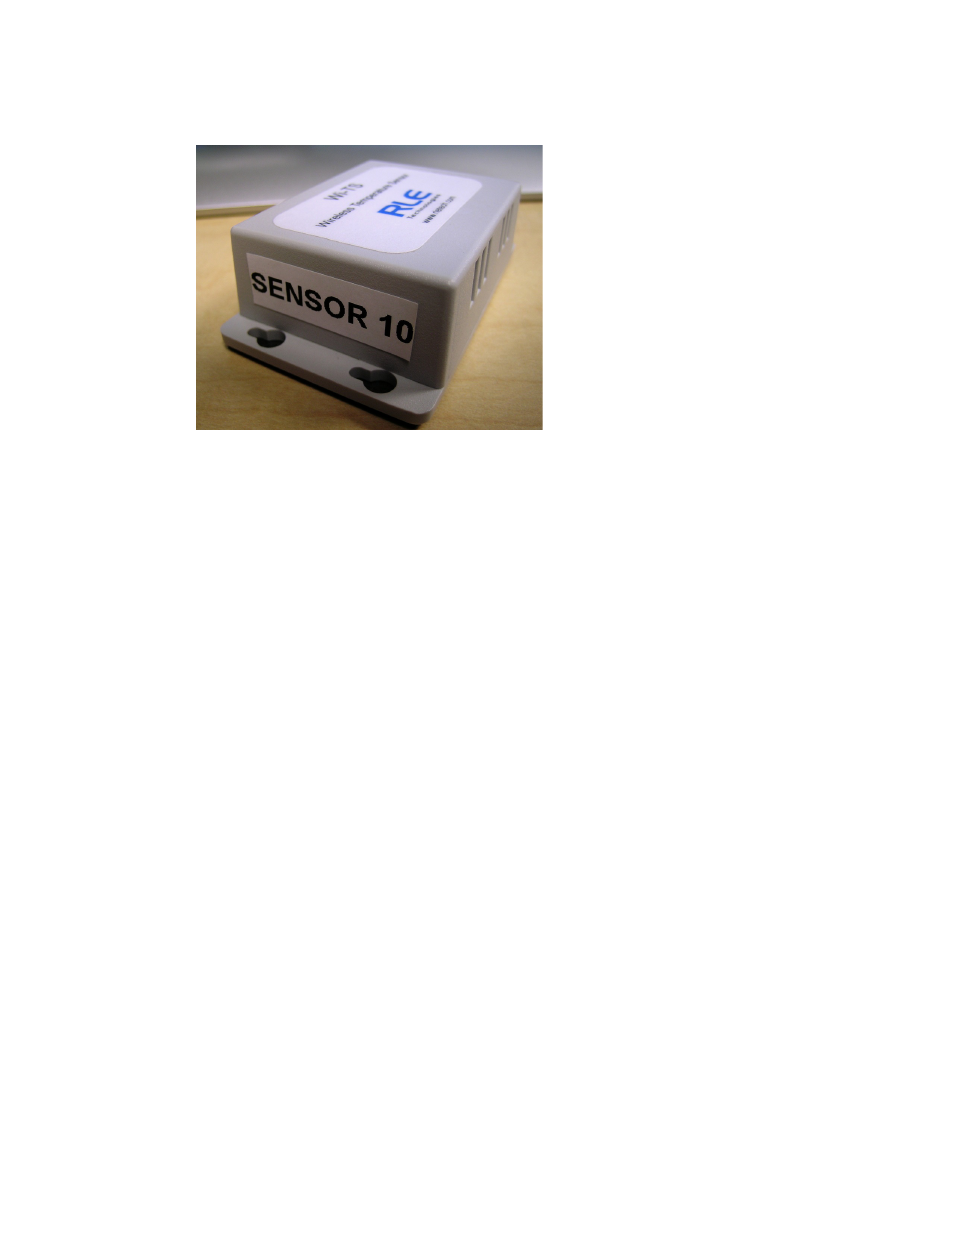
Place a label or other marking on the sensor to show its index number.
Figure 2.14
Label the Sensor
7
Once the sensors have been discovered, turn off the Sensor Discovery option on the
Configuration>Wireless/Sensors page of the Wi-MGR’s web interface and click the Submit
Changes button to switch off the feature. If you do not turn off the Sensor Discovery
feature, the Wi-MGR will continue to attempt to find new sensors. This could cause a
device malfunction, or contaminate your list of active sensors with additional sensors that
do not actually exist.
8
Note each sensor’s index number and location. Reference Chapter 3, “Web Interface” on
page 25 to learn how to enter the location and any other necessary identifying information
in each sensor’s configuration information.
9
Once you have configured the Wi-MGR, save a copy of the system configuration.
2.6. Sensor
Mounting
Tips
The electronics in a wireless sensor are water-resistant, but not waterproof. Wireless sensors
need to be mounted in a safe location, where the chance of them becoming submerged in a
liquid are minimal. Sensors can be mounted with double-faced tape or adhesive velcro. To
mount a sensor on a metallic surface, purchase adhesive-backed magnetic tape and adhere it to
the back of the sensor. Use magnetic tape that is 0.5 inch (1.27cm) wide. The magnetic tape
will not disturb the electronics, and when placed correctly, the tape allows the sensor’s label to