Accessing adapter parameters – Gasboy Enhanced Communications User Manual
Page 32
Serial-to-LAN Connection Installation
Page 32
MDE-4520C Enhanced Communications Installation Manual · February 2008
Accessing Adapter Parameters
The IP Address
Certain parameters must be configured before the adapter can function. The first parameter
that must be defined is the Internet Protocol (IP) address. Every device connected to a TCP/IP
network must have a unique IP address. The IP address must be configured before a network
connection is available.
• If your network is not and will not be connected to the Internet, you may use any IP
address.
• If your network is connected or will be connected to the Internet, or if you intend to
operate the Serial-to-LAN adapter on an intranet, you should consult your Network
Administrator with questions about IP address assignments. The adapter ships with a
default IP address of 0.0.0.0, which automatically enables Dynamic Host Configuration
Protocol (DHCP).
- If your network has a DHCP server, it will supply the adapter with an IP address,
gateway address, and subnet mask when the adapter powers up
· For Model UDS10, refer to
Configuring the Adapter from the Web Browser Login –
· For Model UDS1100, refer to
Configuring the Adapter from the Web Browser Login
.
- If the IP address is not set automatically via DHCP, it can be set using a serial port login
and setup menu (refer to
Configuring the Adapter from the Serial Port Login – UDS10 or
Configuring the Adapter from the Web Browser Login – Model UDS10
If your network has a DHCP server that has assigned an IP address to the adapter, or if an IP
address has been previously assigned, you can log into it using a standard Web browser with
Java
®
enabled. Consult with your Network Administrator for the device IP address or
identification assigned by the DHCP server to the adapter for this connection.
To configure the Adapter from the web browser login, proceed as follows:
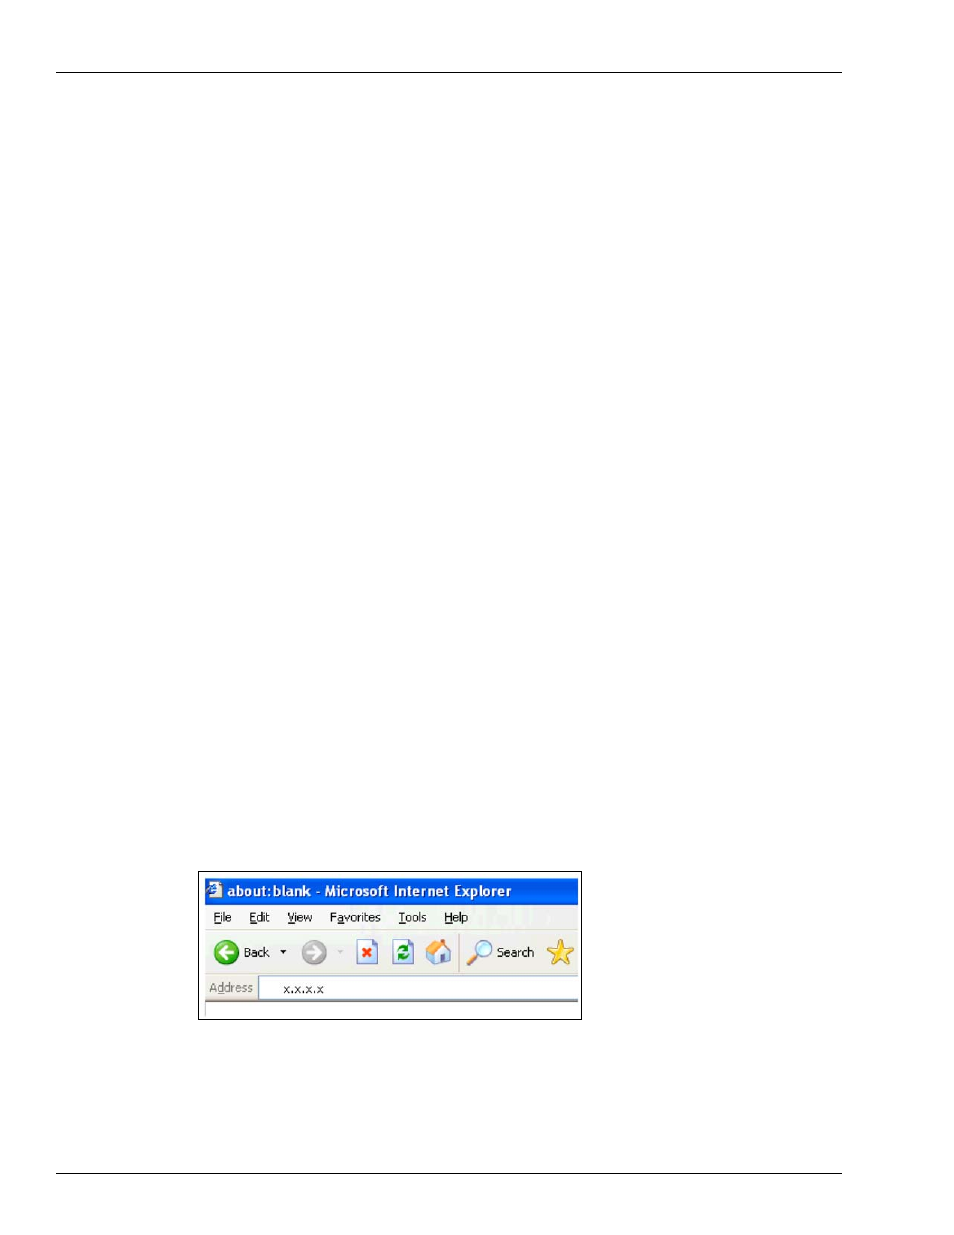
1
Type the adapter IP address into the Web browser URL (Address/Location) field (
).
Figure 21: Web Browser Address Field
2
Click Connect to log in and gain access to the configuration menu.