API Audio 1608 Automation User Manual
Page 121
Highlight “Cancel” and press SEL (Select) to cancel.
The loading progress of each component will be displayed with a percentage counter.
Loading the firmware cannot be interrupted once it’s been started. Once all selected
components have been loaded, the dialog box will close.
After loading the firmware, reboot the system using the RESET button on the Automation
Controller.
A fader calibration should also be performed after updating the firmware.
16.2.2.1 FCM Firmware Programming
If the FCM firmware is to be loaded, each Fader Module (FCM) must be enabled to
accept programming.
One or more FCMs can be enabled to accept programming simultaneously. Only the
enabled FCMs will accept programming when the load process is started. Make sure all
FCMs are loaded from the same firmware file.
Once the FCMs are ready to accept programming, follow the procedure outlined above
in section 16.1.2 Loading Firmware.
16.2.3 Set Clock
The Automation Controller has a built in system clock that “time stamps” any new folder,
file, or mix at the time of its creation.
To enable a Fader Module to load firmware, press the RESET button
then immediately press and hold the DAW buttons. Continue to hold the
DAW buttons until the DAW button and the STATIC LEDs on the faders
start to flash, indicating the firmware in the FCMs is ready to be loaded.
The time, day, month, and year
timestamps are displayed with the
file name can in the directory lists
on the memory card.
If the FCMs are enabled for programming, the “up” null indicator on the leftmost
fader on the enabled Fader Control Module will flash as the FCM firmware is
loaded.
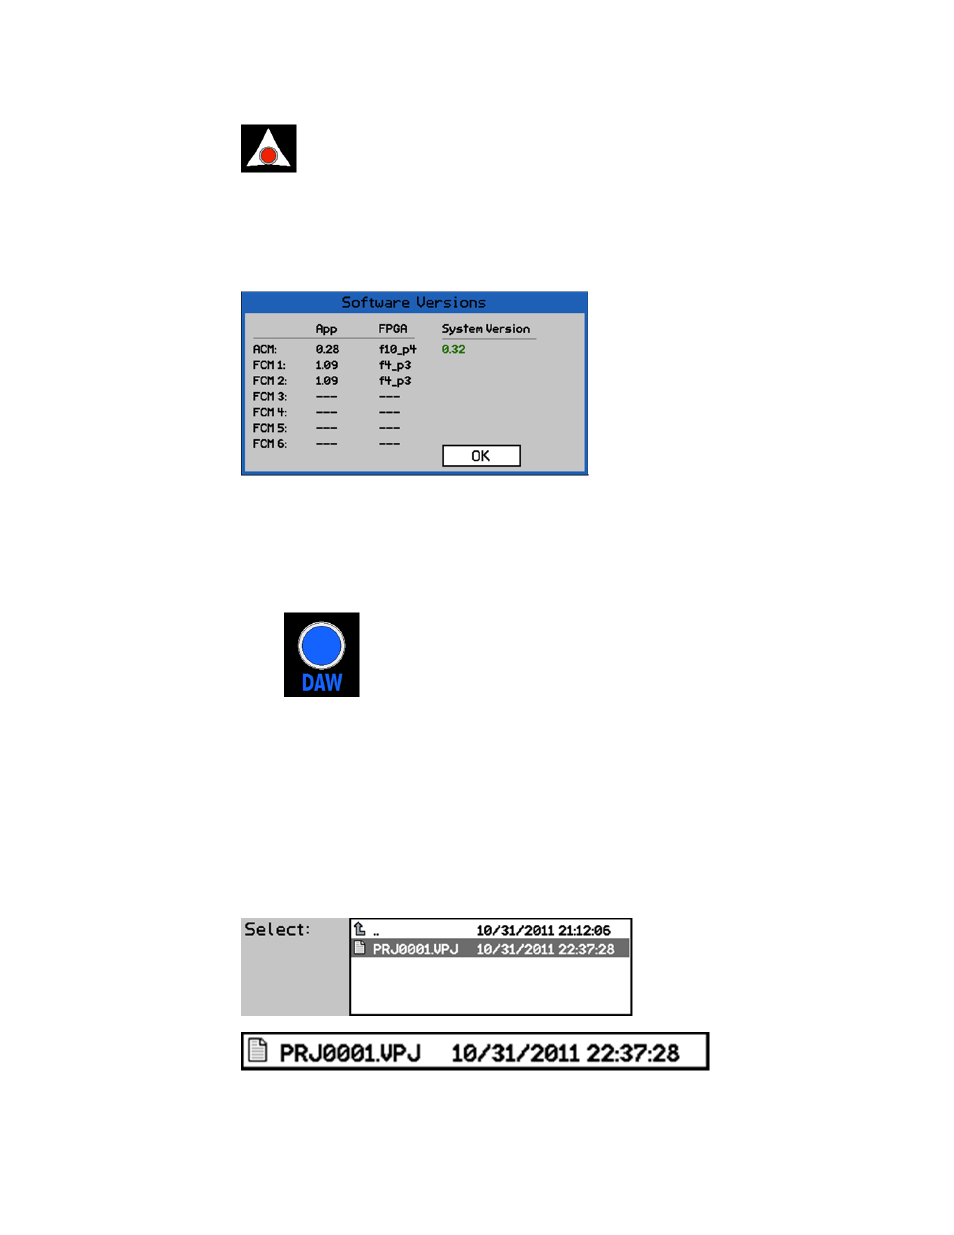
Check the “Software Versions" dialog
box.
It should give an overall version number
(i.e. 0.32). If it says "inconsistent", then
something didn't program correctly or
there are different versions of the
software loaded in the FCMs. Make sure
you’re using a valid software file and try
again.