Enabling/disabling write-back cache – StorCase Technology CSI-to-SCSI Single & Dual RAID User Manual
Page 132
Dual RAID Module User's Guide - Rev. A03
StorCase Technology, Inc.
Configuration
119
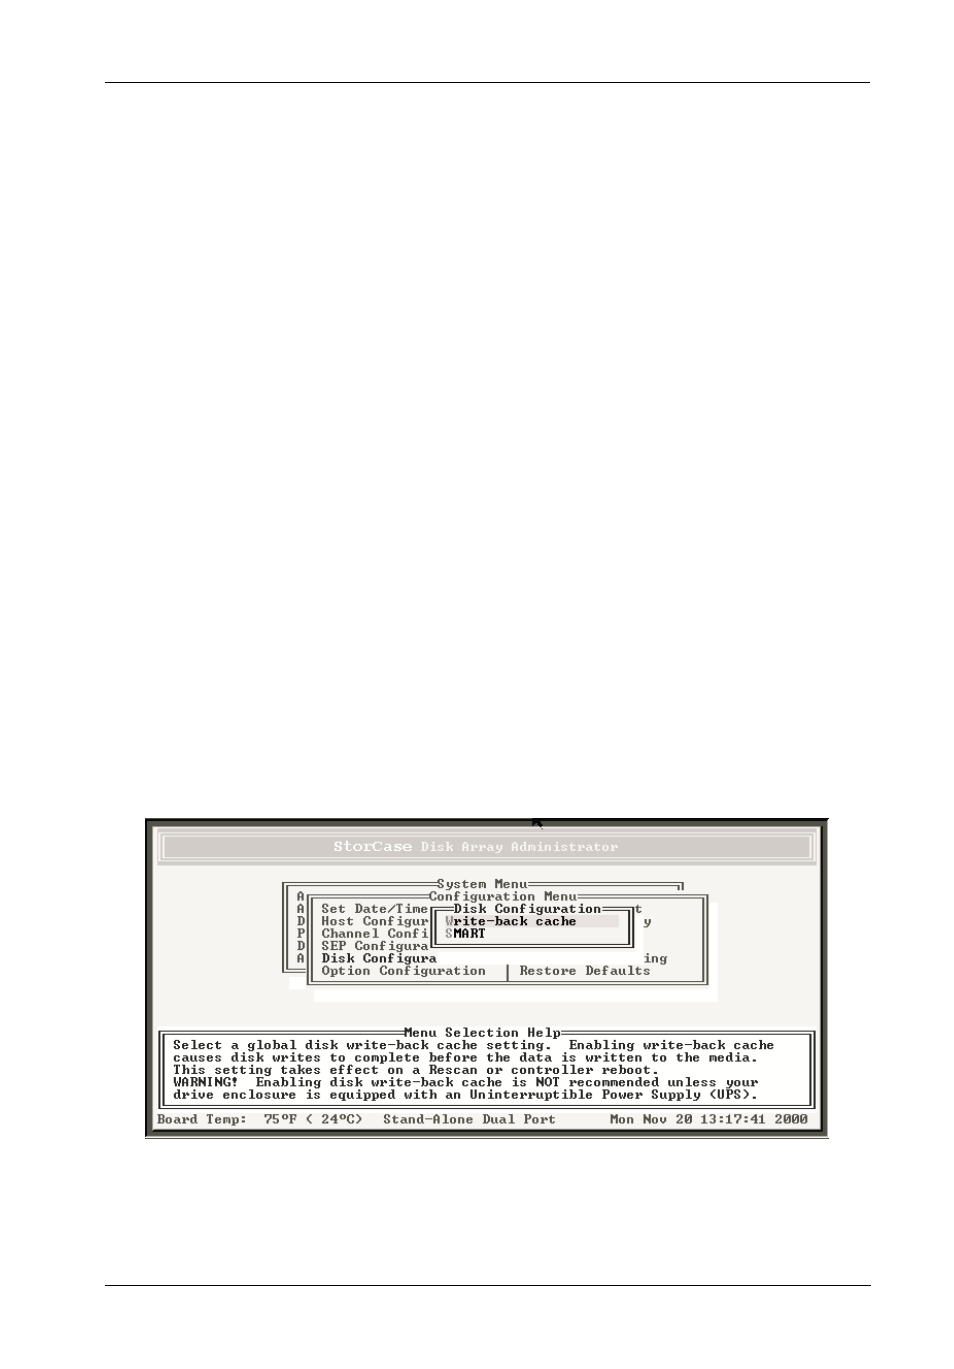
Figure 76: Disk Configuration Screen
Enabling/Disabling Write-back Cache
The user can control the write-back cache setting for all the drives at once. Changes take
effect after the next rescan or reboot.
Write-back cache can be set to ENABLE, DISABLE, or DON'T MODIFY (the controller will not
change any drive's write-back cache setting). Default setting is DISABLE.
Typically, it is not necessary to enable the write-back cache on the drives if they are part of
an array. The controller is already using write-back cache to improve performance. Enabling
write-back cache on the drives may improve performance in some cases, depending on the
type of array and how it is being used.
NOTE:
Any drives with write-back cache enabled should be connected to an
Uninterruptable Power Supply (UPS) in case of power loss. If the drives
are not on a UPS and power is lost during disk writes, the array will lose
any data in the disk's write-back cache.
To change the write-back cache setting:
1.
Select Configuration Menu from the System Menu and press Enter.
The Configuration Menu should now display (Figure 31).
2.
Select Disk Configuration and press Enter.
The Disk Configuration screen should now display (Figure 76).