Set the text wrap area using the keyboard, Justify “align” text, Set the text wrap area numerically – Nisus Writer Express User Manual
Page 85
Creating Documents
Formatting Documents
65
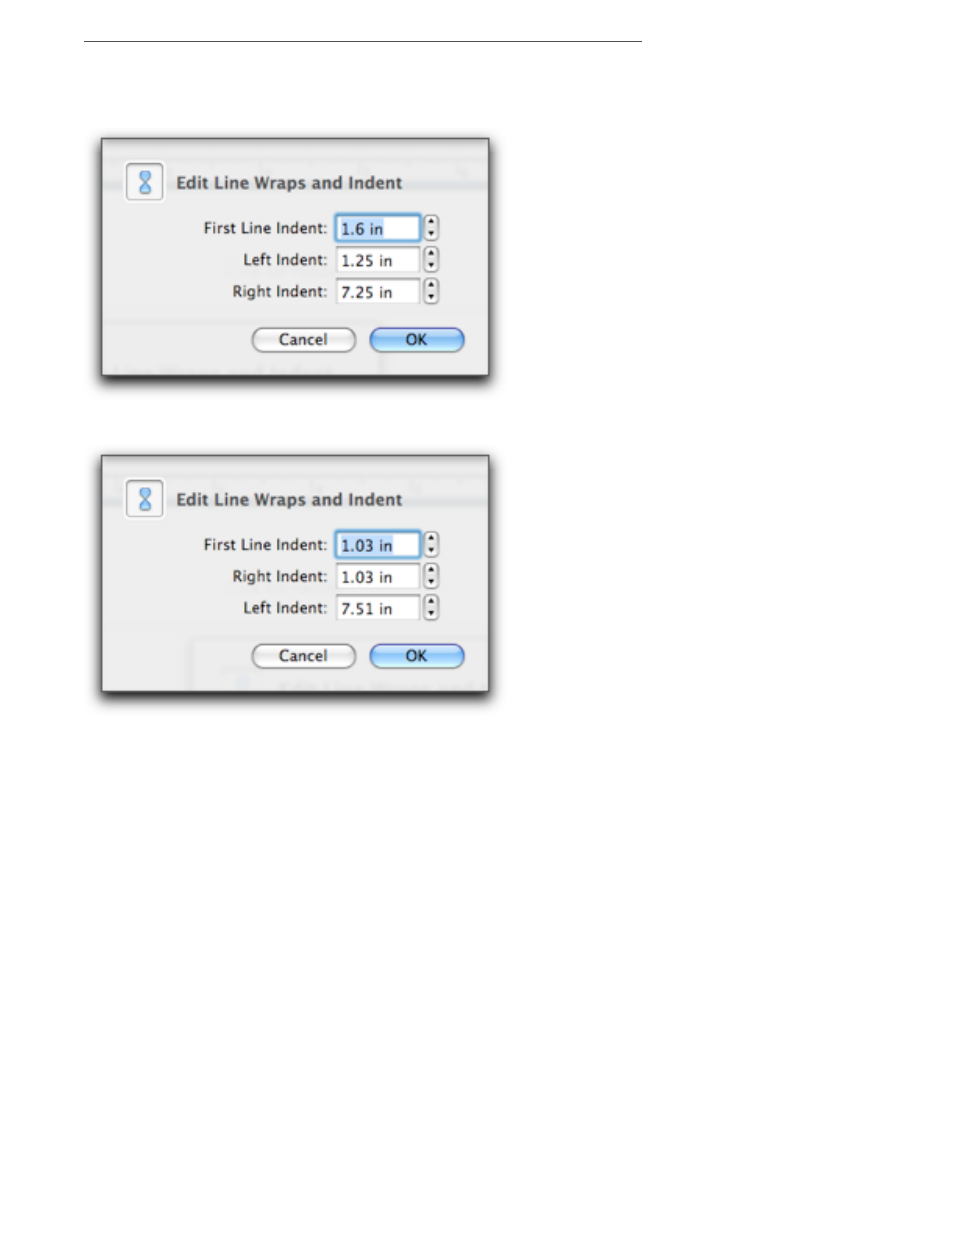
Set the text wrap area numerically
1.
Double click any of the indent markers.
2.
Enter the settings you want in the Edit Line Wraps and Indent dialog that opens.
Figure 45
The Edit Line Wraps and Indent dialog in a left to right section
Figure 46
The Edit Line Wraps and Indent dialog in a right to left section
3.
Click OK.
Set the text wrap area using the keyboard
1.
Select any of the indent markers (either individually, or more than one by pressing
A or 1).
2.
Press the right or left arrows on the keyboard to move the markers a short distance to the right
or left respectively.
☞
You can move the left indent marker and first line indent of selected text by pressing
4 .. This
moves the left indent marker and first line indent in one-half and one-quarter inch increments
(respectively) to create a “hanging indent”.
Alternatively, press
4 , to move the left indent marker and first line indent out one-half and one-
quarter inch increments (respectively) (until both are flush left).
Justify “align” text
Use the Paragraph palette in the Tooldrawer to set paragraph justification and specify how lines in a
paragraph line up based on the left and right line wrap indicators. The choices are left, center, right,
and full justification. Fully justified type causes uneven word spacing with even line widths, while
unjustified (or “ragged”) type causes even word spacing with uneven line widths. You can also
access these commands by choosing them from the Paragraph Alignment submenu of the Format
menu.