Structuring paragraphs, Create a hanging indent, Create a normal indent – Nisus Writer Express User Manual
Page 81
Creating Documents
Formatting Documents
61
Structuring paragraphs
This section describes the different ways you can define the appearance of paragraphs. When in
page view, all paragraphs appear within the margins you set (outlined as the gray line around the
area of the page). When in Draft View and Full Screen view, Nisus Writer Express allows your text to
run as far to the right of the document window as you wish. The four blue paragraph definition
"droplets" appear on the ruler at the top of the window (though not when in Full Screen view).
Select the paragraph(s) you want to modify before making any changes to the ruler.
☞
The markers (droplets) you see on the rulers are called indents. They are measured from the edge of
the margin.
The actual indent used for right to left text switches based on the direction of the paragraph.
Set the indent or outdent (“hanging indent”) position of the first line
of a paragraph
All the numbered and "bulleted" instructions in this document use a “hanging indent”.
Create a hanging indent
Examine the highlighted area at the bottom of Figure 37 below.
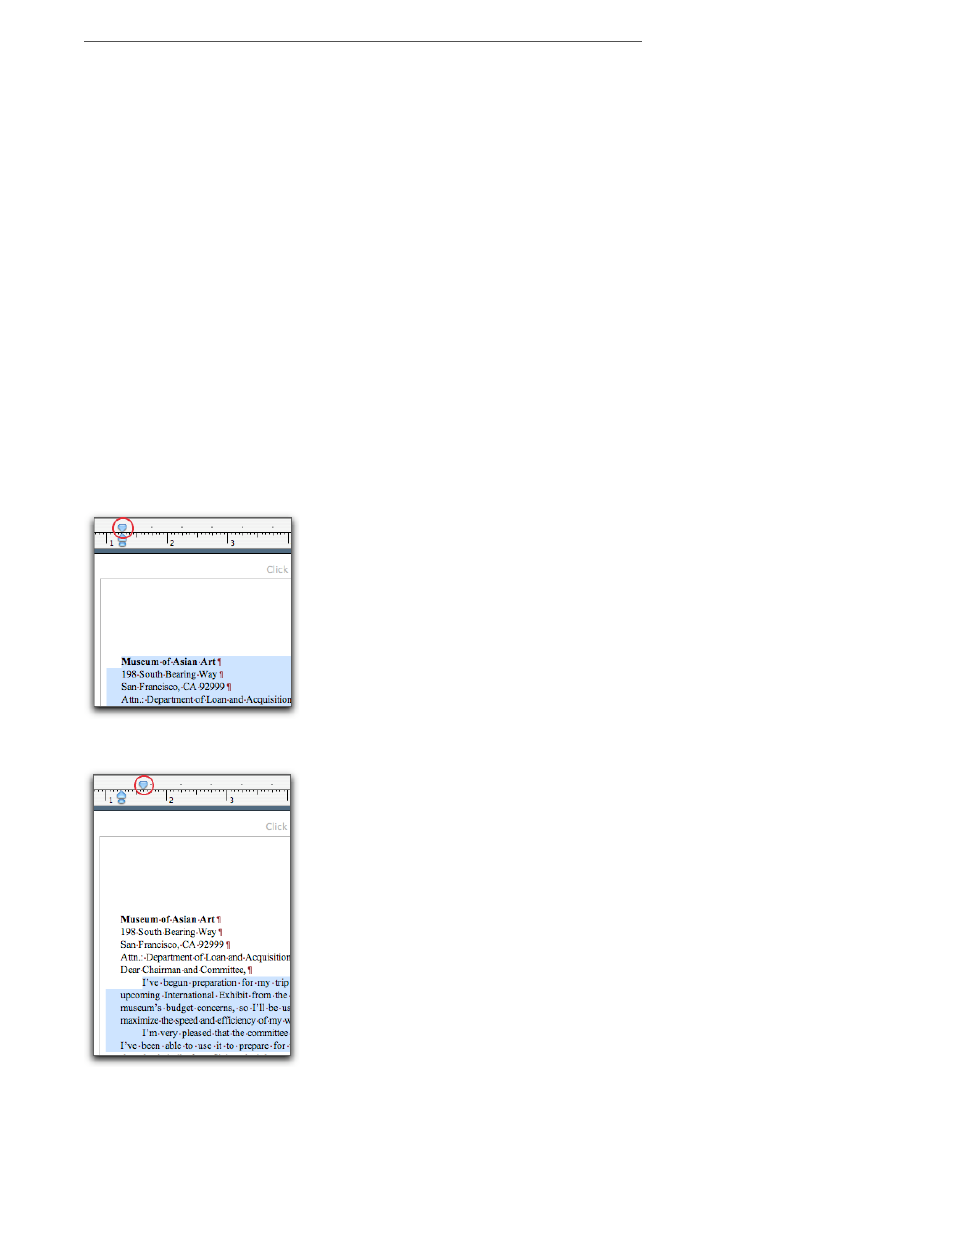
Create a normal indent
Examine the highlighted area at the bottom of Figure 36 below.
▶
Drag the First Line In/Outdent maker across the ruler and release the mouse button at the
position where you want the first character of your paragraph to appear.
Figure 35
The First Line In/Outdent marker relative to the Tail Line Wrap Indicator (flush)
Figure 36
The First Line In/Outdent marker relative to the Tail Line Wrap Indicator (indented)