Creating an entry, Chapter 3: entries creating an entry – Mariner Software WinJournal for Windows User Manual
Page 36
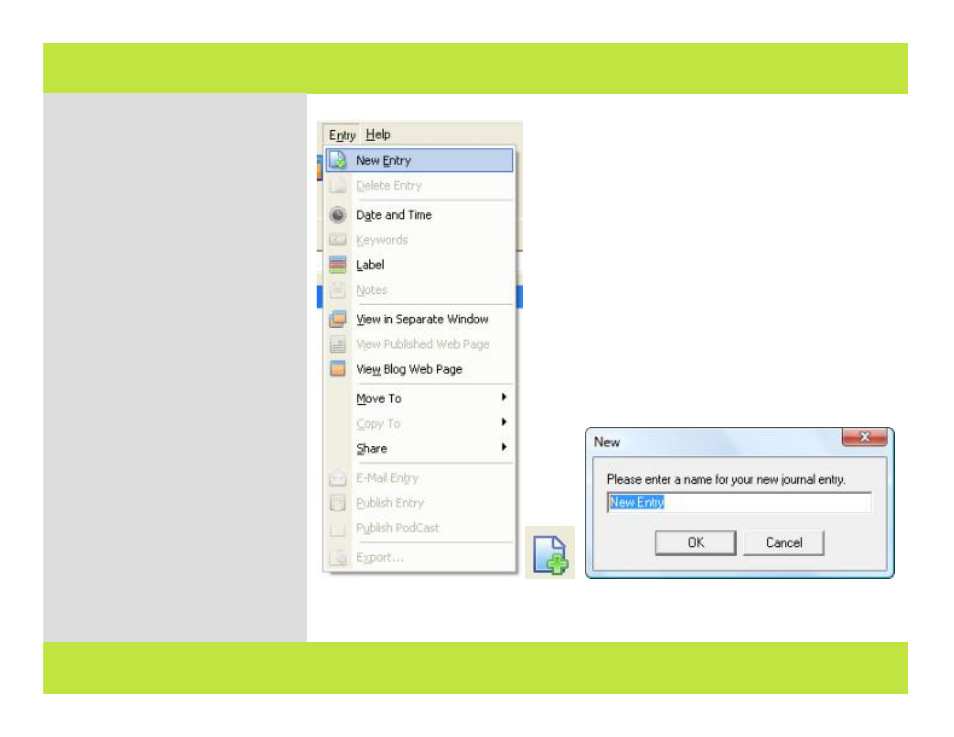
Creating an Entry
Entries always reside within journals,
so before creating an entry, determine
the journal in which you want to
create the entry. Click in that journal
in the Journals pane, then follow these
steps:
1
From the Entry menu, select New
Entry or click the New Entry button in
the toolbar.
A dialog appears.
2
Type a name for the your new
entry. Click OK.
3
Your entry is created. Your cursor
is placed in the Entry Editor window
and you are ready to start adding
content.
Note: The Entry Editor window
behaves much like a standard word
processor, allowing you extensive
control over the content and attributes
of your entry.
4
When you complete the entry, save
your work by typing Ctrl-S.
1 2
Chapter 3: Entries
Creating an Entry
Entries always reside within journals,
so before creating an entry, determine
the journal in which you want to
create the entry. Click in that journal
in the Journals pane, then follow these
steps:
1
From the Entry menu, select New
Entry or click the New Entry button in
the toolbar.
A dialog appears.
2
Type a name for the your new
entry. Click OK.
3
Your entry is created. Your cursor
is placed in the Entry Editor window
and you are ready to start adding
content.
Note: The Entry Editor window
behaves much like a standard word
processor, allowing you extensive
control over the content and attributes
of your entry.
4
When you complete the entry, save
your work by typing Ctrl-S.
1 2
36 of 92
Chapter 3: Entries