Usb connection, Usb connection -10, Installing the driver – KEYENCE XG VisionTerminal User Manual
Page 22
Connecting to the XG Series
2-10
3
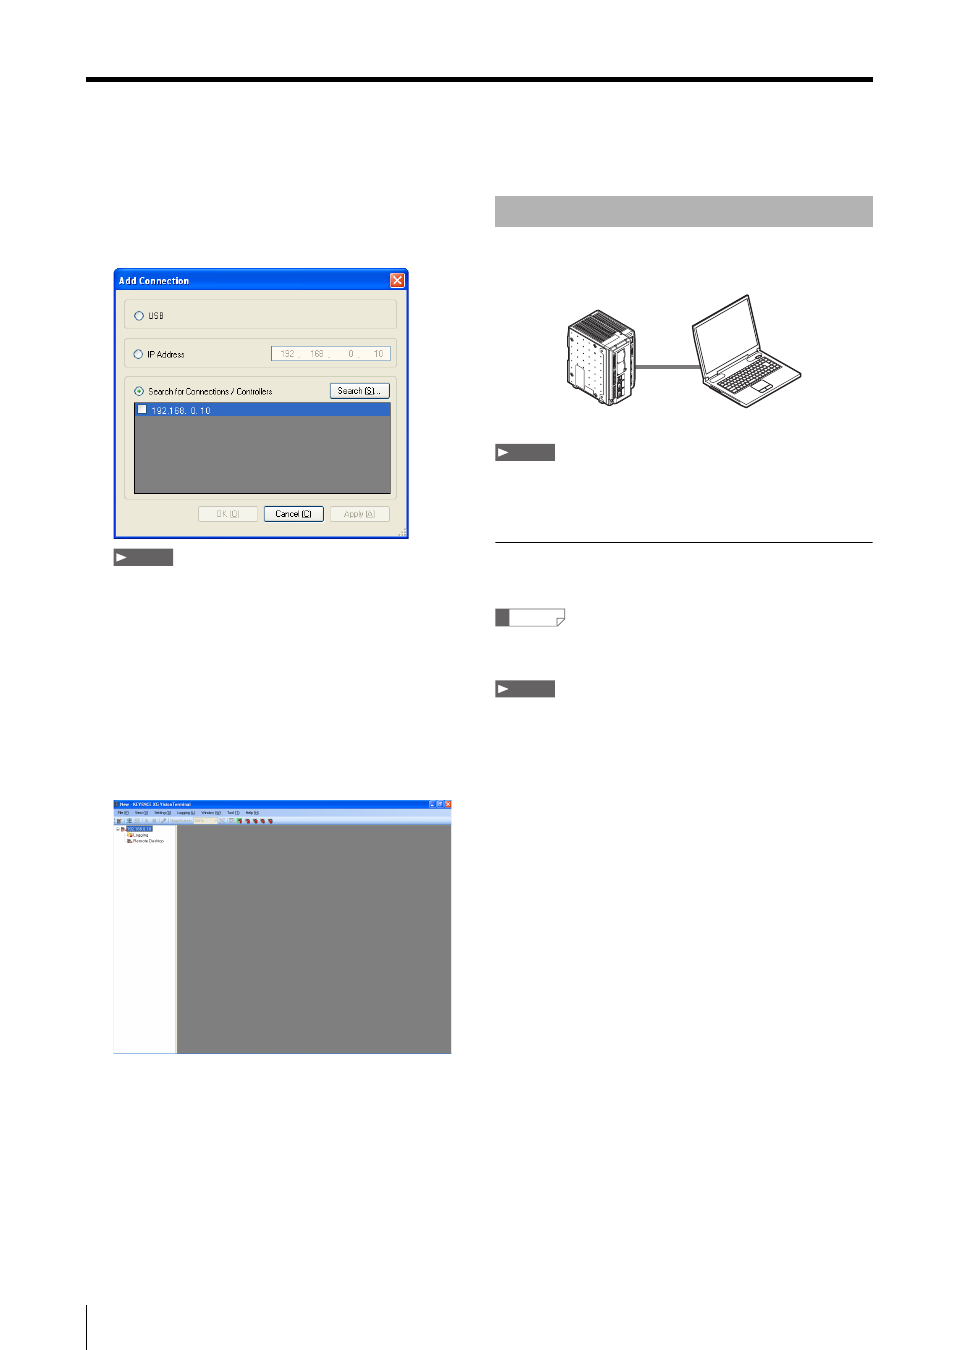
Click [Search].
The XG Series controllers that are connected on the
LAN appear in the list.
Note
• Clicking [Search] will only display controllers that exist in
the same subnet.
• When there are multiple controllers connected to the
network, some of them may not show up initially. Repeat
the search as necessary.
4
Check the box next to the XG Series controller to
register it as a connection and click [OK].
The new connection is added and appears in the
system view.
Connect the XG Series directly to the PC using a USB
cable.
Note
The XG VisionTerminal and XG VisionEditor cannot connect over
the USB cable simultaneously.
Installing the driver
Connect the XG Series and PC and install the driver.
Reference
The driver installation is not required if the USB driver was already
installed for the XG VisionEditor.
Note
•
The installation wizard does not appear on Windows 7. To
install on Windows 7, connect the system and the PC, then use
Device Manager to manually install the USB driver.
In Device Manager, click [Update driver] on the property page
for the [XG-8000/7000 Series] under [Other devices], and
specify the folder that contains the USB driver.
•
The USB driver is stored in \driver\USB in the enclosed
CDROM. Note, this driver is also installed in the
[c:\drivers\VWorks for XG] (For Ver. 5.
∗, c:\drivers\V-Works for
XG H8N) following installation of the XG VisionTerminal.
•
When using Windows 7 64-bit version, execute dpinst.exe
located in \drivers\USB\x64\ in the enclosed CDROM and then
install the USB driver.
USB Connection
USB connection